SH-P1 Training
106
Slide 106
2. Energy Saving
2.2 Overview – 2 (System Settings)
20 sec.
1 to 60 min.
1min
Auto Off Timer
Off/Sleep Mode
Recovery time
Setting range
Default
Timer
Mode
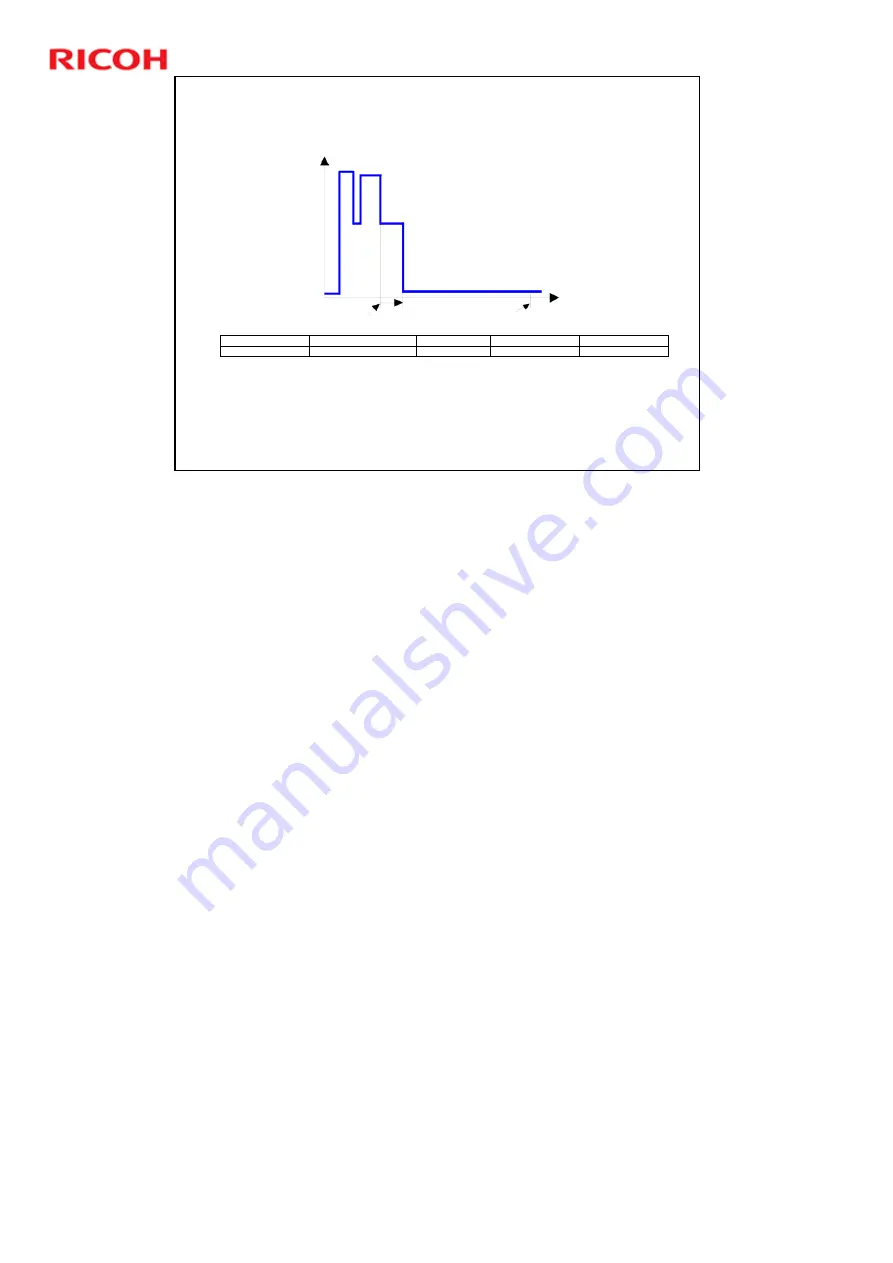
1) Timer settings and recovery time (System settings => Timer setting)
Power
Consumption
Warm-up
Operation Mode
Ready Mode
Off/Sleep Mode
Timer Starts
Auto Off Timer
1 – 240 min
After 240 min
from last job
Plug In
Time
The user can set these timers with User Tools
MFP/ Priport: User Tools > System settings > Timer Setting
Printer
: User Tools > System settings > Energy Saver Timer
Normally, Panel Off timer < Energy Saver timer < Auto Off timer.
But, for example, if Auto Off timer < or = Panel Off timer and Energy Saver timer,
the machine goes immediately to Off mode when the Auto Off timer expires. It
skips the Panel Off and Energy Saver modes.
Example
¾
Panel off: 1 minute Low power: 15 minutes, Auto Off: 1 minute
¾
The machine goes to Off mode after 1 minute. Panel Off and Low Power
modes are not used.
We recommend that the default settings should be kept.
¾
If the customer requests that these settings should be changed, please
explain that their energy costs could increase, and that they should
consider the effects on the environment of extra energy use.
¾
If it is necessary to change the settings, please try to make sure that the
Auto Off timer is not too long. Try with a shorter setting first, such as 30
minutes, then go to a longer one (such as 60 minutes) if the customer is not
satisfied.
¾
If the timers are all set to the maximum value, the machine will not begin
saving energy until 240 minutes has expired after the last job. This means
that after the customer has finished using the machine for the day, energy
will be consumed that could otherwise be saved.
¾
If you change the settings, the energy consumed can be measured using
SP8941, as explained later in this presentation.
Power consumption during warm-up may be much higher than shown in this
diagram.
Содержание SH-P1 Series
Страница 3: ...SH P1 Training 3 Slide 3 PRODUCT OUTLINE Introduction No additional notes...
Страница 12: ...SH P1 Training 12 Slide 12 Product Outline Options and Consumables No additional notes...
Страница 18: ...SH P1 Training 18 Slide 18 Installation No additional notes...
Страница 21: ...SH P1 Training 21 Slide 21 Transporting the Machine No additional notes...
Страница 23: ...SH P1 Training 23 Slide 23 Maintenance No additional notes...
Страница 45: ...SH P1 Training 45 Slide 45 Replacing the Controller 2 Notches Orient the NVRAMs as shown No additional notes...
Страница 60: ...SH P1 Training 60 Slide 60 Laser Exposure No additional notes...
Страница 65: ...SH P1 Training 65 Slide 65 All In One Cartridge AIO...
Страница 75: ...SH P1 Training 75 Slide 75 Fusing and Paper Exit No additional notes...
Страница 78: ...SH P1 Training 78 Slide 78 Electrical Components 1 Fusing lamp 2 Thermistor 3 Thermostats No additional notes...


