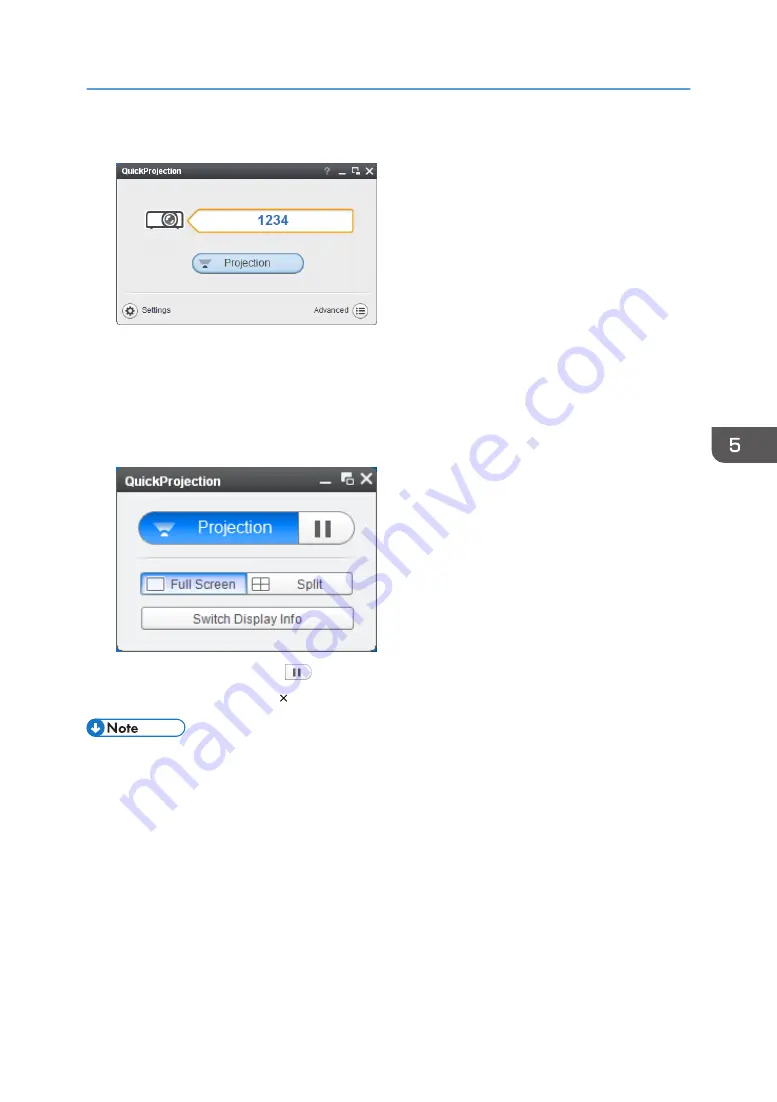
6.
Enter the identification code on the QuickProjection dialog.
The projector's name or IP address can also be entered instead of the identification code.
7.
Click [Projection].
The computer's screen is projected.
While the computer's screen is being projected, a small QuickProjection is displayed in the lower
right corner of the computer's screen.
To pause the projection, click
.
To quit the projection, click [ ], and then click [OK].
• Two projection modes are available: “Presentation mode” that projects the screen of a single PC,
and “Discussion mode” that projects the screens of four PCs at the same time.
• For detailed QuickProjection operating methods, refer to the QuickProjection Help.
• If the display resolution of the computer screen and the projector matches, the image quality is
better. We recommend setting the resolution of the computer screen to the following:
• RICOH PJ WX4152N/WX4152NI: 1280 × 800
Projecting a Computer's Screen via a Network
75
Содержание PJ WX4152
Страница 2: ......
Страница 36: ...1 Preparations for Using the Projector 34 ...
Страница 44: ... The image may sometimes be disrupted while it is reduced 2 Projecting an Image 42 ...
Страница 104: ...6 Using the Interactive Function RICOH PJ WX4152NI only 102 ...
Страница 164: ... The lamp usage time can be verified using Lamp Time in Display Status 9 Maintenance 162 ...
Страница 176: ...9 Maintenance 174 ...
Страница 195: ... 2015 Ricoh Co Ltd ...
Страница 196: ...Y0A1 7522 AU EN US EN GB EN ...


