• If your wireless LAN access point uses WPA/WPA2-EAP as the authentication method, you must
set the current date and time and the time zone of the location where the projector is installed. For
details, see page 120 "Default Settings 2 Menu".
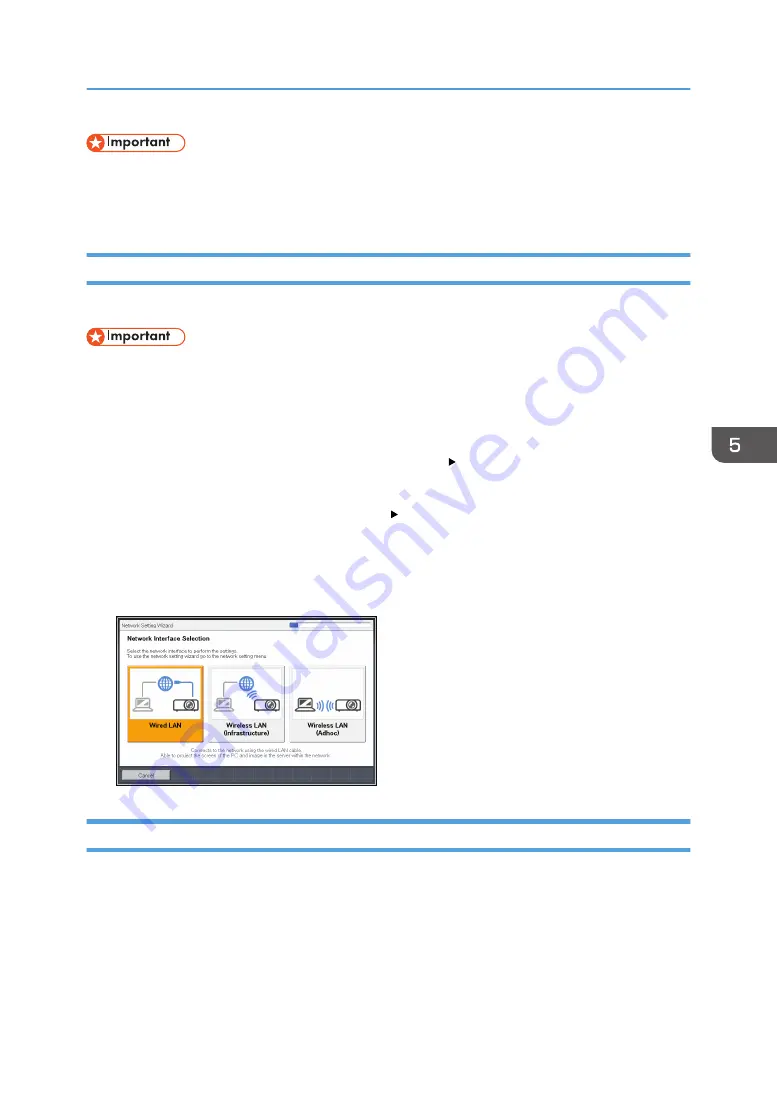
Opening Network Setting Wizard
You can open Network Setting Wizard on the menu screen.
• If you configure both wired and wireless LAN settings using the Network Setting Wizard and your
wireless LAN access point uses WPA/WPA2-EAP as the authentication method, it is recommended
that you configure the wired LAN settings first.
1.
Press the [Menu] button.
2.
Select [Network/USB Settings], and then press the [ ] button.
3.
Select [Network Settings], and then press the [Enter] button.
4.
Select [Setup Wizard], and then press the [ ] button.
5.
Select [Network Setting Wizard], and then press the [Enter] button.
If Administrator Authentication is enabled, enter the password, and then press the [Enter] button.
The Network Setting Wizard appears.
Configuring the Wired LAN Settings
Connect an Ethernet cable to the projector before configuring the settings.
Contact your network administrator for the information required for configuring network settings.
Connecting the Projector to a Network
67
Содержание PJ WX4152
Страница 2: ......
Страница 36: ...1 Preparations for Using the Projector 34 ...
Страница 44: ... The image may sometimes be disrupted while it is reduced 2 Projecting an Image 42 ...
Страница 104: ...6 Using the Interactive Function RICOH PJ WX4152NI only 102 ...
Страница 164: ... The lamp usage time can be verified using Lamp Time in Display Status 9 Maintenance 162 ...
Страница 176: ...9 Maintenance 174 ...
Страница 195: ... 2015 Ricoh Co Ltd ...
Страница 196: ...Y0A1 7522 AU EN US EN GB EN ...


