


5.
Type the password (containing 4 to 8 digits) and user ID (containing 1 to 9 alphanumeric
characters), and then click [OK].
The user code will be used to identify your Locked Print file on the machine's control panel.
6.
Execute a print command.
The print job is stored in the machine as a Locked Print file. You can print the file by entering the
password using the control panel.
• The Locked Print file is automatically erased from the machine's memory when it is printed out, or
when the machine's power is turned off.
• The machine can store up to 5 jobs or 5 MB of Locked Print data at a time.
• Even if the printer cannot store any more Locked Print files, the printer holds a new Locked Print file
for the period of time specified in [Locked Print] in [I/O Timeout] under [System Settings] before
canceling the job. Within this time, you can print or delete the new Locked Print file. You can also
print or delete an existing Locked Print file so that the new Locked Print file can be stored in the
machine.
Printing a Locked Print File
When there is a Locked Print file stored in the printer, "Locked Print Job" and "Press the Menu key."
appears on the printer's control panel display.
Use the following procedure to unlock and print the Locked Print file.
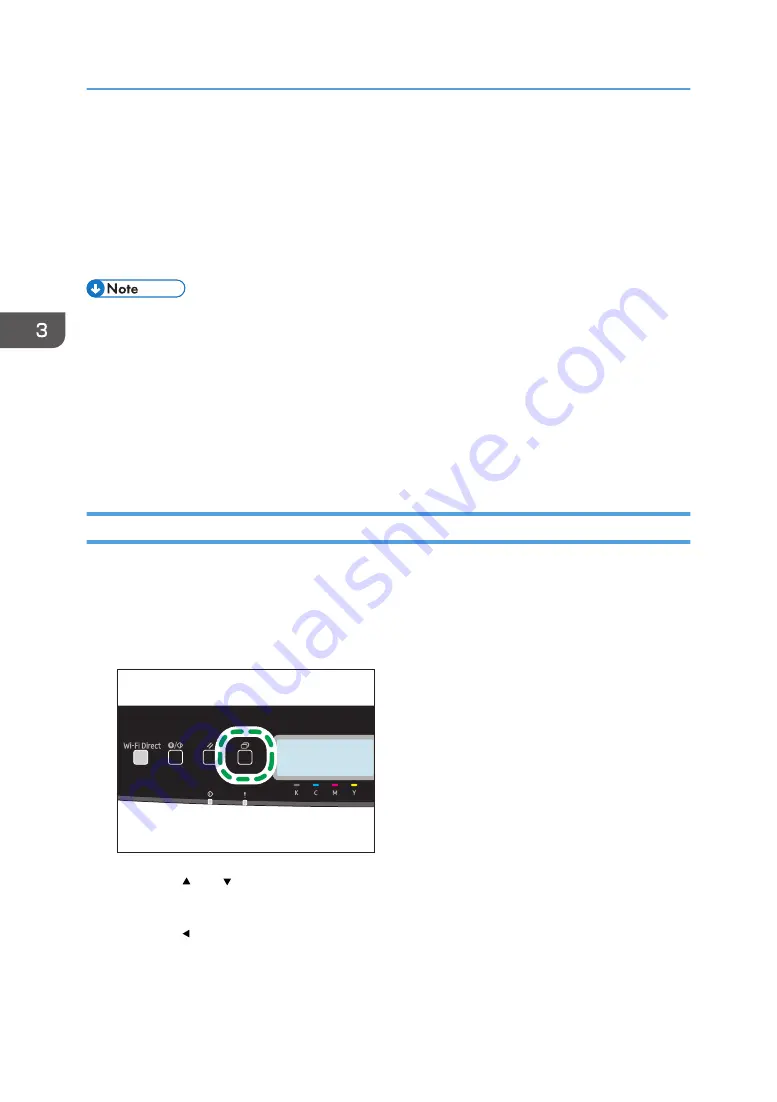
1.
Press the [Menu] key.
ECB202
2.
Press the [ ] or [ ] key to select the file you want to print, and then press the [OK] key.
Identify the Locked Print file by checking its time stamp and user ID.
3.
Press the [ ] key.
3. Printing Documents
64
Содержание P C300W
Страница 1: ...User s Guide For safe and correct use be sure to read the Safety Information before using the machine...
Страница 2: ......
Страница 10: ...5 Click the manual you want to refer to The PDF file manual opens 8...
Страница 82: ...Default Normal Normal Curl Prevented 4 Configuring the Machine Using the Control Panel 80...
Страница 92: ...4 Configuring the Machine Using the Control Panel 90...
Страница 126: ...5 Configuring the Machine Using Utilities 124...
Страница 150: ...6 Maintaining the Machine 148...
Страница 157: ...Main unit 1 DUE319 3 2 1 DUE288 2 DUE289 Removing Paper Jams 155...
Страница 158: ...3 DUE290 Waste toner bottle ECC168 Paper feed unit DUE320 1 7 Troubleshooting 156...
Страница 188: ...8 Configuring Network Settings 186...
Страница 199: ...Weight Less than 4 kg 8 9 lb Specifications of the Machine 197...
Страница 212: ...9 Appendix 210...
Страница 216: ...MEMO 214...
Страница 217: ...MEMO 215...
Страница 218: ...MEMO 216 EN GB EN US EN AU M0CW 8604A...
Страница 219: ......
Страница 220: ...EN GB EN US EN AU M0CW 8604A 2019...