2.
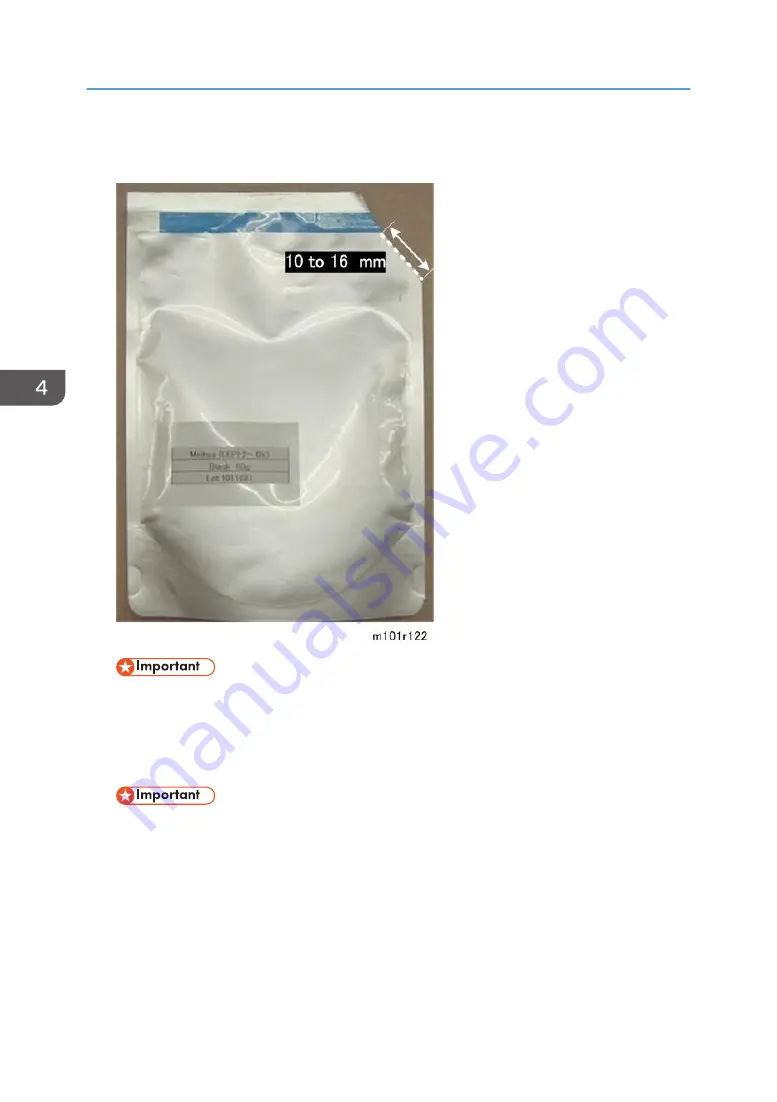
Use scissors to cut off one small part of a corner of the toner pack as shown above. The
cut should be about 10 to 16 mm long (about 1/2 in.).
• The cut must be small. Cutting large a hole will cause toner to scatter.
3.
Raise the end of the AIO about 30 degrees by placing something under the toner supply
tank as shown above.
4.
Insert the tip of the funnel in the port of the toner supply tank.
• You must hold the funnel to prevent the tip of the funnel from touching and damaging
components inside the AIO.
4. Replacement and Adjustments
142
Содержание M178-21
Страница 2: ......
Страница 24: ...22 ...
Страница 69: ... Front cover Left cover 1 Disconnect the fusing unit harness A 1 2 Free the harness B 2 Basic Procedures 67 ...
Страница 71: ...6 Disconnect the thermistor harness 1 7 Disconnect the exit sensor 1 Basic Procedures 69 ...
Страница 90: ...Friction Pad 1 Remove 3 screws 3 2 Release 2 tabs 2 4 Replacement and Adjustments 88 ...
Страница 103: ...Solenoid 101 ...
Страница 105: ...2 Remove the breaker switch screw A 1 3 Disconnect and remove the switch B 2 Switches 103 ...
Страница 108: ...4 Replacement and Adjustments 106 ...
Страница 117: ...Ground Plate 1 Note the correct position for the ground plate before re installation Fusing Unit 115 ...
Страница 133: ...3 On the left side slide the base of the supply plug off its mount 4 Disconnect both connectors 2 PCB 131 ...
Страница 143: ...Filling the AIO with New Toner 1 Remove the round cap of the toner supply tank with a screwdriver Refilling the AIO 141 ...
Страница 190: ...5 System Maintenance Reference 188 ...
Страница 221: ...MEMO 219 ...
Страница 222: ...MEMO 220 EN ...
Страница 224: ......
Страница 226: ...2 ...
Страница 237: ...Scan Area TWAIN Driver Flatbed Margin Width mm A Left 0 B Right 0 C Leading 0 D Trailing 0 Machine Specifications 13 ...
Страница 250: ...MEMO 26 ...
Страница 251: ...MEMO 27 ...
Страница 252: ...MEMO 28 EN ...


