Copier Functions
61
2
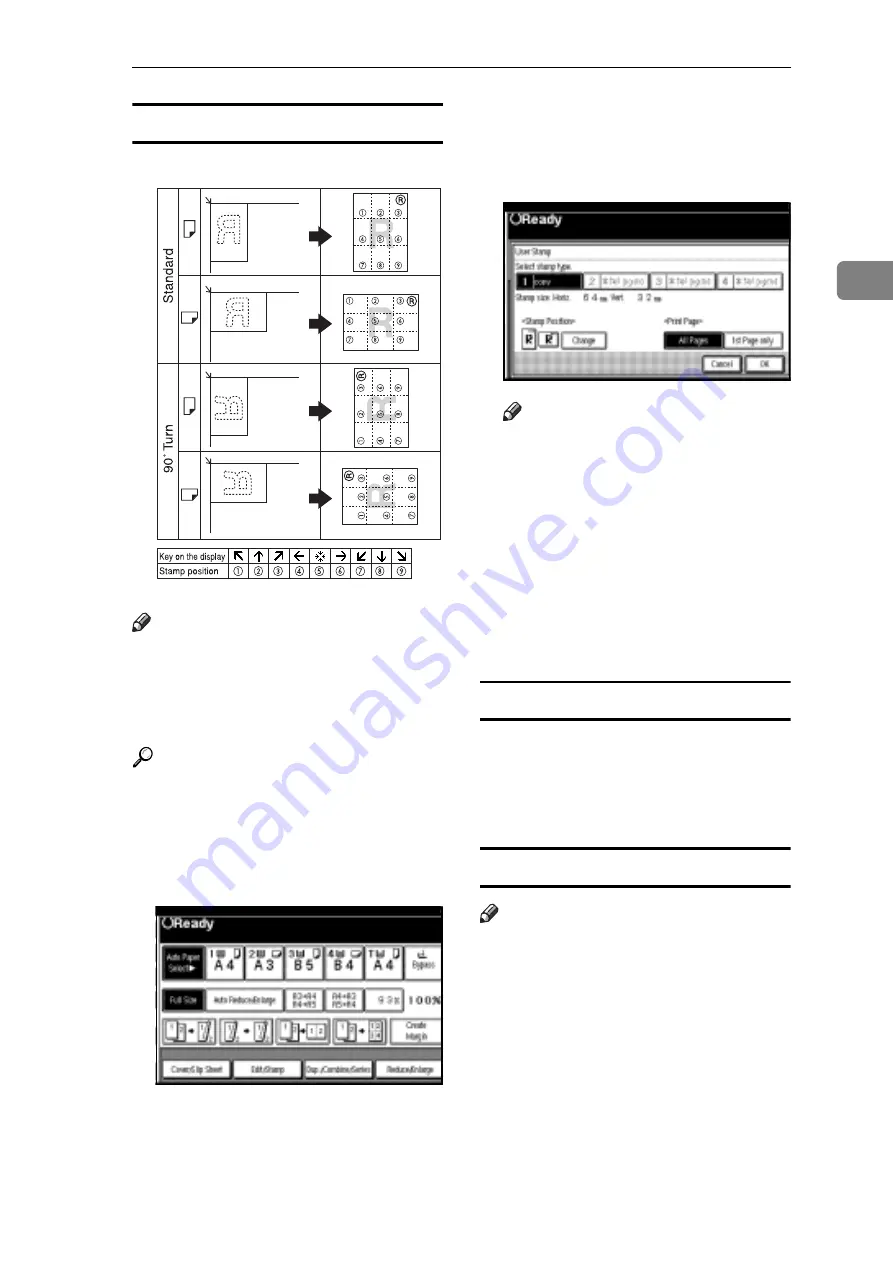
Stamp position and original orientation
Note
r
You cannot use the bypass tray
with this function.
r
Only one message can be stamped
each time.
Reference
Related initial settings
p.99 “Stamp Position 1 - 4”
p.99 “Stamp Format 1 - 4”
A
Press
[
Edit/Stamp
]
.
B
Press
[
Stamp
]
.
C
Press
[
User Stamp
]
.
D
Select the stamp you require.
E
Press
[
All Pages
]
or
[
1st Page only
]
to
select the print page.
Note
r
You can change the stamp posi-
tion. See p.61 “To change the
stamp position”.
F
After making all settings, press
[
OK
]
.
G
Press
[
OK
]
.
H
Place your originals, and then
press the
{
Start
}
key.
To change the stamp position
A
Press
[
Change
]
.
B
Select the desired position, and
then press
[
OK
]
.
To program the user stamp
Note
r
The range of stamp images for
readability is 10–297 mm high
(0.4"–11.7") and 10–432 mm (0.4"–
17") wide. However, if the value
exceeds the maximum value of the
area (5,000 mm
2
, 7.75 inch
2
), it is
corrected within the range of the
area automatically.
r
Up to four images that you use fre-
quently can be stored in the ma-
chine's memory.
GCSTMP6E
All manuals and user guides at all-guides.com


