FileNet Plug-in
Step 1: Placing the Original
Place the original face up on the Automatic Document Feeder
(ADF) or face down on the exposure glass.
BMC001S
BMC002S
Fig. 2:
ADF
Fig. 3:
Exposure Glass
Step 2: Opening the Group/Project Screen
1. Press [
Scanner
] on the MFP control panel (once or twice).
BMC003S
Fig. 4:
Control Panel
• Any key other than the [
Scanner
] key can be programmed
to access GSNX. Check with your Administrator.
• The appearance of the GSNX user interface varies depend-
ing on the MFP model and the administrator settings.
2. Select the group tab you require.
3. Select the project button you require.
Fig. 5:
Group/Project Screen
Step 3: Logging In
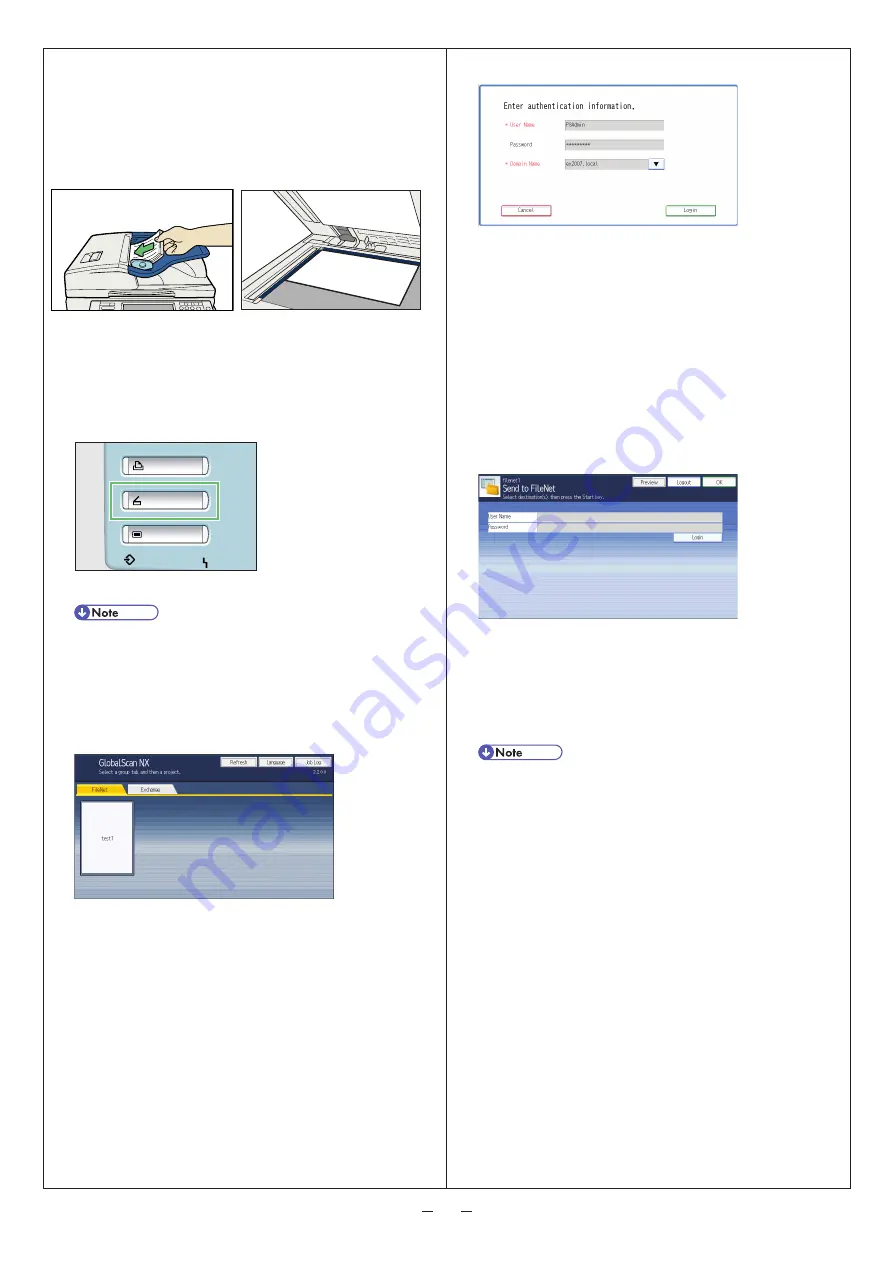
If you are required to log in, the screen shown in Fig. 6 or Fig. 7
(below) will appear. If login is not required, proceed to P.3 "Step
4: Selecting/Entering Metadata".
With an Authentication
Fig. 6:
Login Screen
1. Press [
User Name
] and enter your user name.
2. Press [
OK
].
3. Press [
Password
] and enter your password, if necessary.
4. Press [
OK
].
5. Select/enter Domain Name, if necessary.
6. Press [
Login
].
Without an Authentication
Fig. 7:
Login Screen
1. Press [
User Name
] and enter your name.
2. Press [
Password
] and enter your password.
3. Press [
Login
].
• If login fails, press [
OK
] and repeat the above procedure
using valid account information.
Step 4: Selecting/Entering Metadata
If metadata is required, the metadata screen will appear. If metadata
is not required, proceed to P.4 "Step 5: Selecting a Service".
1. Select the relevant fields, drop-down menus, or buttons.
2. Enter the document information.
3. Repeat steps 1 - 2 as necessary.
4. When finished, press [
OK
].


