1-32
Container Stacker Installation Instructions
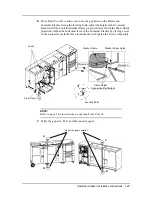
4.
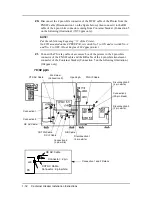
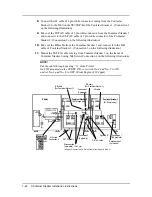
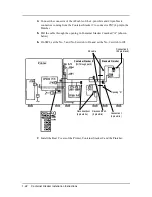
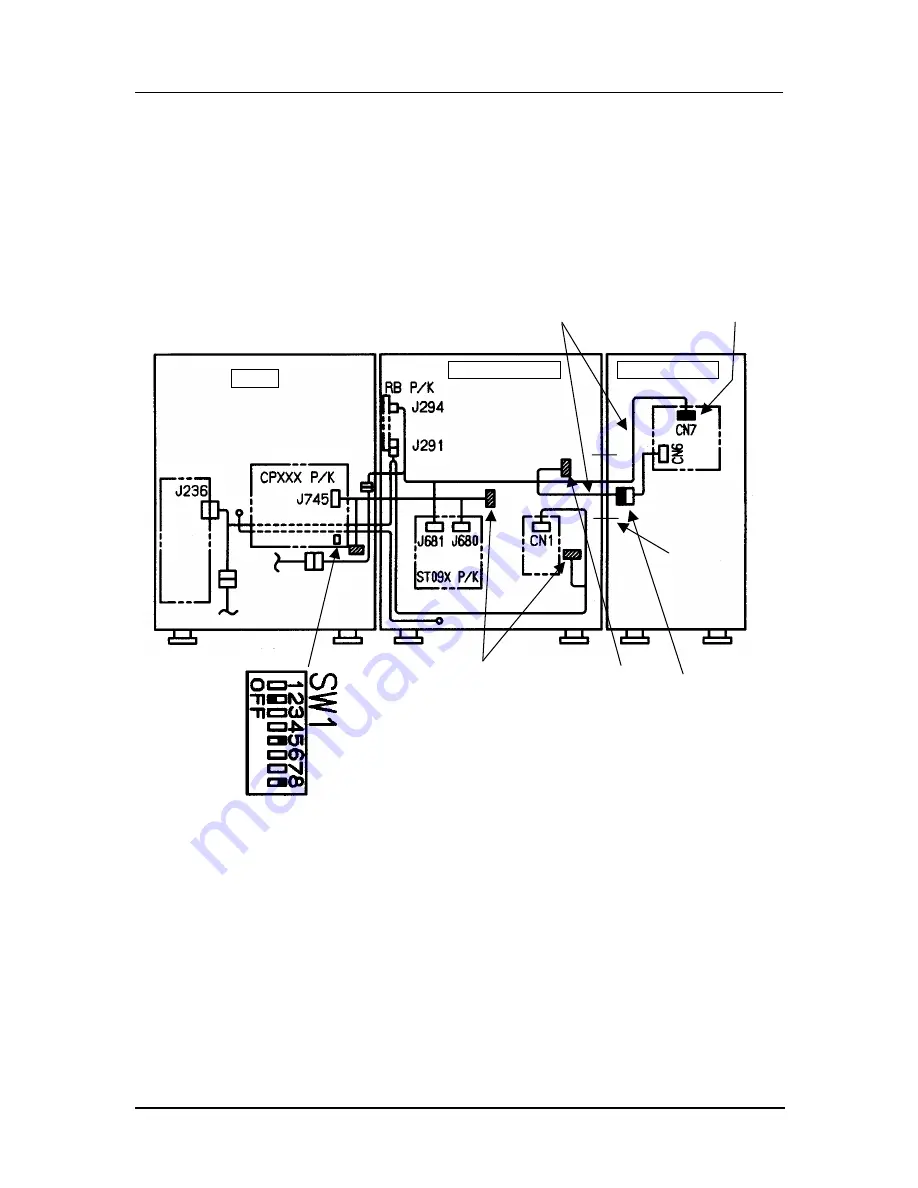
Connect the connector of the AF cable of the 4-pin white and 20-pin black
connectors coming from the Container Stacker 2 to connector CN7 (4 pin) in the
Finisher.
5.
Pull the cable through the opening in Container Stacker 2 marked “A” (shown
below).
6.
On SW1, set the No. 5 and No. 8 switch to On and set the No. 2 switch to Off.
7.
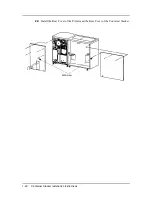
Install the Rear Covers of the Printer, Container Stacker 2 and the Finisher.
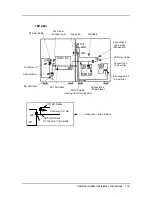
Printer
Container Stacker 2
(W/ Through path)
Standard Finisher
AF cable
Connection 2
(20 pin black)
Connection 1
(4 pin white)
Disconnection 1
(4 pin white)
Disconnection 2
(2 pin white)
Opening “A”
Содержание Container Stacker
Страница 5: ...ii Table of Contents ...
Страница 49: ...A 10 Installation Maintenance Area ...

