16
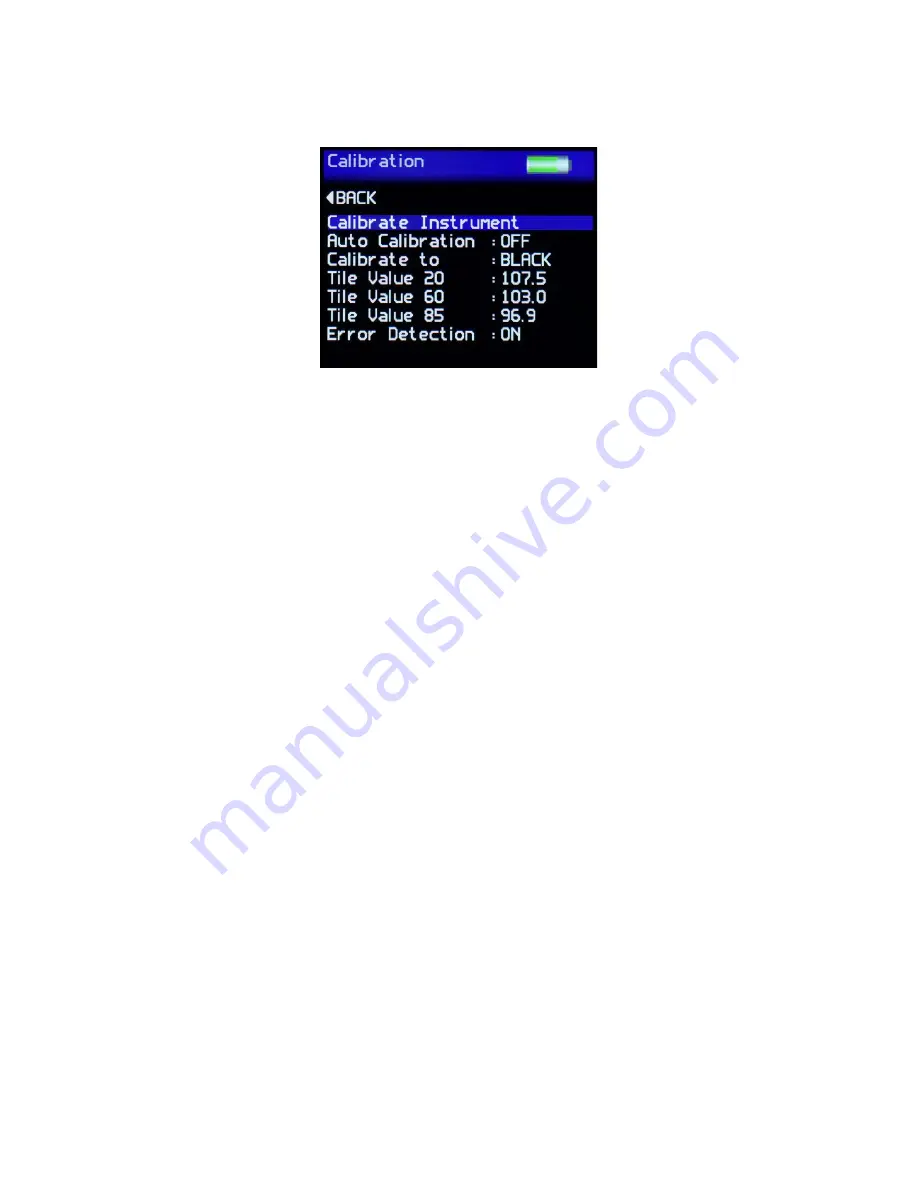
Calibration Screen
The Calibration Screen is used to setup the instrument calibration to the user’s preference.
Press the Up / Down buttons to navigates through the options, press the Enter button to
select the option required.
Selectable settings in the Calibration screen are:
Calibrate Instrument - Performs an instant calibration of the instrument; a dialogue box being
displayed upon completion to either “Cancel” or “Confirm”.
Auto Calibration - Set to ON, a dialogue box appears each time a measurement is
taken as detailed under Operation.
Set to OFF, the dialogue box is disabled; measurements are made.
Calibrate to - Set to Black - a traceable gloss tile is used as the calibration standard
Set to Mirror - a traceable mirror tile is used as the calibration standard
Tile Value 20, 60, 85 - Set the calibration values for either standard being used for calibration.
Press the Enter button to select the value. Press the Left / Right buttons to select the relevant
digit and the Up / Down buttons increment / decrement the value. Press the Enter button
again to save the value.
Error Detection - The instrument detects the condition of the calibration standard
being used.
Set to OFF - Values are still checked against the stored reference but no other error
checking is carried out.
Set to CAL - A check is made to see if an appropriate hardware channel is wildly
different to what it should be, indicating that the calibration is being attempted on the
wrong tile type.
Set to Hz - A check is carried out on the haze value, if this is higher than expected the
tile could be dirty.
Set to CAL + Hz - A combination of the two above.
Haze Tolerance - Set the tolerance for the standard being used for calibration.


