background image

5

Placing your machine in the proper location:

u

Before lifting machine, turn power off and
remove the power cord from the wall outlet.
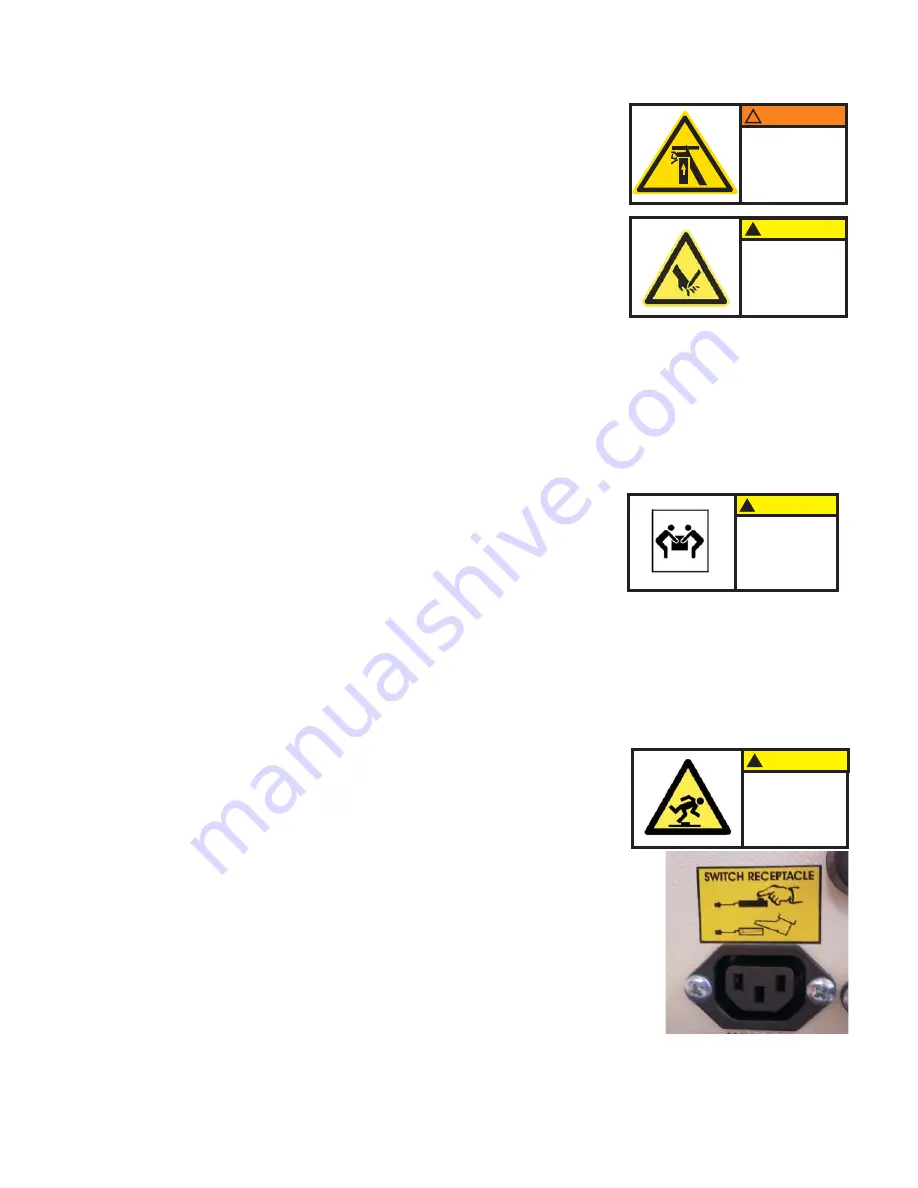
The machine is very heavy! Never attempt to lift
the machine by yourself. Two people will be
needed to lift the machine.

u

Place the machine on a hard level surface, place the foot pedal on the
floor in front of the machine. Ensure the placement of machine allows
for ergonomic work flow (separate locations for un-punched books and
punched books).

u

u

Connect the foot-pedal into the foot-pedal
receptacle on the back of the machine, do not
attempt to connect foot-pedal into anything other
than the foot-pedal receptacle.

paper activated switches are available

for these punches. These switches replace the foot-pedal and plug
into the foot-pedal receptacle on the back of the machine.

Optional

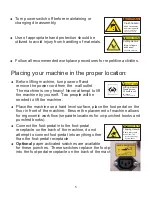
Lifting Hazard

Single person
lift could result
in injury.

Two person lift required.

!

CAUTION

u

Turn power switch off before maintaining or
changing die assembly.

!

WARNING

Crush hazard.

Keep hands away
from moving parts.

Lockout and disconnect
power before servicing.

!

CAUTION

Cutting Hazard

Injury to fingers
and hands.

Use hand protection

u

Use of appropriate hand protection should be
utilized to avoid injury from handling of materials.

u

Follow all recommended workplace procedures for repetitive activities.

!

CAUTION

Tripping Hazard

Bodily injury could
occur from fall.

Route cables away
from walkways

Содержание OD4000

Страница 1: ...Instruction Book for the OD4012 OD4000 and OD4800 ...

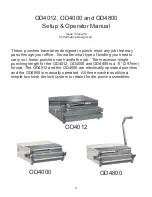
Страница 2: ...ter what type of binding you need to carry out these punches can handle the job The maximum single punching length for the OD4012 OD4000 and OD4800 is a 11 297mm format The OD4012 and the OD4000 are electrically operated punches and the OD4800 is manually operated All three machines utilize a simple two knob die lock system to retain the die punch assemblies 2 OD4012 OD4000 OD4800 ...

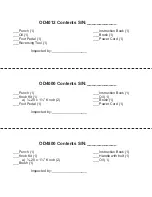
Страница 3: ...__________ OD4800 Contents S N ____________ ___Punch 1 ___Instruction Book 1 ___Knob Kit 1 ___Handle with bolt 1 a 20 x 1 Knob 2 ___Oil 1 ___Brush 1 Inspected by __________________ OD4000 Contents S N ____________ ___Punch 1 ___Instruction Book 1 ___Knob Kit 1 ___Oil 1 a 20 x 1 Knob 2 ___Brush 1 ___Foot Pedal 1 ___Power Cord 1 Inspected by __________________ ...

Страница 4: ......

Страница 5: ...mbols Safe operating guidelines Proper machine placement Attach OD4800 Handle Providing electric power Die installation Maintenance Setting the paper stop guide Punching paper Removing paper waste Paper jam Troubleshooting 4 4 5 6 7 7 9 10 10 10 11 12 13 ...

Страница 6: ...ING Safe Operating Guidelines CAUTION CAUTION Indicates a hazardous situation which if not avoided could result in minor or moderate injury It may also be used without the safety alert symbol as an alternative to Notice WARNING Indicates a hazardous situation which if not avoided could result in death or serious injury DANGER Indicates a hazardous situation which if not avoided will result in deat...

Страница 7: ...thing other than the foot pedal receptacle paper activated switches are available for these punches These switches replace the foot pedal and plug into the foot pedal receptacle on the back of the machine Optional Lifting Hazard Single person lift could result in injury Two person lift required CAUTION u Turn power switch off before maintaining or changing die assembly WARNING Crush hazard Keep ha...

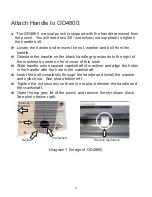
Страница 8: ...tends to the right of the machine as seen on front cover of this book Slide handle onto exposed crankshaft of machine and align the holes in the handle with the hole in the crankshaft Insert the bolt completely through the handle and install the washer and nylock nut See photo below left Tighten the nut securely so there is not play between the handle and the crankshaft Open the top grey lid of th...

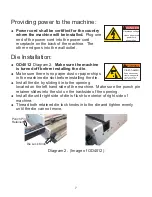
Страница 9: ...e die slot before installing the die Install the die by sliding it into the opening located on the left hand side of the machine Make sure the punch pin retainer slides into the slot on the backside of the opening Install die until right side of die is flush to exterior of right side of machine Thread both retained die lock knobs into the die and tighten evenly until the die can not move Diagram 2...

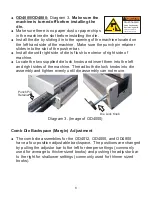
Страница 10: ...cate the two supplied die lock knobs and insert them into the left and right sides of the machine Make sure the machine is turned off before installing the die Diagram 3 Image of OD4000 Comb Die Backspace Margin Adjustment u The comb die assemblies for the OD4012 OD4000 and OD4800 have a four position adjustable backspace The positions are changed by pulling the adjustor bar to the left for deeper...

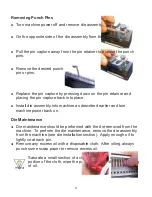
Страница 11: ... power back on u Die maintenance should be performed with the die removed from the machine To perform the die maintenance remove the die assembly from the machine see die installation section Apply enough oil to lightly coat each pin Remove any excess oil with a disposable cloth After oiling always punch some scrap paper to remove excess oil u Saturate a small section of a cloth with oil and using...

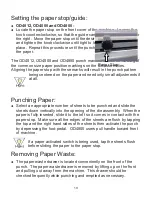
Страница 12: ...Repeat this procedure Punching Paper u Select an appropriate number of sheets to be punched and slide the sheets down vertically into the opening of the die assembly When the paper is fully inserted slide it to the left so it comes in contact with the paper stop Make sure all the edges of the sheets are flush by tapping the top and the right hand sides of the sheets then activate the punch by depr...

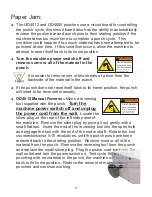
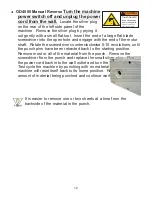
Страница 13: ... of the material in the punch u OD4012 Manual Reverse utilizes a reversing tool supplied with the punch Locate the silver plug on the rear of the left side panel of the machine Remove the silver plug by prying it out gently with a small flat tool Insert the end of the reversing tool into the open hole and engage the tool with the end of the motor shaft Rotate the tool counterclockwise 5 10 revolut...

Страница 14: ...the material from the punch Remove the screwdriver from the punch and replace the small silver plug Plug the power cord back into the wall outlet and turn the power switch on Test cycle the machine by punching with no material in the punch the machine will reset itself back to its home position Reduce the amount of material being punched and continue working Turn the machine power switch off and u...

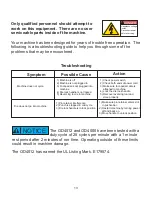
Страница 15: ...retainer enters slot in pusher bar 2 Restart machine by turning power off and back on 3 Move handle to unlock position Only qualified personnel should attempt to work on this equipment There are no user serviceable parts inside of the machine Your machine has been designed for years of trouble free operation The following is a troubleshooting guide to help you through some of the problems that may...

Страница 16: ...Be sure to fill out and return your Product Warranty Registration Card or Register online at www Rhin O Tuff com warranty_registration asp Part Number 001172 Rev 3 Aug 2010 IMPORTANT ...

Отзывы: