11
8. In video recording mode, if you want to press Menu / Mode button, please stop
recording videos first by pressing the REC button.
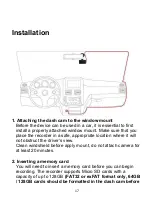
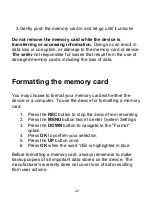
9. Please be careful and insert the TF Memory Card in the right way, do not force the
Micro Memory Card in the slot as that is an indicator of the wrong way, insert it until
the Micro TF Memory card clicks into place in the card slot.
10. Remove the Micro TF Memory Card. Please gently press down the Micro TF Memory
Card, by approximately 1mm until you hear the Micro TF Memory Card click, it will
then pop-up and can be removed.
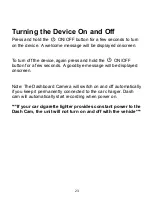
11. Long press for 3 seconds the Power Button, then the screen lights up. The dash cam is
switched ON. Long press 3 seconds Power Button, then the dash cam is switched OFF.
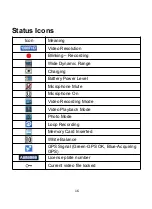
12. When being charged, the LCD screen will show the charging icon, and stop flashing
when fully charged.
13. When using the built-in power, the dash cam will prompt low power and save the
document then turn off automatically if the power is not enough.
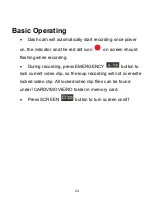
14. We recommend using default factory settings, once the MENU has been set, then
connect the car charger to the unit and put into the card. Once the car is started, the
unit will automatically start recording. Once the car turns off, the unit will
automatically stop recording. Please note that your vehicle’s Cigarette Lighter Sockets
do not have any power when the ignition is switched OFF.
15. All dash cam models must be continuously connected to either a 12 or 24 Volt power
supply via a 5V 1A Charger because a LCD colour screen consumes a considerable
amount of power. That is why mobile phone / dash cam screens automatically go
blank when not being used - to save power. A fully charged battery will only power the
Содержание GW101
Страница 2: ...2 ...


