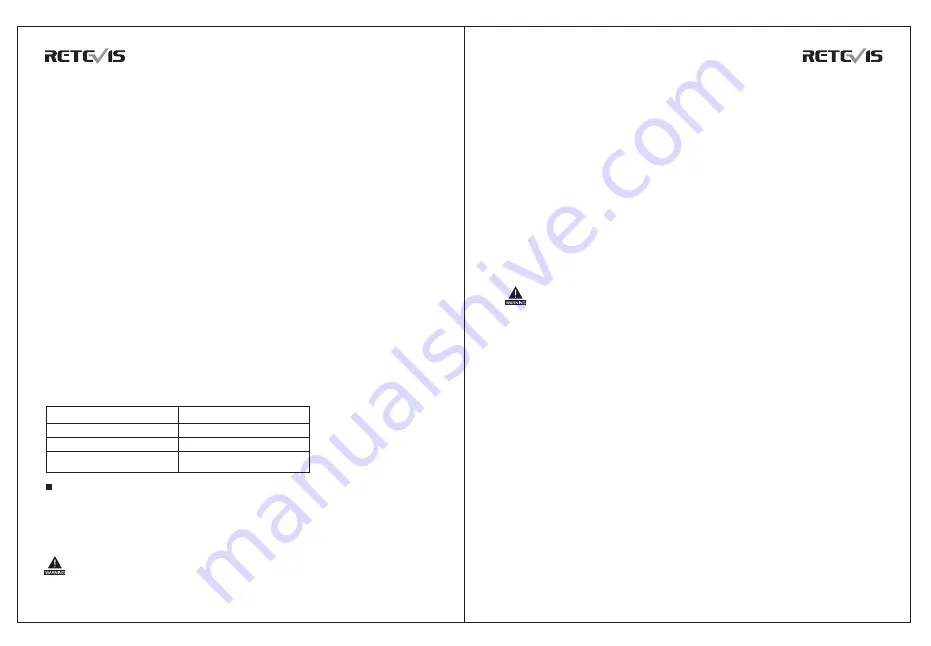
Basic operation
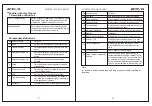
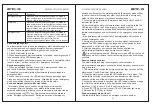
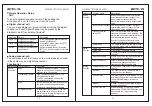
Indicator status
Red on
Green on
Green flash
Product status
Transmitting
Receiving
Scanning
DIGITAL TWO WAY RADIO
DIGITAL TWO WAY RADIO
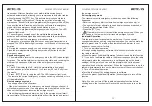
Align the battery with the battery holder on the back of the walkie-talkie.
Push the battery firmly into the walkie-talkie and slide the battery up
until it locks into place.
● Remove the battery
To remove the battery, turn off the transceiver. Slide the battery latch
into the unlocked position and hold, and then slide the battery
downward and out of the battery mount.
3
.
Install / remove the belt clip
● Unscrew the two screws on the battery. Align the two screw holes in
the belt clip with the screw holes in the top of the battery, and then
tighten the screws.
● Loosen and remove the screw from the belt clip (it is recommended
that you screw the screw to the battery for the next time you are
installing and using the belt clip).
4
.
Install external headphones / microphone (optional separately)
Open the headset cover, the headset plug into the headset hole will be
ok. When you do not need to use the headset, unplug the headset plug
from the earphone jack and cover the earphone cap. When not using
the universal interface, please cover the dust cover.
LED Indicators
This product has LED indicators so you can easily grasp the current
operating state.
Power on and off
To turn on the power, turn the [Power Switch / Volume Control] knob
clockwise until you hear a "click" sound and a short beep sounds. To
turn off the radio, turn the knob counterclockwise until you hear a click.
1.If the voice prompt is turned on,When power on or switching channels
of voice prompt channel information.
2.If the voice prompt is turned off,There will be no voice prompt.
Volume adjustment
Turn on the power, turn the [Power Switch / Volume Control] knob
clockwise to increase the volume of voice reception, and turn
counterclockwise to reduce the volume of voice reception.
●
Selecting Zone
Zone is a channel group in which you can include channels with the
same attributes (such as call type, digital mode and analog mode) in a
zone, which makes it easy for you to manage existing channels.
The unit supports up to 250 regions, and each region contains up to 64
channels.
●
Select through the programming button:
If the dealer has set the [Zone Up] and[Zone Down] shortcut, you can
press the shortcut to switch to the desired region.
Walkie-talkie should retain at least one area, and each area
should retain at least one channel.
●
Digital and analog channel switch
Each channel in this product can be configured by the dealer as either
an analog channel or a digital channel. If the current region contains
digital channels and analog channels, you can switch channels to
analog channels or digital channels.
●
ID Select channel, user ID, group call ID
After power on, if you have more than one region in the radio, select the
desired region and turn the Channel knob to select the desired channel,
user alias or ID, or the group alias or ID.
●
Receive and reply group calls
To receive a call from a user group, the transceiver must be configured
to belong to the talk group.
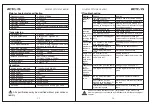
1.When receiving a group call,The LED indicator light is green.
2. Hold the walkie talkie in its upright position and at a distance of 1 to 2
inches (2.5 to 5.0 cm) from the mouth. If the function of "channel leisure
prompt sound" is enabled, when the release the [PTT] key, you will hear
a short prompt sound, indicating that the channel is leisure and waiting
for your reply.
3.Press
【
PTT
】
key to reply the call, The LED indicator light is red.
11
12


