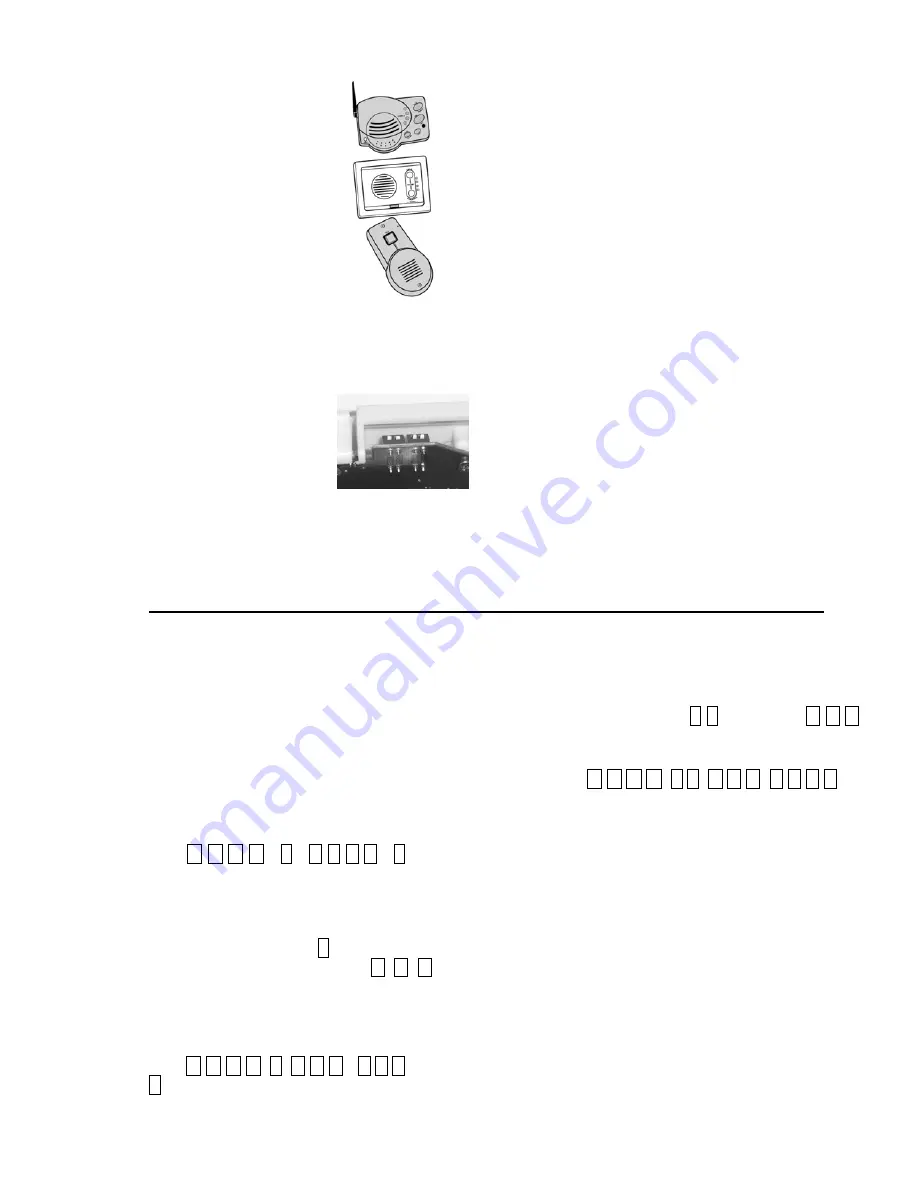
ORACLE INTERCOM SETTINGS
Intercom Gate Status Display
If the Intercom’s Gate Status Display
feature is enabled, after pressing the
REMOTE button for three seconds,
the Channel lights will display the
Gate’s status. All four channel lights
will illuminate when the gate is
closed. The #1 and #4 lights are
illuminated, to show that the gate is
open. If no channel numbers are lit,
there is no link to the Gate Controller
or the Gate Status Check is disabled.
To enable the Gate Status display:
−
−
On a Wall Mount Intercom, place Dipswitch
#4 in the UP position.
On a Portable Intercom, switch Dipswitch
#1 to the UP position.
−
−
−
−
−
Flush-Mount Intercom Settings
The Flush–Mount Intercom can be
set to control any one of four gate
controllers. The default setting is
ON (
towards the circuit board).
sw1&2
select which gate controller the Intercom will
activate. Default is ID #1 (both switches
ON
).
sw3
is
ON
for secure mode,
OFF
for intercom
conference mode.
sw4
is
ON
to disable Gate Status Checking and ON,
to display Gate Status.
Portable Intercom Settings
Portable Intercom units are intended to be an add-on
accessory with limited function and can only control
the Primary Gate Controller (#1). The default setting is
ON (
towards the circuit board).
sw1 is
ON
to disable Gate Status Checking and
OFF
to
display Gate Status.
sw2 is
ON
for secure mode,
OFF
for intercom
conference mode (see the Portable Intercom manual
for details).
−
−
MiniGate Settings
When used with a Gate Access Panel, the MiniGate unit
must be placed in Multi-GAP mode and will become an
accessory with limited function (See
Multi-GAP Mode
).
sw1 is
ON
for Master Mode (used by itself, with no
GAP) and
OFF
to be used with a Gate Access Panel.
sw2 in Multi-GAP mode, the
ON
position will activate
Gate Controller #2 and
OFF
activates GCU #3 (See
Multi-GAP Mode
).
1 2 3 4
PIN CODES
User-Level PIN Codes
The gate system can support up to 50 PIN numbers,
for other users. To add an additional PIN, enter
your
Master PIN
followed by
9
. You will then hear
a tone, prompting you to enter a new user-level
PIN number. To limit the new PIN to a single Gate
Controller, enter the PIN followed by the Gate
Controller ID (1-4) that it will access, resulting in a
five digit PIN. The Gate Access Panel will give a
single beep as the new PIN code is accepted.
Example:
Enter
M M M M 9
U U U U 2
(MMMM is the Master PIN, 9 enters ‘Add
New PIN’ mode, UUUU is the PIN for the
new user, that will ONLY open gate #2).
Removing a User-level PIN Code
Enter your
Master PIN
followed by
7
.
You will then
hear a tone, prompting you to enter
#
# #
followed by the
four-digit
PIN number that you
wish to remove. The Gate Access Panel will give a
double-beep in response. A wrong PIN gives a
triple-beep. You may not delete the Master PIN.
Example:
Enter
M M M M 7
#
#
#
U U U
U
(MMMM is the Master PIN, 7 enters
‘Remove PIN’ mode,
###
prompts you to
enter a PIN, UUUU is the PIN to be
removed).
Changing the Master PIN Code
To Cancel the existing Master PIN code and teach the
Gate Access Panel to use a new Master PIN code, Enter
your Master PIN, followed by
0 9
,
then enter
#
#
#
,
followed by the NEW Master PIN code. The Gate Access
Panel will give a single beep.
Example:
Enter
M M M M 0 9
#
#
#
N N N N
(MMMM is the Master PIN, 09 enters ‘Change
Master PIN’ mode,
###
prompts you to
enter a new Master PIN, NNNN is the new
Master PIN).
3


