35
Configuration of WLAN-connection
• Select “YES” on the remote control using the LEFT (5) or RIGHT (6) or the corresponding arrow buttons (16).
• Confirm the selection by pressing the rotary dial (8) or the OK button (26) on the remote control.
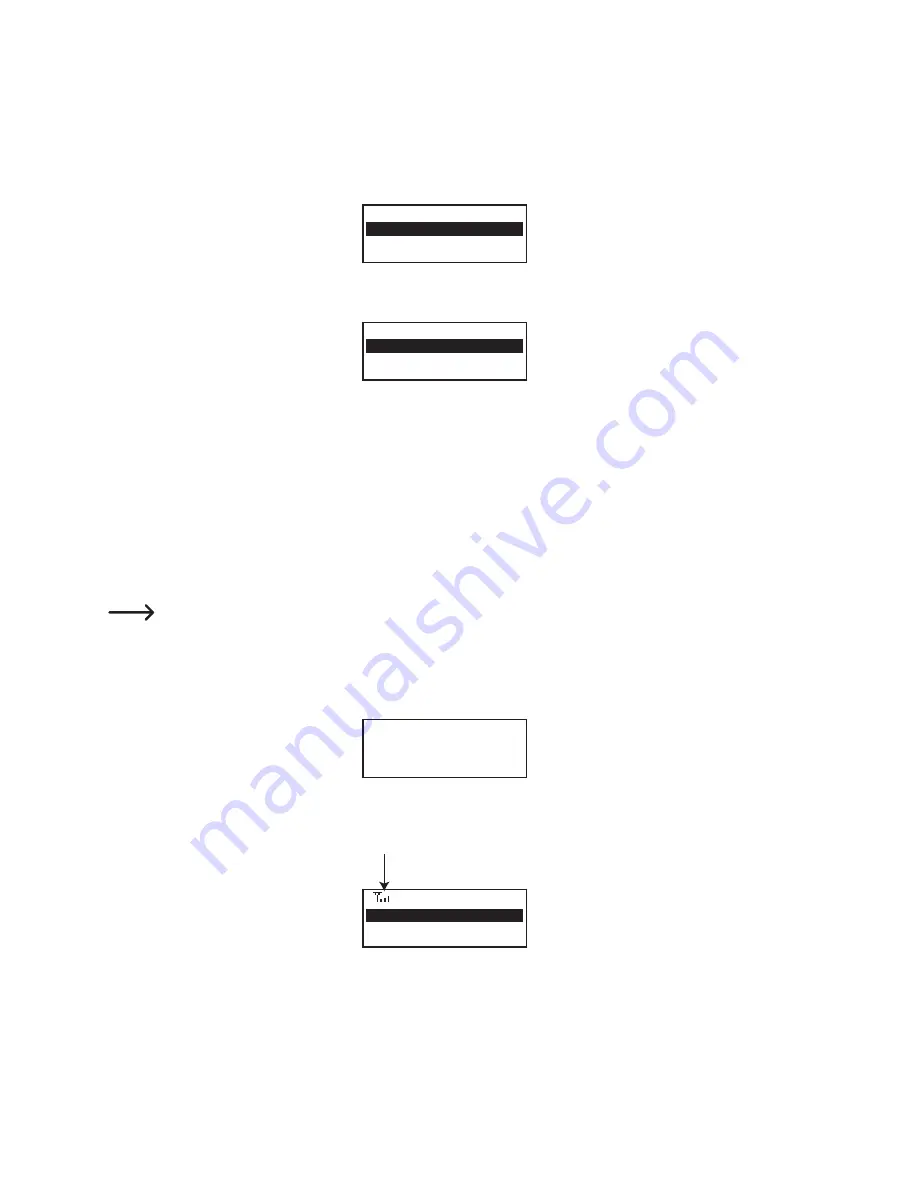
• On the next screen select “Add/Remove AP” then confirm the selection as described above.
Add/Remove AP
AP:[ ]
• On the next screen select “Add/Remove AP (Scan)” then confirm the selection as described above.
Add AP
Remove AP
(Scan)
•
The radio now searches all receivable WLAN routers in the vicinity and lists them.
• Select the desired WLAN router and confirm the selection.
•
Enter the network password of your WLAN router. Use either the 10-button keypad (14) on the remote control or
turn the rotary dial (8) to select the required numbers and characters.
•
When the desired character appears, press the RIGHT button (6) or the corresponding arrow button (16) on the
remote control to be able to enter the next character.
•
Press the LEFT button (5) or the corresponding arrow button (16) on the remote control to delete the previously
entered character.
Passwords are case-sensitive.
• When all characters have been entered confirm the network password by pressing the rotary dial (8) or the OK
button (26) on the remote control. Connection is established and the radio changes to the main menu.
• Successful connection generates the follow notification:
Association complete
•
The reception quality is shown at the top left in the display (4). The number of bars shown increases in accordance
with connection quality.
11:10 AM
My
Favourite
Internet
Radio


