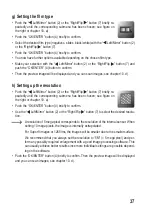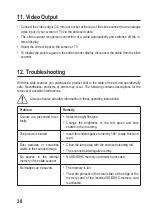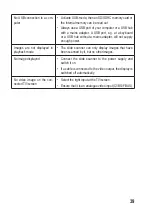
g) Setting the film type
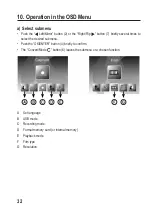
• Push the “ Left/Mirror” button (2) or the “Right/Flip ” button (7) briefly re-
peatedly until the corresponding submenu has been chosen; see figure on
the right or chapter 10. a).
• Push the “OK/ENTER” button (4) briefly to confirm.
• Select the desired film type (negatives, slides, black/white) with the “ Left/Mirror” button (2)
or the “Right/Flip ” button (7).
• Push the “OK/ENTER” button (4) briefly to confirm.
• You now have further options available depending on the chosen film type.
• Make your selection with the “ Left/Mirror” button (2) or the “Right/Flip ” button (7) and
push the “OK/ENTER” (4) button to confirm.
• Then the preview image will be displayed and you can scan images; see chapter 10. d).
h) Setting up the resolution
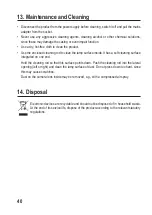
• Push the “ Left/Mirror” button (2) or the “Right/Flip ” button (7) briefly re-
peatedly until the corresponding submenu has been chosen; see figure on
the right or chapter 10. a).
• Push the “OK/ENTER” button (4) briefly to confirm.
• Use the “ Left/Mirror” button (2) or the “Right/Flip ” button (7) to select the desired resolu-
tion.
A resolution of 5 mega pixel corresponds to the resolution of the internal sensor. When
setting 10 mega pixels, the image is internally extrapolated.
For Super 8 images or 126 films, the images will be smaller due to the smaller surface.
We recommend that you always set the resolution to “5M” (= 5 mega pixel) and per-
form any possibly required enlargement with a good image processing software. This
can usually achieve better results since more individual settings are possible depend-
ing on the software.
• Push the “OK/ENTER” button (4) briefly to confirm. Then the preview image will be displayed
and you can scan images; see chapter 10. d).
37

