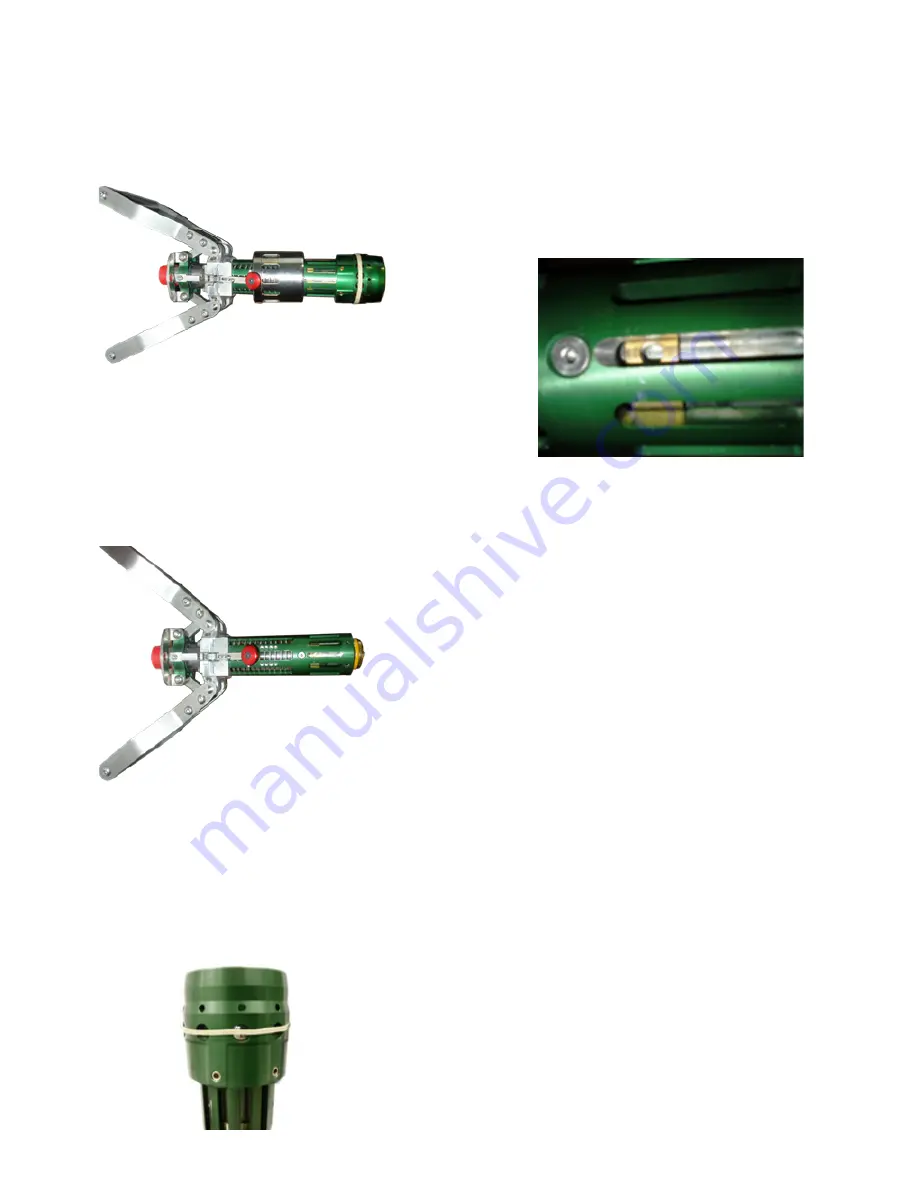
3. Remove the four pins from the stainless Sleeve using the 5/32”
Allen Wrench and store them in a safe place, these pins will be
re-used later.
4. Lower the stainless steel Sleeve so it sits on the Handle
Mounts.
5. Remove the six pins from the Ball cage using a 1/8” Allen
Wrench. Discard old pins.
6. Lift the Ball Cage off the Nozzle.
7. Lift the stainless steel Sleeve off the Nozzle.
8. Slide the new stainless steel Sleeve onto the Nozzle and set it
on the handle mounts.
9. Slide the new Ball Cage onto the Nozzle.
10. Place a rubber band around the Ball Holes to prepare to put
the balls in.
11. Place the Balls in the holes one by one by lowering the rubber
band, sliding the ball in, and then raising the rubber band back
to hold the ball in place.
12. Once all the balls are in, align the holes in the nozzle with the
holes in the ball housing and screw in the six new pins using
the 1/8” Allen Wrench. Torque to 30-40 in-lbs. Use Loctite 242
on pins.
13. Align the four holes so that they are visible through the slots in
the Nozzle.
14. Raise the Sleeve and screw the four pins (that were saved in
Step 3) into place with the 5/32” Allen Wrench. Torque pins to
145-155 in-lbs. Use Loctite 242 on pins.
15. Remove the rubber band.
9


