•
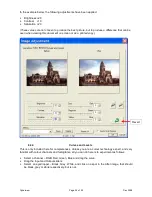
Define file type – JPG or TIF (also known as JPEG and TIFF respectively)
Most amateur photographers will choose JPG. The differences between JPG and TIF can be
researched elsewhere, but except for professionals, the differences in quality are minimal, but
a TIF file is 24 times bigger than a JPG file, i.e. a 3.5 MB JPG file would be a an 84 MB TIF file.
•
Define JPEG quality –
Good, Better
or
Best
. Approximate typical file sizes are Good = 2.5 MB,
Better = 3 MB, Best = 3.5 MB. I could not detect any difference between
Better
and
Best
,
others advise to always use Best.
•
Click OK to start the scan.
6.6 Scanning from Image Editor
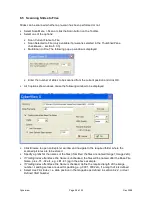
Most Image Editors have a function to “Acquire Image from Scanner”, or similar. When this
function is selected, Cyberview is listed as an image source.
To scan directly to an Image Editor:
•
Do not start Cyberview (or exit Cyberview if already active)
•
Start the Image Editor
•
Select the Image Editor function “Acquire Image from Scanner” and select Cyberview as the
source
•
The Image Editor activates the Cyberview driver. In addition to the 3 options offered when
scanning slides to file (section 6.5), the Scan Menu displays 3 additional options
•
Scan Current Frame
•
Scan Selected (only enabled if pre-scan active)
•
Multi Scan
•
Select the required option. The slide is scanned and appears as an image in the Image Editor.
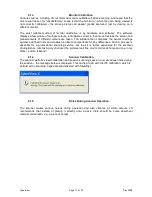
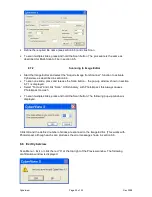
When I try this (with Ulead Photoimpact), I always get the following error message.
However, the scan is performed successfully.
6.7 Using the Scan Button on the Scanner
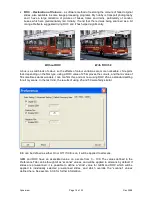
The scanner itself has 3 buttons, which from left to right are:
•
Backward One Frame – see section 5.2.2.6
•
Scan
•
Forward One Frame – see section 5.2.2.7
6.7.1
Scanning to File
•
Start Cyberview
•
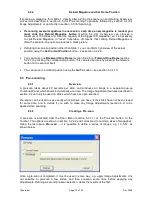
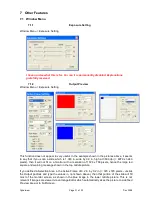
To scan one slide, press and release the Scan button – the following pop-up window is
displayed
Cyberview
Page 29 of 33
Dec 2008

