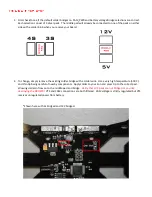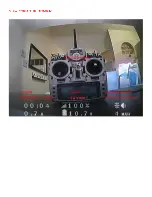
To switch between video modes hold down on the button on the right edge of the RROSD board. Keep
depressed while power up the board. Keep the button depressed for around 10 seconds until the LEDs turn
on. Release the button and unplug the battery, you have now switched modes.
The RROSD LEDS, buzzer, crosshair, timer start/stop, and Lost Model Mode are all controlled via a 3
position switch. The switch should be set to center before plugging in.
Each flip of the switch to the high position will:
Start the Timer (if it’s stopped)
Pause the timer (if it’s running)
Deactivate the crosshair
Each flip of the switch back to center will:
Reactivate the crosshair
Each flip of the switch to the low position will:
Cycle through 3 modes: Activate LEDs full on
Activate Lost Model Mode (strobe lights and
buzzer)
LEDS and buzzer deactivated
To enter into the menu of the RROSD, power up the board and hold down on the button on the right edge
of the RROSD board within 3 seconds of powering up. Keep it depressed until the menu appears in your
view then release.
To navigate through the menu single click the button to move down an option. Long press to select an
option.
RSSI Calibration: To calibrate your RSSI reading, select the high reading with your radio and receiver
powered on and nearby. Flip off the radio and select the low reading to calibrate the bottom signal range.
*The reading you will see on the OSD is the true received strength of the signal (more accurate and
different from a 2 way telemetry signal being sent from a receiver)
Display RSSI: 0 = off, 1 = on.
Text Align: Shifts the RROSD horizontally if you need to adjust it for any reason.
Set Alarms: Allows you to set both a voltage and mAh consumption alarm. This will cause the respective
indicator to blink on screen when the desired value is reached.
Exit: Exits the Menu
Содержание STRIDER 250
Страница 1: ...STRIDER 250...
Страница 2: ......
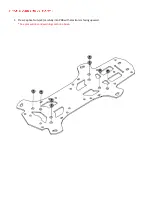
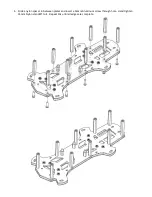
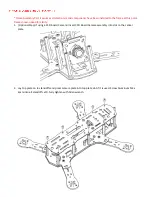
Страница 9: ...2 Lay Nylon M3 x 12mm x4 flat and insert through bottom plate Top with Nylon M3 x 3mm Spacer x4...
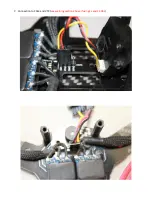
Страница 16: ...7 Connection to CAM and VTX see warning section above if using 4s and 1 3Ghz...
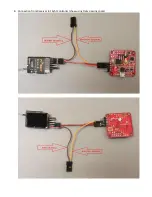
Страница 17: ...8 Connection from Receiver to Flight Controller show using Frsky passing cppm...
Страница 22: ......
Страница 25: ......
Страница 26: ...Coming soon...

