Redpine Signals, Inc. Proprietary and confidential
Page 18
R
R
S
S
9
9
1
1
1
1
0
0
-
-
N
N
-
-
1
1
1
1
-
-
2
2
2
2
/
/
2
2
4
4
/
/
2
2
6
6
/
/
2
2
8
8
–
–
S
S
e
e
l
l
f
f
-
-
C
C
o
o
n
n
t
t
a
a
i
i
n
n
e
e
d
d
W
W
L
L
A
A
N
N
M
M
o
o
d
d
u
u
l
l
e
e
s
s
w
w
i
i
t
t
h
h
N
N
e
e
t
t
w
w
o
o
r
r
k
k
i
i
n
n
g
g
S
S
t
t
a
a
c
c
k
k
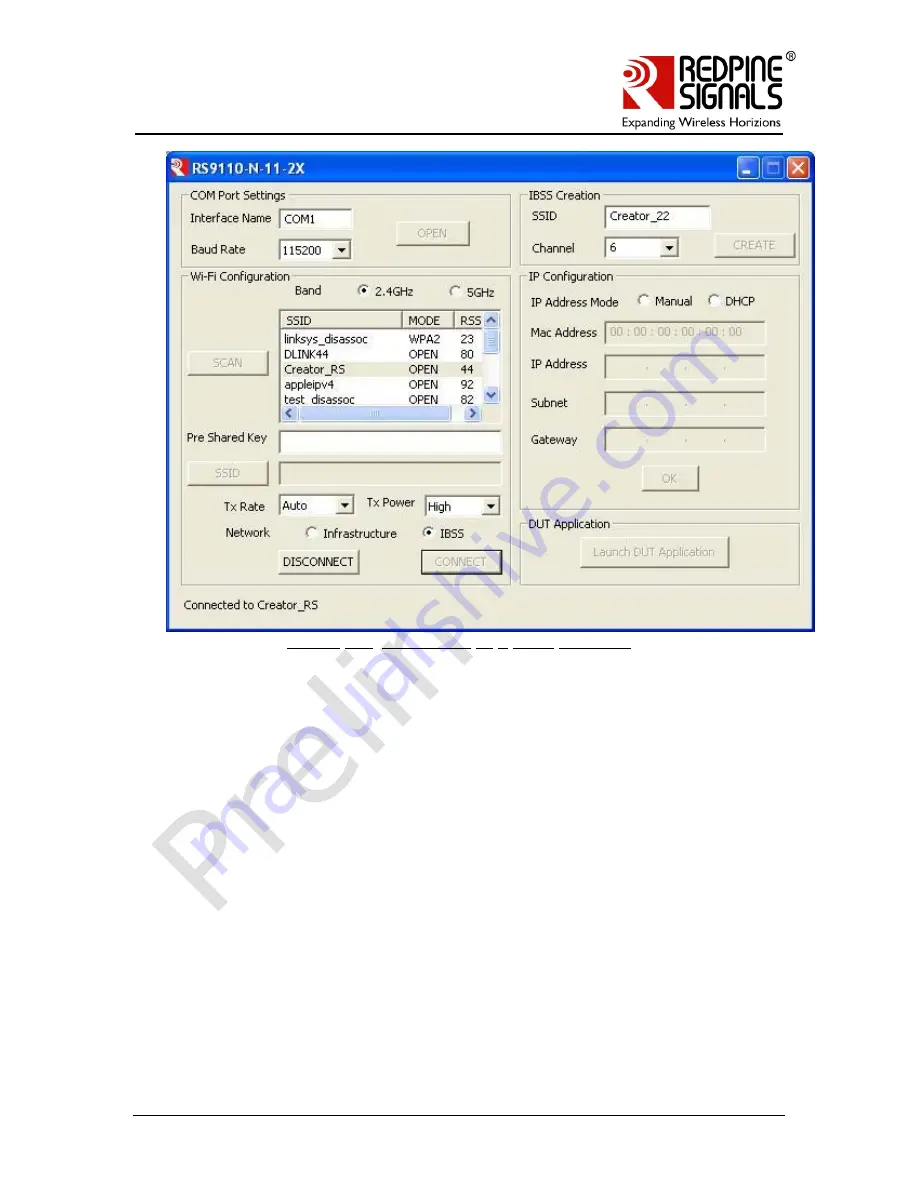
Figure 10:
Connected to a IBSS Network
2.2.5:
Connect to a Hidden Access Point
To connect to a hidden Access Point whose SSID is known, the following steps
are to be followed:
1.
Click the “SSID” button.
2.
Enter the SSID in the adjacent text field.
3.
If security is enabled, enter the Pre Shared Key.
4.
Click the “CONNECT” button to connect to the Access Point.
2.2.6:
Creating a IBSS Network
To create an IBSS Network, the following steps are to be followed:
1.
Enter the network name (SSID) in the “IBSS Creation” section of the GUI.
2.
Select the Channel in which you the IBSS Network is to be created.
3.
Click on the CREATE button to start the network.
4.
The status of creation is displayed in the GUI as shown in the figure
below.


