Page 7
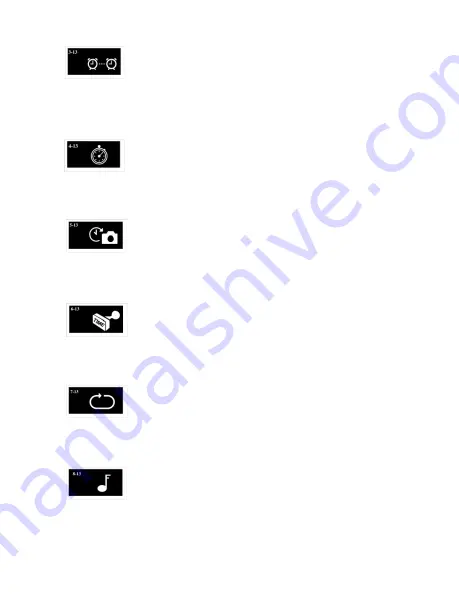
3-13 Operation Schedule (Default is OFF)
4-13 Time Lapse Setting (Default is OFF)
5-13 Trigger Delay (Default is OFF)
6-13 Picture Stamp (Default is ON)
7-13 Surveillance Mode (Default is OFF)
8-13 Camera Button Sound (Default is ON)
Press Button 2 to enter then press Button 1 to select ON or OFF.
When ON is selected Button 2 will enter the time entry screen.
Use Button 1 to set the hours, minutes and seconds that is
desired for turning the camera operation on and off. Button 2
will save and exit to the Features Menu.
Press Button 2 to enter then press Button 1 to select ON or OFF.
When ON is selected Button 2 will enter the time entry screen.
Use Button 1 to set the hours, minutes and seconds that is
desired for automatically taking pictures. Button 2 will save and
exit to the Features Menu.
Press Button 2 to enter then press Button 1 to select ON or OFF.
When ON is selected Button 2 will enter the time entry screen.
Use Button 1 to set the hours, minutes and seconds that is desired
for the delay between pictures. Button 2 will save and exit to the
Features Menu.
Press Button 2 to enter then press Button 1 to select ON or OFF.
When ON is selected the Name of the camera (if entered per 1-7
above), battery condition, moon phase, temperature, date, and
time will appear at the bottom of each picture. Button 2 will save
and exit to the Features Menu.
Press Button 2 to enter then press Button 1 to select ON or OFF.
When ON is selected the oldest picture will be deleted from a full
memory card. This allows the latest picture to be stored for
maintaining surveillance. Button 2 will save and exit to the
Features Menu.
Press Button 2 to enter then press Button 1 to select ON or OFF.
When ON is selected there will be an audio beep when a button
on the camera is pressed. Button 2 will save and exit to the
Features Menu.
Содержание HS100 Series
Страница 1: ...HS Series 100 User s Manual ...


