Chapter 1: Software Setup
12
3.
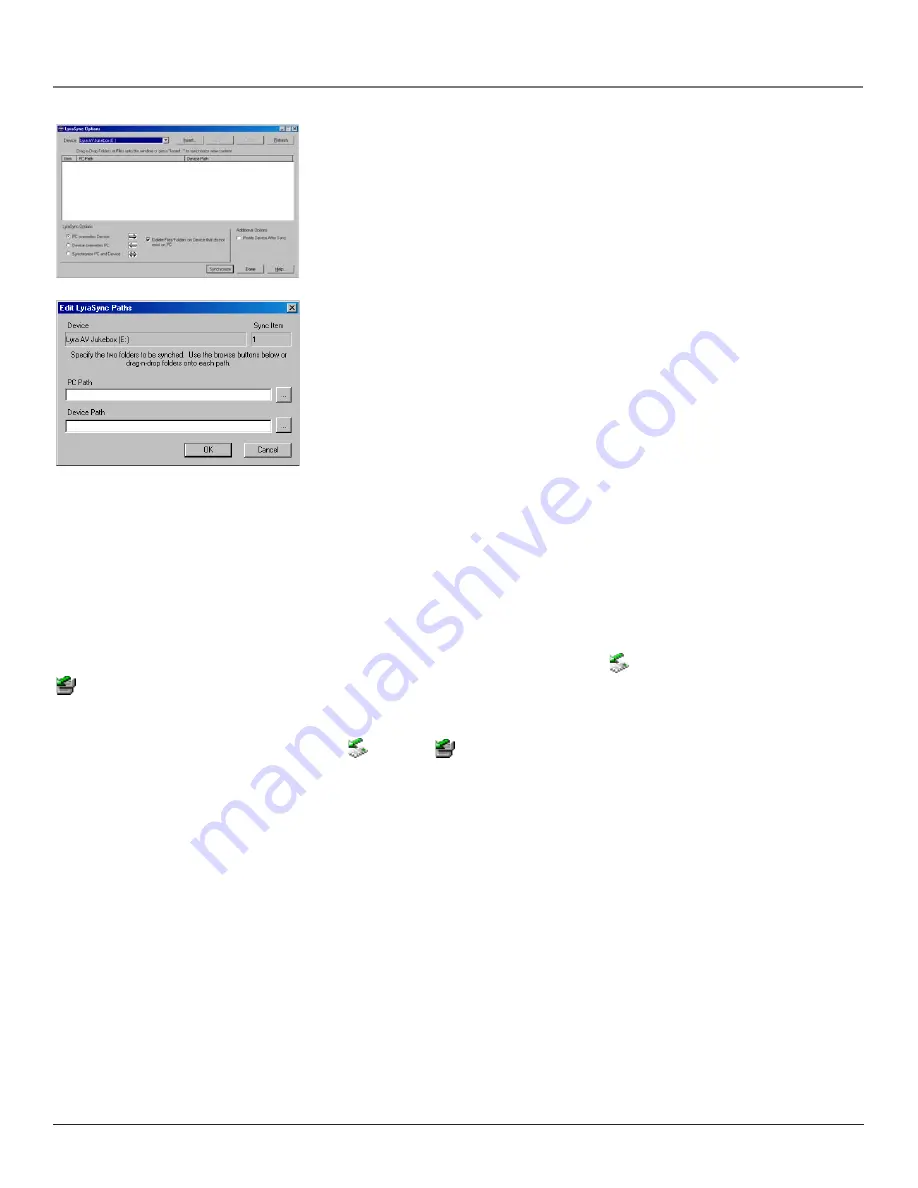
The
LyraSync Options
screen appears.
4.
Click
Insert
to select the paths of files and folders to synchronize
between your PC and the
Device. Click
OK
.
5.
Select the desired LyraSync direction.
• PC overwrites Device
• Device overwrites PC
• Synchronize PC and Device
6.
Click
Synchronize
to start.
Transferring Files to Lyra AV Jukebox
You can transfer files to your Lyra AV Jukebox via MusicMatch Jukebox or Windows Explorer. For more information on
transferring Video files, go to page 19. For more information on transferring Audio files, go to page 23. For more
information on transferring Photo files, go to page 27.
Disconnecting Your Lyra from the Computer
Windows Users
Before disconnecting your device, to ensure there is no loss of data, from the System Tray, left click on the
icon (or the
icon in Windows 98SE/Me) and select
Unplug or Eject Hardware
(the
Unplug or Eject Hardware
screen appears). Select
the drive(s) corresponding to your Lyra player and click Stop.
The
Stop a Hardware Device
screen appears. Select the device to be stopped again for confirmation and click OK. You can
also stop your Lyra AV Jukebox by right clicking on the
icon (or the
icon in Windows 98SE/Me) from the system
tray and selecting the drive(s) corresponding to your player.
Mac Users
From the Desktop, drag the mounted volume icon(s) associated with the Lyra AV Jukebox into the trash folder.
Note:
If CompactFlash is connected, two volumes will be available on the desktop.
You can also select the Eject option for the mounted volume(s) associated with the device to ensure the device is properly
put away before being disconnected.


