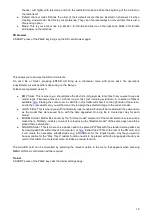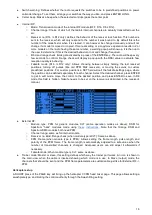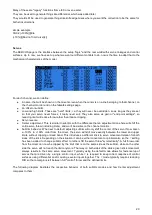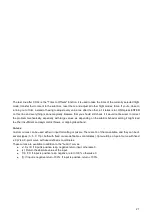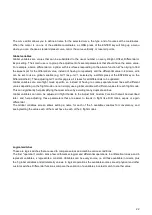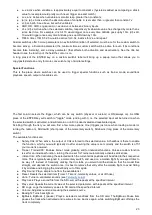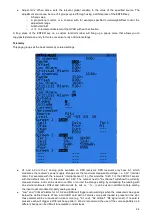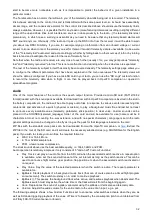
As many lines as required can be assigned to each stick (LONG press ENTER brings up a popup menu to
insert/delete lines), and again the first one that has its switch on (starting from the top) will be the active one. This
is commonly used to create dual, triple,... rates. A name can be defined for each entry, as well as the rate and
exponential ratio. A curve (built-in or custom) can also be used instead of the "simple" exponential function.
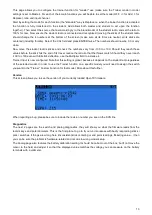
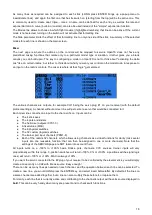
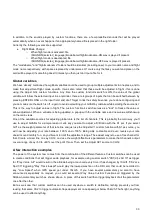
The Modes line allows to choose in which flight mode(s) (highlighted numbers) that line can be active. If the current
mode is not selected, turning on the switch will not activate that formatting line.
The Side parameter limits the effect of that formatting line to only one side of the stick. A summary of the selected
modes for each line is shown on the main screen.
Mixer
The next page is where the actions on the controls will be mapped to servos. OpenTX does not have any
predefined mixing functions that relate only to a particular model type or situation, it rather gives you a blank
canvas you can build upon. The key to configuring a model on OpenTX is not to think about "activating the delta
mix" like on certain radios, but rather to think about what you want your control on the model to do in response to
an input on the radio's controls. The mixer is where all that "logic" gets entered.
The various channels are outputs, for example CH1 being the servo plug #1 on your receiver (with the default
protocol settings). A channel without a mixer line will just center a servo that would be connected to it.
Each mixer line connects one input to the channel it's on. Inputs can be:
●
The 4 stick axes
●
The 4 pots and sliders
●
The heli mixer outputs (CYC1-3)
●
A fixed value (MAX)
●
The 8 physical switches
●
The 32 custom (logical) switches
●
The trainer port input channels (PPM1-8)
●
Each of the radio's 32 channels, which allows using channels as a virtual functions for clarity (mix several
inputs into one reuseable function, that can then be assigned to one or more channels). Note that the
settings of the SERVOS page are NOT taken into account there.
All inputs work on a -100% to +100% basis. Sticks, pots, channels, CYC sources, trainer inputs will vary
proportionally within this range. 3-position switches will return -100%, 0% or +100%. 2-position switches (and logic
ones) will return -100% or +100%. MAX is 100%.
If you want the servo connected to the #2 plug of your receiver to be controlled by the elevator stick, you will simply
create a mixer entry on CH2 with Ele as source. Easy enough!
There can be as many lines as needed on each channel, and the operation between each line can be selected. To
create a new line, you would LONG press the ENTER key, and select insert before/after. By default all the lines on
a same channel are added together, but a line can also multiply those before it, or replace them.
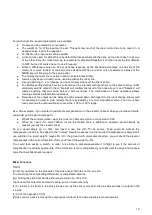
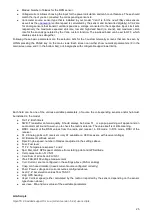
For clarity, each line that is currently active and contributing to the channel's output will have its source displayed in
bold. This can be very handy when many are present and to check switch functions.
18

