9
1-877-519-9090
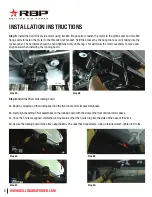
Step 7
: Now that the running board is installed, go back and tighten the hardware on the Driver Side front and rear motor
assemblies. Using a torque wrench, tighten the mounting hardware to 18 ft-lbs.
Step 8
: Repeat steps 2-7 to install the motor linkage assemblies and running board on the Passenger Side.
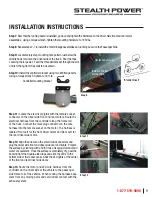
Step 9:
Locate factory step mounting hole pattern just below the
middle body mount on the driver side of the truck. Peel the tape
covering the large slot. Feed the threaded bracket through the slot
and let it hang from the small tab as shown.
Step 10:
Install the controller bracket using two M8 flange bolts.
Using a torque wrench, tighten to 18 ft-lb.
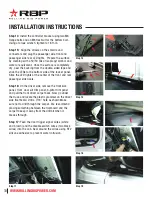
Step 11:
Locate the electrical pigtail with the female socket
connector on the driver side front and rear motors. Route the
electrical harness from the controller along the frame rail
of the truck. Connect the male plug connector on the wire
harness into the female socket on the motor. The harness is
labeled Front Left for the front Driver motor and Rear Left for
the rear driver side motor.
Step 12:
Align the arrows on the small round connectors and
plug the driver side front and driver side rear LED lights. Prepare
the surface by cleaning with a 50/50 mix of isopropyl alcohol and
water or equivalent. Once the surface is completely dry, peel the
backing from the double-sided tape and stick the LEDs to the
bottom side of the rocker panel. Stick the LED lights at the center
of the front and rear driver side doors.
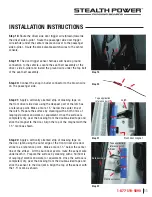
Step 13:
Route the motor and LED wire harness from the
controller on the driver side of the vehicle to the passenger
side frame rail of the vehicle. When routing the harness keep
clear from any moving parts and avoid direct contact with the
exhaust system.
INSTALLATION INSTRUCTIONS
Step 9
Install controller
bracket here
Center body mount
threaded insert
Controller mounting bracket
Step 11
Step 12


