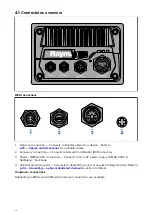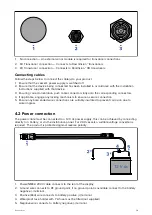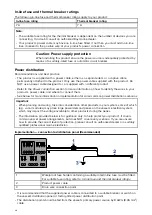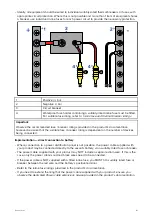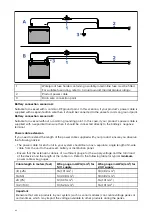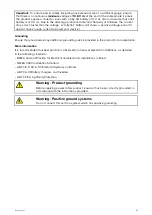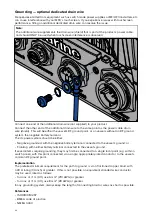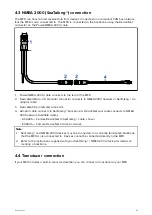
3.5 Surface or flush mounting using the Rear Mount Kit
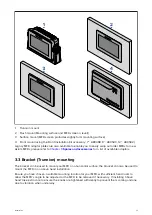
When suitable access is available behind the desired mounting surface then the MFD can be surface
or flush mounted using the Rear Mount Kit.
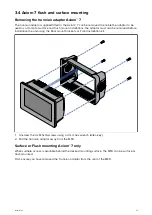
For Axiom™ 7 MFD, supplied with the trunnion adaptor fitted, first remove the Trunnion adaptor from
the rear of the MFD.
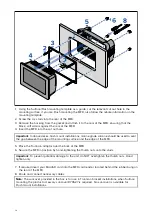
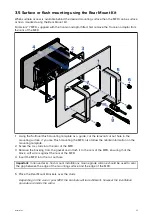
1. Using the Surface/Flush mounting template as a guide, cut the relevant cut out hole in the
mounting surface, if you are Flush mounting the MFD, also follow the rebate information on the
mounting template.
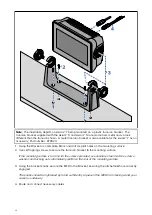
2. Screw the 4 x studs into the rear of the MFD.
3. Remove the backing from the gasket and attach it to the rear of the MFD, ensuring that the
black, soft side is against the rear of the MFD.
4. Insert the MFD into the cut out hole.
Important:
In above decks, flush mount installations, marine grade silicone should be used to seal
the gap between the edge of the mounting surface and the edge of the MFD.
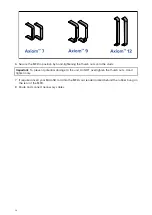
5. Place the Rear Mount Brackets over the studs.
Depending on the size of your MFD, the brackets will look different, however the installation
procedure remains the same.
35
Содержание axiom 12
Страница 1: ...2020 Raymarine UK Limited 87298 3 Document number 01 2020 Date English en US Installation instructions...
Страница 2: ......
Страница 4: ......
Страница 8: ...8...
Страница 12: ...12...
Страница 52: ...52...
Страница 80: ......
Страница 83: ......
Страница 84: ...FLIR Belgium BVBA Luxemburgstraat 2 2321 Meer Belgium Tel 44 0 1329 246 700 www raymarine com a brand by...


