Chapter 7
134
Envizio Pro and Envizio Pro II Installation and Operation Manual
3.
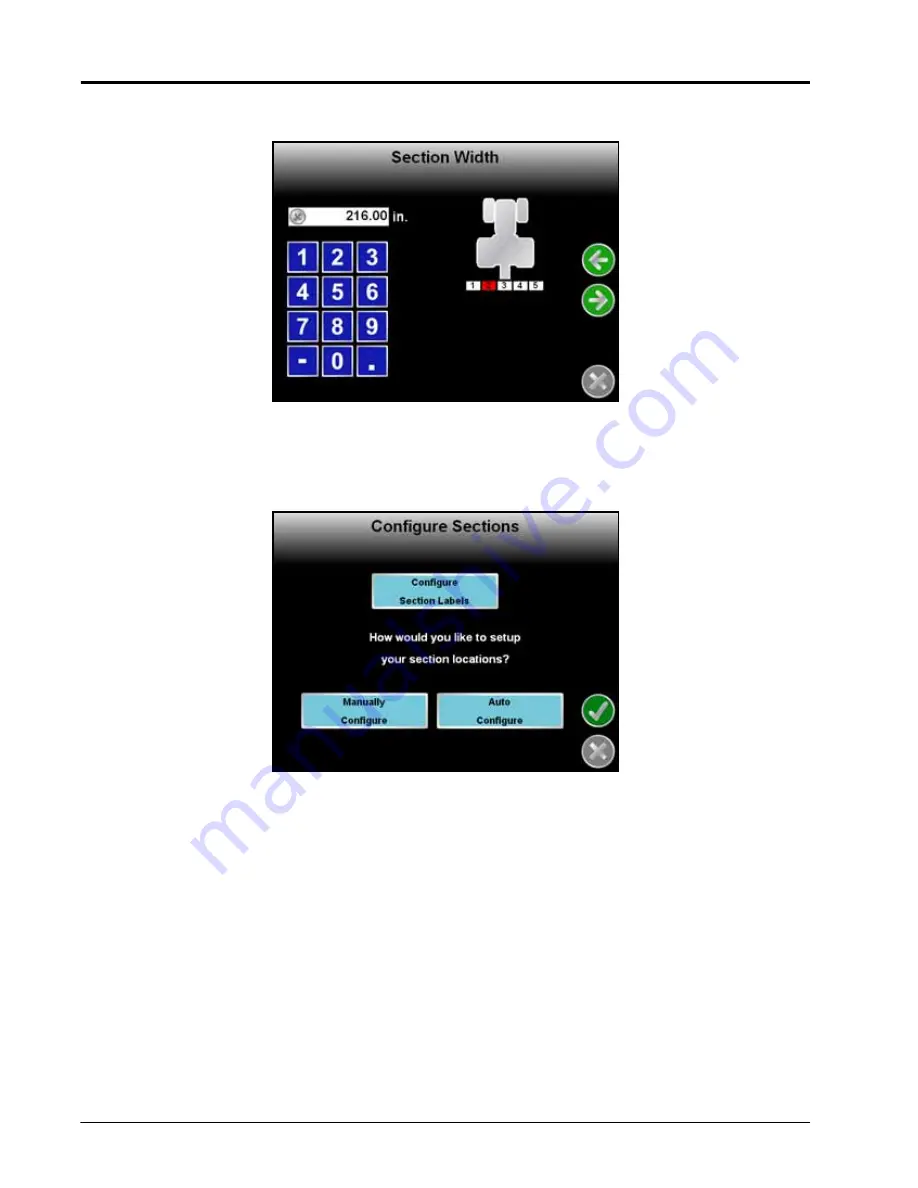
Configure the width of each section starting with the far left section. Use the on-screen keypad to enter the
section width.
Touch the Next icon to accept the entered value and advance to the next section to the right. To skip a
section, enter a value of zero as the section width.
4.
Repeat Step 3 until widths have been entered for all sections. Touch the Next icon on the last Section Width
screen to advance to the Configure Sections screen.
5.
Touch the Configure Section Labels button to edit the section labels displayed on the field computer.
The Manual and Auto Configure buttons on the Configure Sections screen allow the operator to select the
preferred method for configuring boom or implement sections.
Содержание Envizio Pro
Страница 1: ...Software Version 3 2 Envizio Pro Envizio Pro II Installation Operation Manual...
Страница 36: ...Chapter 3 26 Envizio Pro and Envizio Pro II Installation and Operation Manual...
Страница 148: ...Chapter 7 138 Envizio Pro and Envizio Pro II Installation and Operation Manual...
Страница 158: ...Chapter 8 148 Envizio Pro and Envizio Pro II Installation and Operation Manual...
Страница 174: ...Chapter 9 164 Envizio Pro and Envizio Pro II Installation and Operation Manual...
Страница 178: ...Chapter 10 168 Envizio Pro and Envizio Pro II Installation and Operation Manual...
Страница 184: ...Chapter 11 174 Envizio Pro and Envizio Pro II Installation and Operation Manual...
Страница 210: ...Appendix D 200 Envizio Pro and Envizio Pro II Installation and Operation Manual...
Страница 230: ...Index 220 Envizio Pro Envizio Pro II Installation Operation Manual...


