EMX Quick Setup Guide
5
QSG-EMX-1A-v3.3.10-E
255-80-6106-00 RoHS
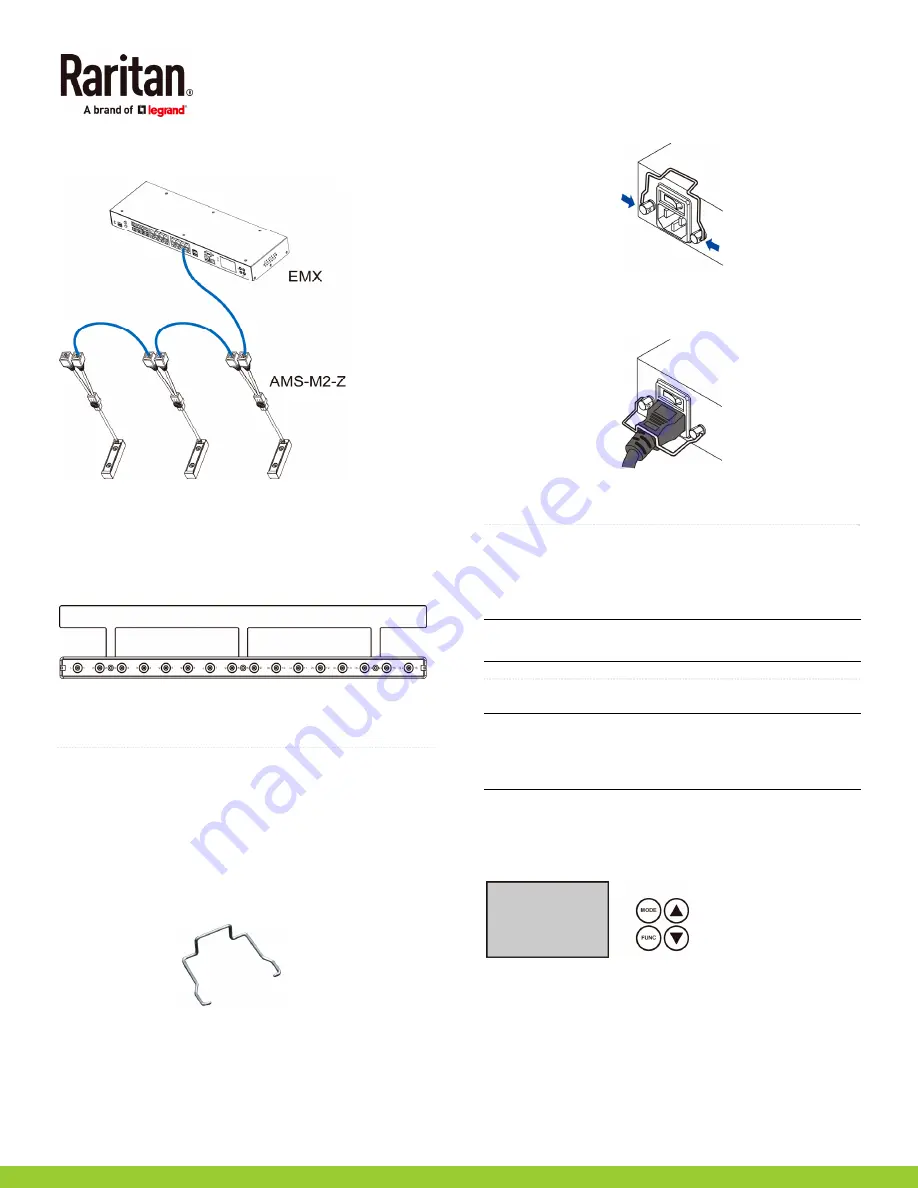
Composite asset strips can be daisy chained as shown
below.
Blade extension strips:
For blade servers, which are contained in a single chassis,
you can use a blade extension strip to track individual
blade servers.
A blade extension strip contains 4 to 16 tag ports. Below
shows a blade extension strip with 16 tag ports.
The blade extension strip is connected to a tag port on a
regular or composite asset strip via a Raritan's tag
connector cable.
QS Rule
Connecting the EMX to a Power Source
If your EMX device is designed to use a cable retention clip,
install the clip before connecting a power cord. A cable
retention clip prevents the connected power cord from
coming loose or falling off.
The use of cable retention clips is highly recommended for
regions with high seismic activities, and environments where
shocks and vibrations are expected.
To connect the EMX to a power source:
1.
Install the cable retention clip by inserting both ends into
the tiny holes on two hexagon screws adjacent to the
power socket.
2.
Plug one end of the Raritan-provided power cord into the
power socket, and press the cable retention clip toward
the power cord until it holds the cord firmly.
3.
Connect the other end of the power cord to an appropriate
power source.
QS Rule
Connecting the EMX to Your Network
1.
Connect a standard network patch cable to the ETHERNET
port on the EMX.
2.
Connect the other end of the cable to your LAN.
Note: You can also connect to a wireless network. See
Appendix B: Wireless Configuration
(on page 9).
QS Rule
EMX Configuration
Note: If your networking environment is not the DHCP IPv4
networking environment, for example, an IPv6 network, refer
to
Appendix A: Configuration via a Connected Computer
(on
page 6) for initial configuration.
Step 1: Display the IPv4 Address
The DHCP-assigned IPv4 address is available using the front
panel display.
To display the IPv4 address:
1.
Press the MODE button to enter the Device mode,
indicated by an alphabet "d" at the top left of the display.
2.
The LCD display cycles between the four octets of the IPv4
address, indicated by "i4" at the upper right corner of the
display.
For example, 192.168.84.4 cycles in this sequence:


