Raritan EMX Quick Setup Guide
1
QSG-EMX-0I-v2.5.0
255-80-6106-00 RoHS
EMX®
Quick Setup Guide
Thank you for purchasing the EMX rack management system and asset management sensors (asset sensors). This product provides
a rack management solution that integrates both asset management and environment monitoring capabilities in the data center and
server room.
This Quick Setup Guide explains how to install and configure the EMX. For additional information on any aspect of EMX, access the
product's online help from the application GUI or on the Raritan website in the Product Online Help section
(http://www.raritan.com/support/online-help/).
For more detailed information, see the latest release notes provided by Raritan.
Package Contents
The following describes the equipment shipped with an EMX
device. If anything is missing or damaged, contact the local
dealer or Raritan Technical Support for help.
The EMX device
Power cord
Bracket pack and screws
Asset sensors (optional)
Asset tags (optional)
QS R ule
Before You Begin
Prepare the installation site. Make sure the installation area is
clean and not exposed to extreme temperatures or humidity.
Allow sufficient space around the EMX for cabling and asset
sensor connections.
QS R ule
Mounting a Zero U EMX Device
This section describes how to mount a Zero U EMX device
using L-brackets and two buttons.
To mount Zero U models using L-brackets and two
buttons:
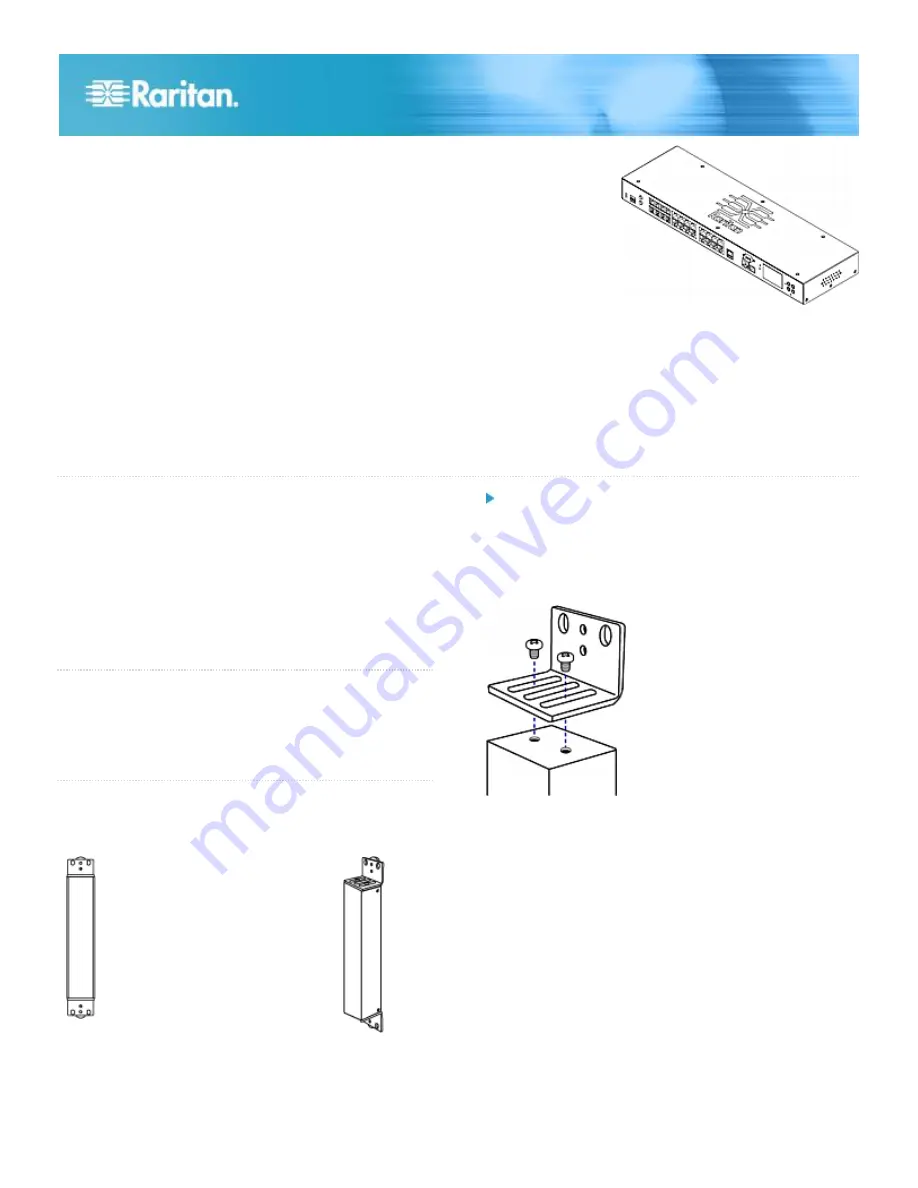
1. Align the two edge slots of the L-bracket with the two
screw holes on the top of the EMX device.
2. Screw the L-bracket to the device and ensure the bracket
is fastened securely.
3. Repeat Steps 1 to 2 to screw another L-bracket to the
bottom of the device.
4. After both L-brackets are installed on the device, you can
choose either of the following ways to mount the device in
the rack.
Using rack screws, fasten the device to the rack
through two identical holes near the edge of each
L-bracket.


