Vector Solo 65kV Applicator - Maintenance
29
AH-08-02.6
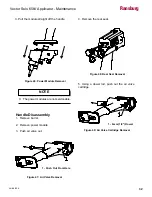
Figure 34: Second Jam Nut Replacement
3. Tighten second jam nut with raised center facing
out, while holding the needle shaft.
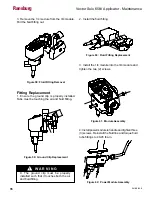
Figure 37: Rear Cover Replacement
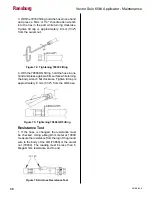
4. Install the fluid adjustment assembly along with
the air and fluid return springs.
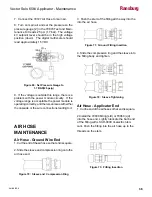
Figure 36: Fluid Line/Trigger Installation
Figure 35: Spring and Fluid Adjust Valve
Replacement
5. Install trigger and fluid line and torque fluid
tube fittings 40-45 lbs-in.
6. Reconnect the rear cover and install with
two (2) 4mm screws.
1 - Fluid Return Spring
2 - Fluid Adjustment Valve
3 - Air Valve Return Spring
Ransburg


