20
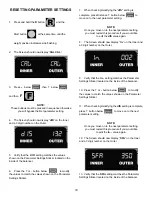
RESETTING PARAMETER SETTINGS
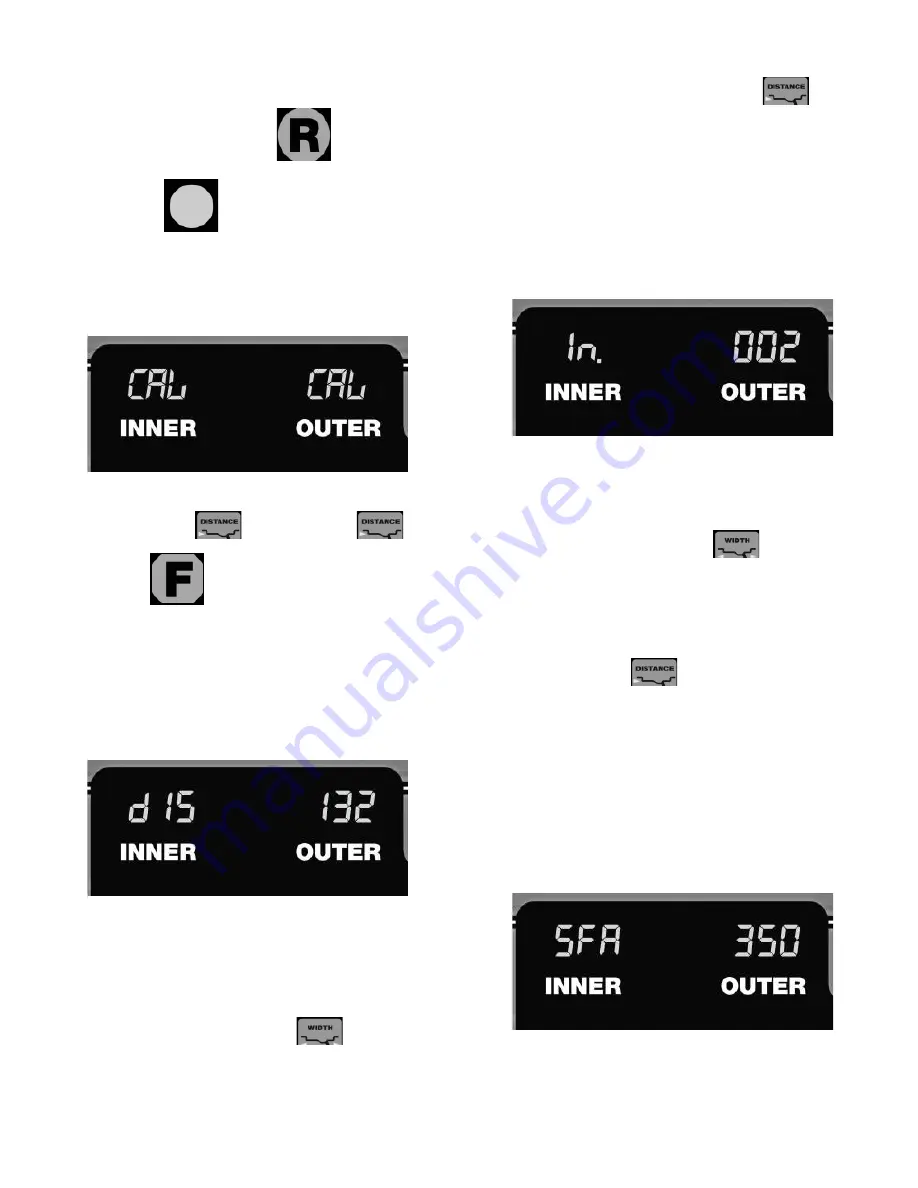
1. Press and hold the R button
and the
Start
button
at the same time until the
weight position indicators stop fl ashing.
2. The Screen should now display “CAL CAL”.
3. Press
-
, below
, then
+
below
and then
F
.
NOTE:
These buttons must be pressed in sequence otherwise
you will bypass the fi rst parameter setting.
4. The Screen should now display “dIS” on the Inner
and a 3 digit number on the Outer.
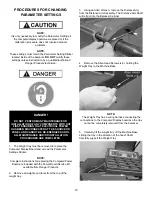
5. Verify that the “dIS’ setting matches the values
shown on the Parameter Settings Sticker located on the
inside of the balancer.
6. Press the
+
or
-
button below
to modify
the values to match the values shown on the Parameter
Settings Sticker.
7. When checking/modifying the “dIS” setting is
complete, press Distance
+
button below
to
move on to the next parameter setting.
NOTE:
Once you move on to the next parameter setting,
you must restart this procedure if you would like
to edit the dIS value again.
8. The Screen should now display “In.” on the Inner and
a 3 digit number on the Outer.
9. Verify that the In.- setting matches the Parameter
Settings Sticker located on the inside of the balancer.
10. Press the
+
or
-
button below
to modify
the values to match the values shown on the Parameter
Settings Sticker.
11. When checking/modifying the dIS setting is complete,
press
+
button below
to move on to the next
parameter setting.
NOTE:
Once you move on to the next parameter setting,
you must restart this procedure if you would like
to edit the In.- value again.
12. The Screen should now display “SFA” on the Inner
and a 3 digit number on the Outer.
13. Verify that the SFA setting matches the Parameter
Settings Sticker located on the inside of the balancer.

