MP 4 - OPERATOR’S MANUAL
1.8.2
17
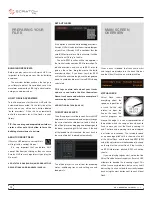
LoopInG
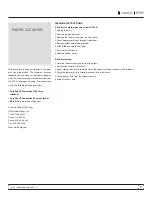
You can save up to 9 loops
per track; these loops are
saved in the file, and will be
present when you reload the track. To make a
loop, set the in-point by clicking the in button,
and the out-point by clicking the out button. To
turn the loop on or off, click the loop button. If
you want the playhead to jump to the start of the
loop when you enable the loop, hold the control
key and press the loop button.
To adjust the in-point of the loop, click the in
button. You can use the arrow keys: left arrow
to move the in-point towards the start of the
track, right arrow to move the in-point towards
the end of the track. Hold down the shift key
while pressing the arrow key to make coarse
adjustments. Click the in button again to save
the in-point. The same applies to adjusting the
out-point.
You can also use the control vinyl (or CD) to
adjust the in- and out-point. Click the in button,
then move the control vinyl. Moving the vinyl will
adjust the in-point. Once you are happy with the
new in-point, click the in button to save, and
release the control vinyl.
The control vinyl will go back to controlling
playback once the record is back up to normal
speed. Using the control vinyl to adjust loop
end points is optional — to turn this feature
off, disable the adjust loops with vinyl option
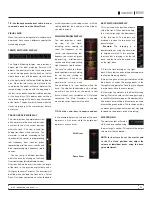
in the setup screen. There are 9 available loop
slots per track. If a loop is set in a given slot,
the background (behind the loop number) will be
green. Press the x button to clear the loop. If you
click on the locked loop symbol, a red border
will appear. This indicates the loop is locked, and
you will not be able to adjust the end points or
delete the loop until you unlock it, by clicking on
the number again.
auto LoopInG
Auto looping allows you
to create loops instantly.
If the track has a BPM
value simply click the
number of bars you wish to loop and Scratch
LIVE will create the loop for you. The loop is
snapped to the beats in the song detected by
Scratch LIVE so even if when you press the
button slightly out of time Scratch LIVE will still
create a perfect loop for you.
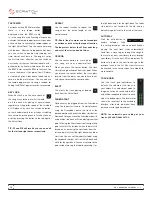
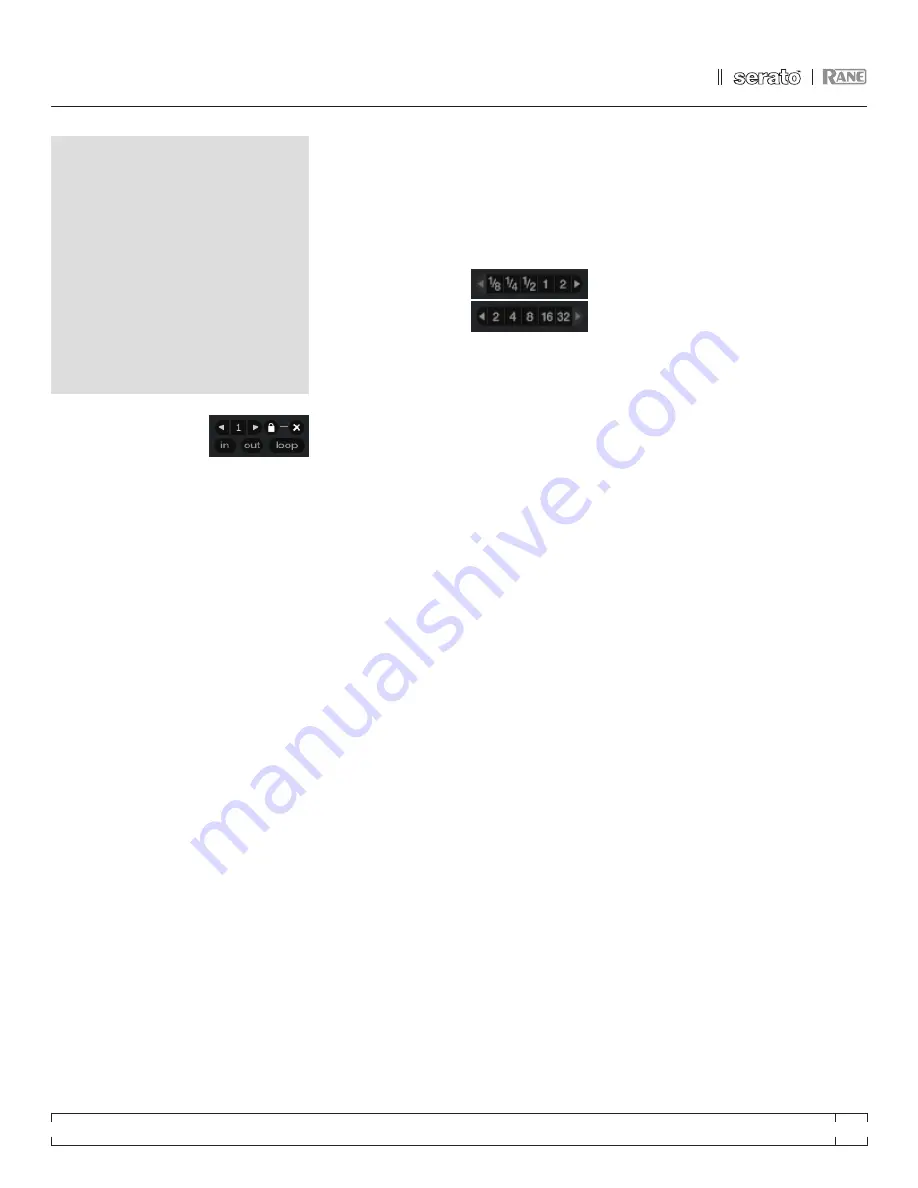
Five auto-loop buttons are available on screen
at any one time. They range from 1/8 to 32 bars.
The user can select the autoloop range with the
< and > buttons.
Pressing an auto-loop button will create a loop
start point from the nearest beat to the playhead
(within reason), and set a loop endpoint in the
future. Pressing auto-loop 1 while auto-loop
1 is active will deactivate the loop. Pressing a
different auto-loop button while looping is active
will extend the endpoint of the current loop to
the appropriate new auto-loop length.
You can also save an auto-loop to the next
available slot. When using an auto-loop, a save
button is visible where the lock loop button
normally is.
note: auto-looping requires the track bpm
to be set.
the a - SLot
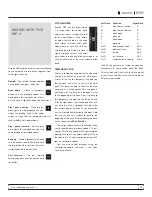
A special loop slot ‘A’ exits for auto-looping. The
act of using the auto-loop buttons sets a loop
in the ‘A’ slot, following the rules above. Turning
a loop off using the auto-loop buttons returns
you to the loop slot that you were previously in
at the time you started auto- looping. Turning
the loop off using the ‘loop’ button leaves you
in the ‘A’ slot. The ‘A’ slot is not saved to disk
automatically, pressing ‘save’ saves the loop to
the first empty slot in 1-9.
Auto-looping shortcut keys are alt-1 to 5 for
the left deck, and alt-6 to 0 for the right deck.
They correspond to the looping buttons as laid
out on screen. ie. if the onscreen buttons display
1 2 4 8 16 bar loops, alt-1 triggers 1 bar loop,
and alt-5 triggers a 16 bar loop.

