


WWW.RAISE3D.COM
AMERICA · ASIA · EUROPE
Pro2 Hotend Installation Instruction
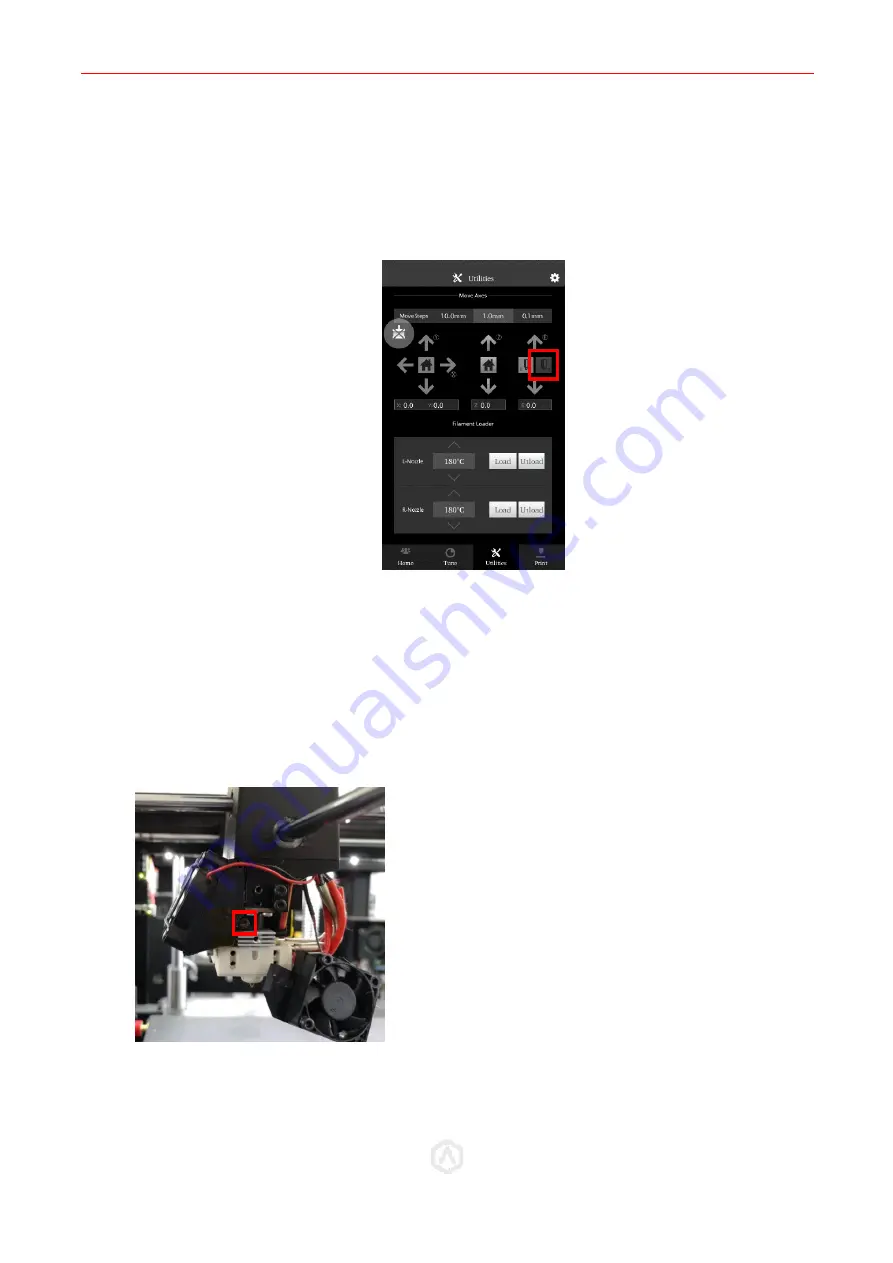
STEP 13: Right Nozzle Calibration
⚫
The left nozzle should and bed should already be in proper position before continuing.
•
From the home screen, heat the right nozzle to 180, Enable the right nozzle by pressing the
icon, then the down arrow.
•
Once the nozzle is enabled, set the temperatures to 0, and allow them to cool completely
before continuing.
•
Once the hotend has cooled completely, Inset the feeler gauge under the right nozzle and check
for proper height.
•
If the nozzle needs further adjustments, loosen the setting screw, and manually move the hotend
until it is able to come in contact with the feeler gauge.
DO NOT adjust the bed height. Adjusting the bed will affect the left nozzle, which will require
recalibration starting from step 9.
•
Tighten the screw into this position.
•
When the nozzle height is properly calibrated, power your unit off and re-install the cooling
fans.


