w w w . R A I D O N . c o m . t w
Your Data Security Guardian
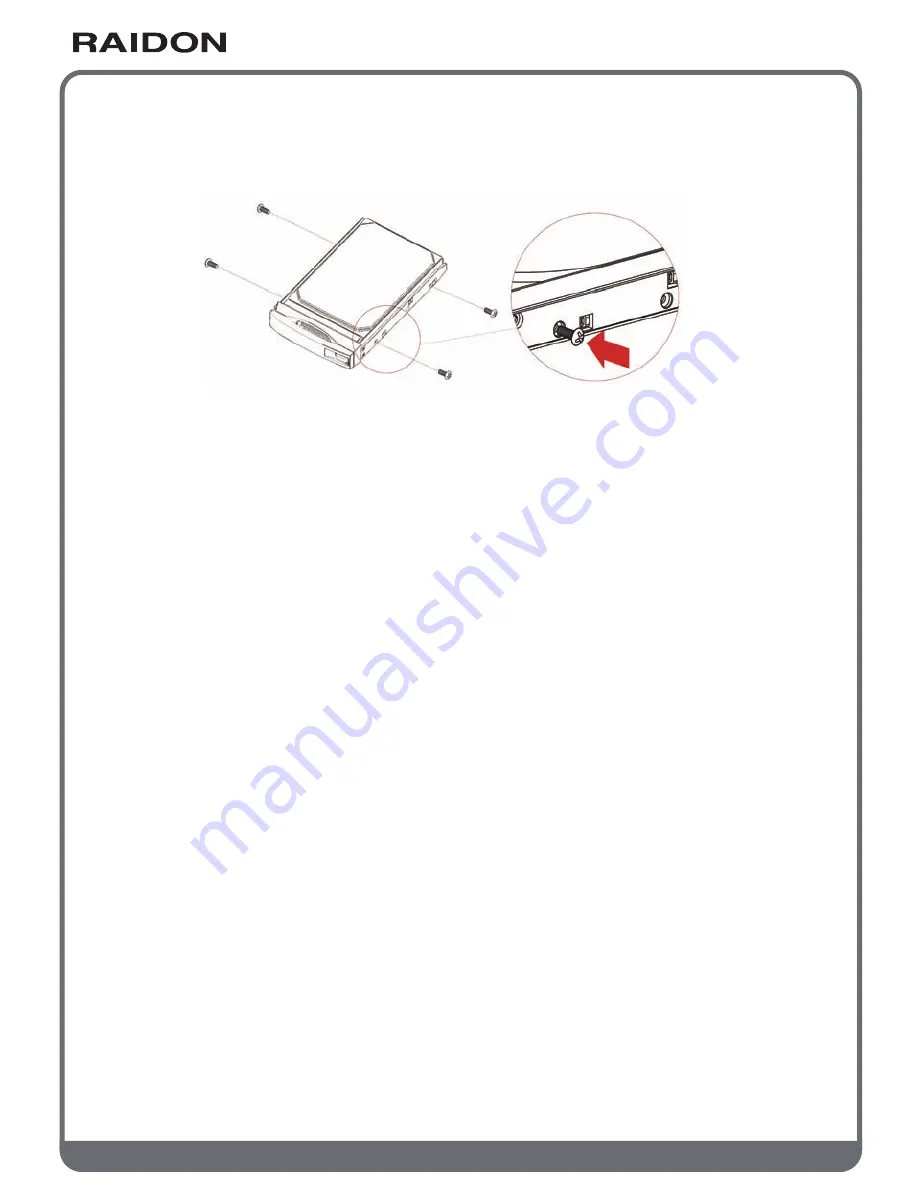
Step 3 Remove the tray and install the hard disk in it. Make sure that your hard disk is locked
with screws to the tray to avoid any damage to the hard disk caused by unexpected
movements.
Step 4 Insert the tray back into place and lock it firmly at the proper location.
Step 5 Connect your product to a Gigabit LAN through the Gigabit LAN port. Connect the power
cord.
Step 6 Power on your product for the required setup and application.
Step 7 See Chapter 3 on setting up your product for the relevant management interface.
Your SL5640 product employs a GUI for system management and setup. It takes about 1~2 minutes for
your SL5640 to start up. Your SL5640 cannot be discovered by your system before it has been started.
Step 1: Open your browser and enter the IP address
(a) To use auto IP (IP address assigned by the DHCP server):
After being connected to a local area network and powered on, the LCM displays the assigned IP
address. Open your browser and type the IP address to enter the Web GUI for setup.
You may use an IP detection utility (e.g., the SearchNAS.exe includes a CD with operating instructions
contained in Appendix D) to search for the IP address assigned to SL5640.
(b) To use static IP:
Your SL5640 product has a default IP address of 192.168.1.20. Please change the IP address of the
PC connected with your product to be in the same network segment (e.g., 192.168.1.xxx) before
opening your browser. Type in the default IP address to enter the Web GUI for setup and change the
IP address of the SL5640. See Chapter 3 on changing the IP address.
Note:
The SearchNAS.exe software contained in the CD supports the Windows system only.
Chapter 2 Initial setup


