


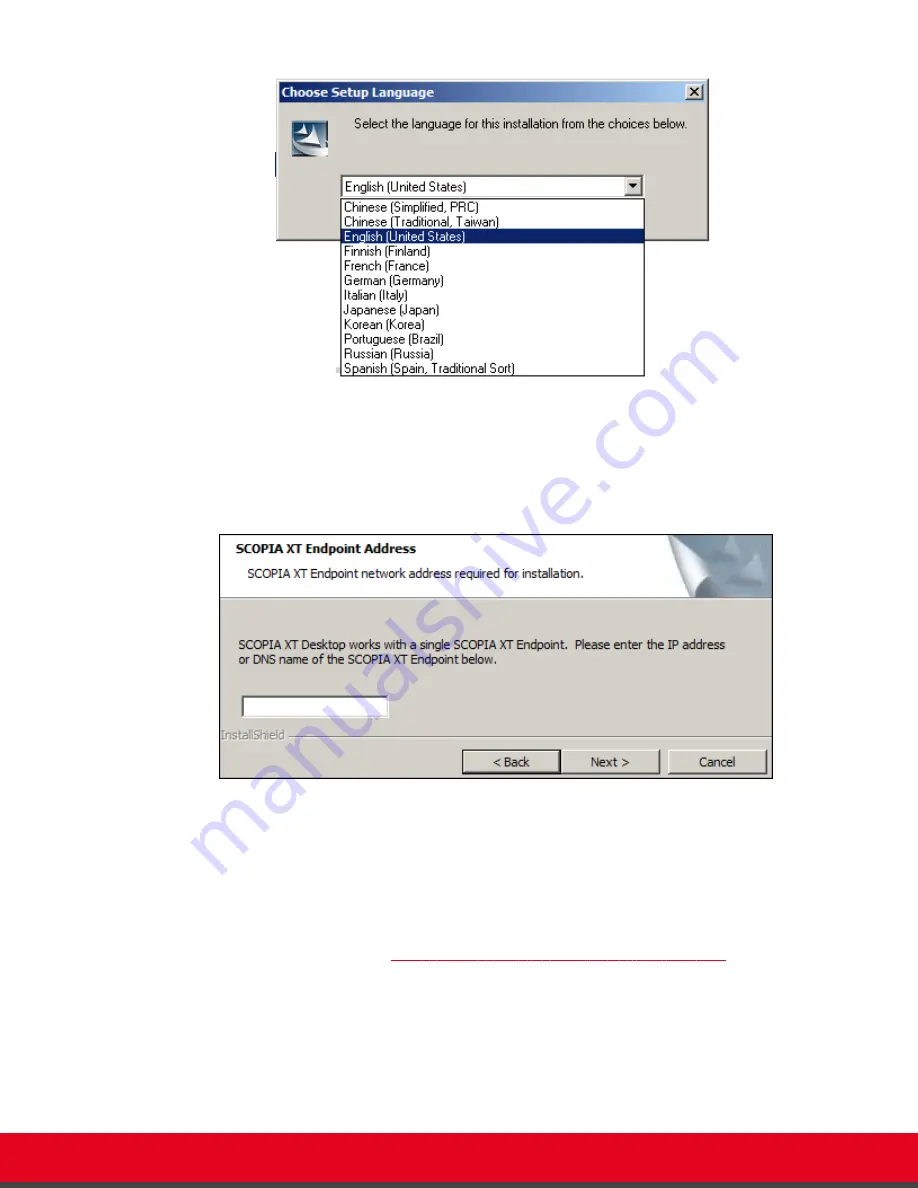
Figure 9: Choosing language for the installation
3. Select
Next
and accept the license agreement.
4. Enter the IP address or DNS name of the Scopia XT Server for IP Office which hosts videoconferences
with its built-in MCU in the
XT Server Address
window, and select
Next
.
Figure 10: Specifying the XT Server with built-in MCU
5. Change the installation folder if required, and select
Next
.
6. In the
Network Configuration
window, select the IP address used for communicating with the Scopia XT
Server for IP Office.
If the server has one NIC card, the
Network Interface
field has only one value to choose, the IP of the
NIC. For dual-NIC servers, select the network IP address pointing to the internal firewall. For more
information on dual-NIC setups, see
Deploying Scopia XT Desktop Server with Dual-NIC
on page 10
Deployment Guide for Scopia XT Desktop Server for IP Office
Version 8.2.1
Installing the Scopia XT Desktop Server | 20


