

35
•
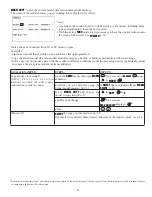
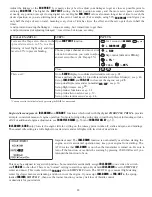
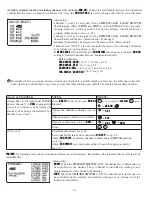
MIX
: When the
TRAINER SWITCH
is ON, the channel set to this mode can be controlled by both the student and
the instructor, controlled according to any mixing set at the instructor's transmitter. And the student's mixing rate is
adjustable. (default 30%)
[Note] However, it becomes invalid even if it sets up the channel which is not in a student's transmitter. The channel serves
as operation by the instructor's transmitter automatically.
•
OFF
: The channel set to this mode cannot be controlled by the student even when the
TRAINER SWITCH
is ON. The set
channel is controlled by the instructor only, even when the
TRAINER SWITCH
is ON.
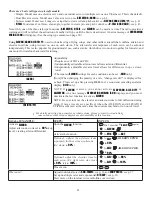
• SWITCH: controlled by spring-loaded
SWITCH
only. Not assignable.
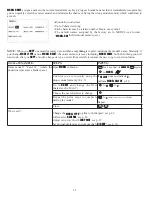
• Compatibility: The
AT10
may be master or student with any
Radiolink
transmitter compatible with the cord. Simply plug
the optional trainer cord (For
AT10
series, sold separately) into the trainer connection on each transmitter, and follow the
guidelines below.
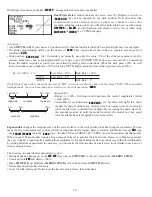
Examples:
:KHQ WKURWWOHFROOHFWLYH DUH VHW WR
FUNC
,
5-channel helicopter practice is possible
with a 4-channel transmitter.
• Set up the model in a second transmitter,
use
NORM
mode to quickly and safely check
proper operation of all functions, then allow
WKHVWXGHQWUDGLRWRIXOO\À\WKHPRGHO
• Using
NORM
mode, set lower throws,
different exponentials, even different
auxiliary channel settings on the student
radio (if it has these features).
• To ease the learning curve, elevator and
aileron may be set to the
NORM
or
FUNC
mode, with the other channels set to OFF
and controlled by the instructor.
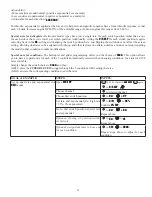
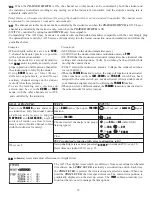
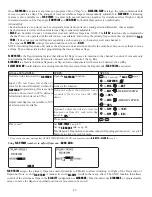
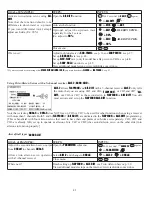
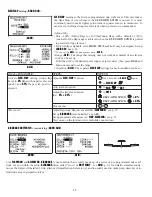
GOAL of EXAMPLE:
STEPS:
INPUTS:
Turn on the
TRAINER
system and set up
so student has: fully functional control
of aileron and elevator to support
F L A P E R O N
a n d
A I L E VAT O R
; n o r m a l
control of rudder to allow lowered
travel; and no throttle channel control
(with the instructor for safety).
Open
BASIC
menu, then open
TRAINER
function.
for 1 second.
(If
ADVANCE
,
again.)
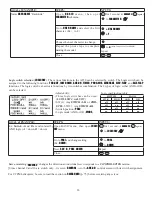
Activate
TRAINER
.
to
OFF
.
Choose desired channel(s) and proper
training type(s).
C
past
AIL
and
ELE
(default OK).
C
to
THR
,
to
OFF
.
C
to
RUD
,
to
NORM
.
Close.
7(67VWXGHQWUDGLRIXQFWLRQIXOO\SULRUWRDWWHPSWLQJWRÀ\
Where next?
6HWXSGXDOWULSOHUDWHVDQGH[SRQHQWLDO
D/R
,
EXP
) on student
AT10
: see p.30.
Reset trims on student
AT10
: see p. 35.
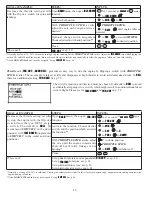
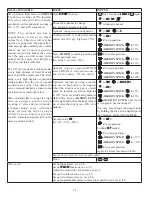
Precautions:
• NEVER turn on the student transmitter power.
• ALWAYS set the student transmitter modulation mode to
PPM
.
• BE SURE that the student and instructor transmitters have identical trim
settings and control motions. Verify by switching back and forth while
moving the control sticks.
• FULLY extend the instructor's antenna. Collapse the student's antenna.
(except 2.4GHz)
• When the
TRAINER
function is active, the snap roll function is deactivated.
Other functions, such as
IDLE-DOWN
and
THR-CUT
, which have been
assigned to the same switch, are not deactivated. Always double check
your function assignments prior to utilizing the
TRAINER
function.
• When you select a different model, the
TRAINER
function is deactivated in
the current model for safety reasons.
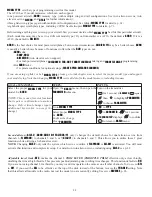
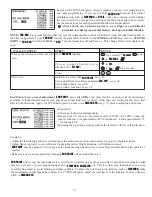
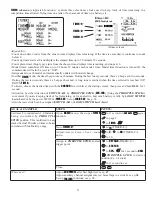
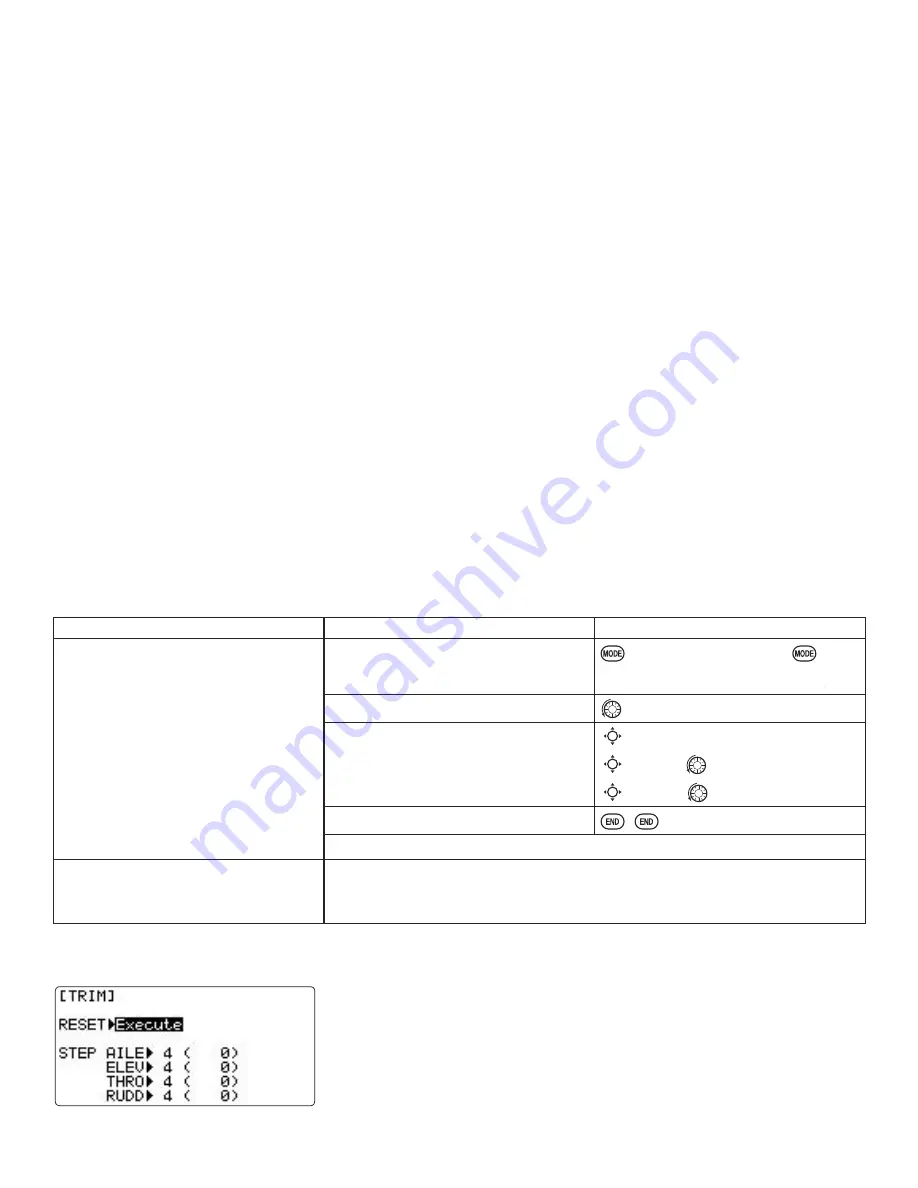
TRIM
submenu
: resets and adjust effectiveness of digital trims.
The
AT10
has digital trims which are different from conventional mechanical
trim sliders. Each
TRIM LEVER
is actually a two-direction switch. Each time
the
TRIM LEVER
is pressed, the trim is changed a selected amount. When you
hold the
TRIM LEVER
, the trim speed increases. The current trim position is
graphically displayed on the start up screen. The
TRIM
submenu includes two
functions that are used to manage the trim options.