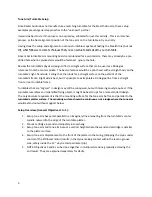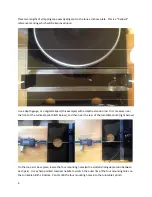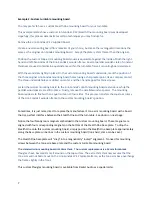
Setup Objective 2: Mount cartridge in wand and adjust stylus overhang.
Objectives:
1.
Counterweight mounting
2.
Wand insertion/extraction procedure.
3.
Vertical cartridge alignment tool.
4.
Mount your “test” or “production” cartridge.
5.
Adjust stylus overhang.
Counterweight mounting
.
The counterweight is Delrin, cast with Bismuth alloy, and then milled into a cube. It is shipped with the
accessories to prevent damage during transport. Find the counterweight, the black counterweight rod,
and the two blue round knurled thumb nuts (5x20mm). Notice that the counterweight has semi-circular
voids on two sides, hosting the two thumb nuts. To get a feel for the fit and rotation, do a “dry-fit” of
the thumb nuts and the counterweight onto the counterweight rod. Position the counterweight and
thumb nuts, untightened, approximately in the middle of the counterweight rod.
Find the 5mm “L” wrench and insert it into the hex head end of the counterweight rod. Point the
opposite end of the counterweight rod at the “hole” end of the breech block and insert therein. Rotate
the wrench until you feel resistance to further rod insertion. Give it an additional eighth turn, and pull
the “L” wrench out of the counterweight rod.
To adjust the position of the counterweight loosen the blue thumb nut in the direction that the
counterweight should move, and then rotate the other blue thumb nut in the same direction, to again
snug up to the counterweight.
When setting stylus tracking force, pay close attention to the counterweight’s distance from the outer
gimbal. The wand and breech block must swing freely, not touching the outer gimbal. Binding could
occur if the counterweight is adjusted too close to the gimbals.
Wands: insertion/extraction procedure
.
The lower mass “ladder” wand comes with the green vertical cartridge alignment tool pre-mounted.
The end of the wand that inserts into the breech block has a pair of sliding square grooves. These
grooves will fit snugly into the breech block’s square grooves.
9
You should insure that the volume level is are at zero prior to all wand insertions and extractions.
Wand Insertion
: Wand top facing UP: with your left hand, grasp the wand by the thumb and forefingers
approximately in the middle where vertical grip grooves reside. With your right hand, firmly grip the
two smooth (non-rod) sides of the counterweight and hold the counterweight and breech box steady.
Now, with your left hand, begin sliding the wand onto the two grooves located at the front of the breech
block. Slow, steady sliding is recommended, no fast or irregular movements. Eventually the wand will


