Setup Objective 1: Aligning the tone arm base plate 90 degrees to the center spindle
Standard method
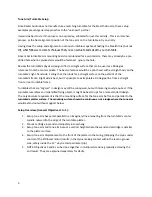
: The first tool needed is in the accessories, a stylus alignment “protractor” with a hole
and a straight line running from the center hole to the edge. Use tape or shims to immobilize the platter
to the plinth. Place this tool on the platter and approximate 90 degrees in relation to the future tone
arm base plate location. To get an exact 90 degree tool position, use a carpenter’s square and a flat
“board” or “sheet” to reference some straight surface on the turntable’s frame. Now position the tool
at 90 degrees, and use tape to immobilize the tool to the platter.
Don’t want to use the stylus alignment protractor?
Don’t want to use the stylus alignment protractor?
Alternate method
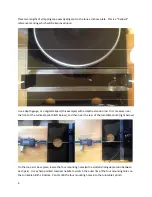
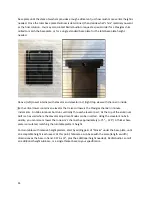
: not using the accessory. Using a white vinyl LP and a fine Sharpie pen, draw a fine
black line on the LP, perpendicular to the center spindle (white vinyl LP now drafted as an alignment
tool). Notice that the carpenter’s square is being referenced from the front of the turntable plinth, by
association with a flat sheet of Plexiglas. Not in the photo is a parallel wooden offset whose thickness
equals half the diameter of the center spindle (9/32”, .28125”, 7.3mm). Sharpie line was drawn when
the wooden offset was in place.
4


