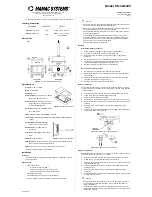
Installation
3
Connect Power
This transceiver should be connected to a 13.8V DC
power supply. It can not be
connected directly to an
AC outlet. Connect the transceiver to a regulated
power supply with the supplied power cable. Do not
replace the DC power cable with a thinner wire. The
supplied cable is rated to meet the power requirements
of the transceiver.
Connect the DC power cable to a DC power supply or
battery. Connect the red wire to the positive terminal
and the black wire to the negative terminal. Then, plug
the power connector into the DC power outlet of the
transceiver.
Note: Make sure to turn off the DC power supply and
transceiver before connecting.
The DC power supply ca n only be connected to an AC
power outlet after all conn
ections are completed.
Keeping the Transceiver Cool
As with all modern electronics, it is very important
that the transceiver not be allowed to overheat. The
Transceiver has been designed to take advantage of
natural air flow to keep it cool. Thus, to help in
providing enough space for natural air flow, it is very
Содержание 2M 70CM
Страница 1: ...2M 70CM Compact Transceiver...
Страница 12: ...6 Getting Acquainted Upper Panel Front Panel...
Страница 14: ...8 DTMF Microphone Panel...
Страница 62: ...56...


