CenterPunch Lighting Effects Server Owner's Manual
P/N: 400275000; Rev. F, 03/22
19
3
Replacements
3.1
How to replace the Effect Server X or the 4DMX-HUB units
This is the procedure to follow to replace a faulty Effect Server X unit:
1
Turn off the faulty CENTERPUNCH LIGHTING EFFECTS SERVER by unplugging the power cord from the Effect Server X unit
itself (or from the 4DMX-HUB).
2
Disconnect and remove the faulty Effect Server X unit from the wall support (or the 4HD/5HD unit from the 4DMX-HUB).
3
Position the new Effect Server X (or the new 4HD/5HD-CPU) in the same way as the old one.
4
Turn on the new Effect Server X (or the 4DMX-HUB) by connecting the power cord.
5
Take note of the serial number written on the label of the Effect Server X unit (or the label of the new 4HD/5HD-CPU).
6
Enter Conqueror X / Pro with a user allowed to operate the EFFECT SERVER SETUP.
7
On a front desk computer, navigate through the
Conqueror X
main menu and select:
SETUP
/
Modules & Options
Setup
/
Upload to Lighting
.
OR
On a
Conqueror Pro
terminal select:
SETUP
/
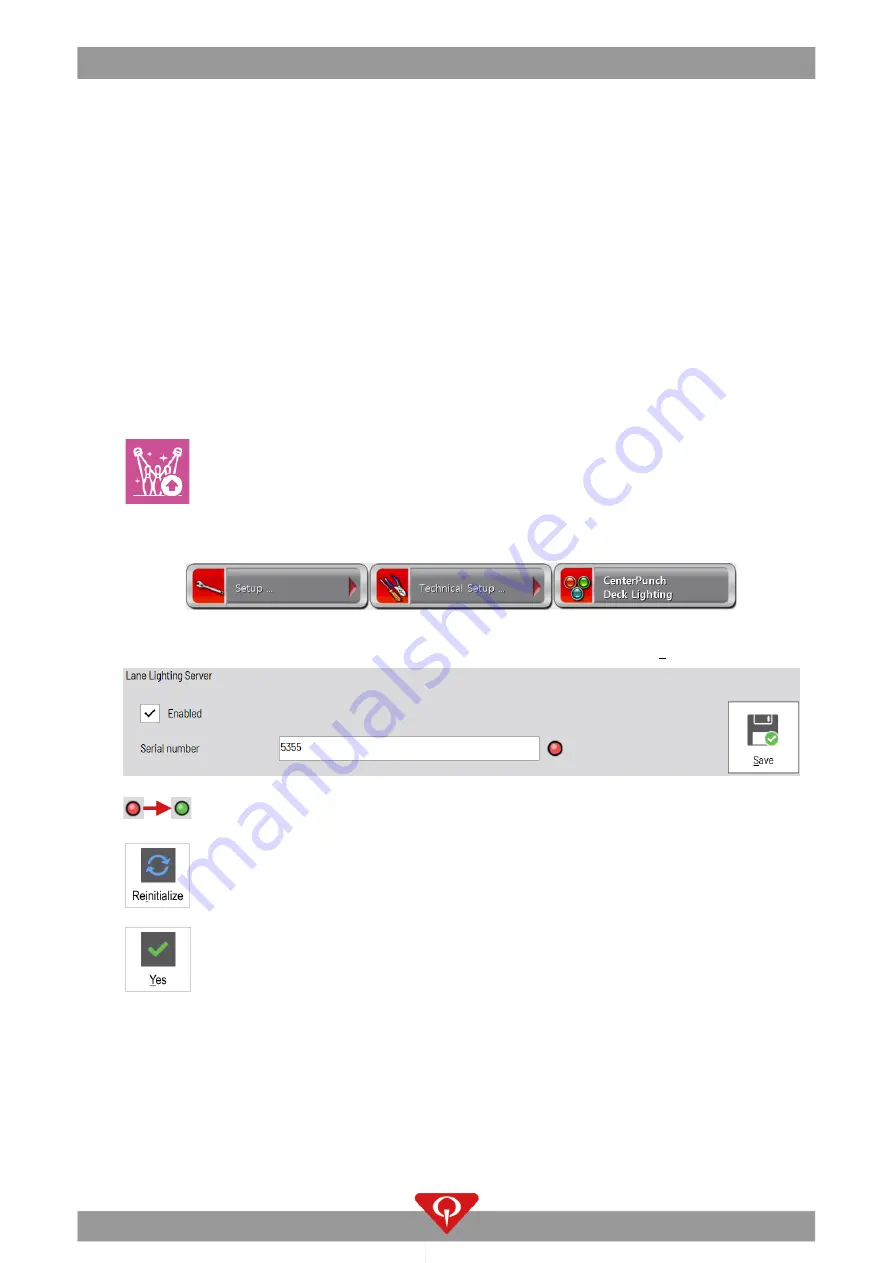
TECHNICAL SETUP
/
CENTERPUNCH DECK LIGHTING
8
Once in the “
Lane Lighting Server Setup
” screen
, enter the Serial number of the new Effect Server X (or 4HD/5HD-CPU) that
has been previously taken (in this example the serial number of the unit
is 5355). Then press the “
S
ave” button
9
When the CenterPunch Lighting Effects Server has completely booted up, the circle near the serial number
changes color from red to green.
10
Reinitialize the Effects Server.
11
Click on “Yes” in the confirmation window
.
12
When the message “Upload terminated: UPLOAD COMPLETED” appears in the “Upload status” text box and the circle near
the serial number turns green, the reinitialization process has been completed and the CenterPunch Lighting Effects Server
is ready.


