Installing the Rackmount Tape Drive
5
A-Series Tape Drives
Installing the Rackmount Tape Drive
To check that the rackmount tape drive works and is not damaged:
1
Connect one end of the power cord to the tape drive power cord connector and plug
the other end of the power cord into an AC outlet (see
figure 6
).
2
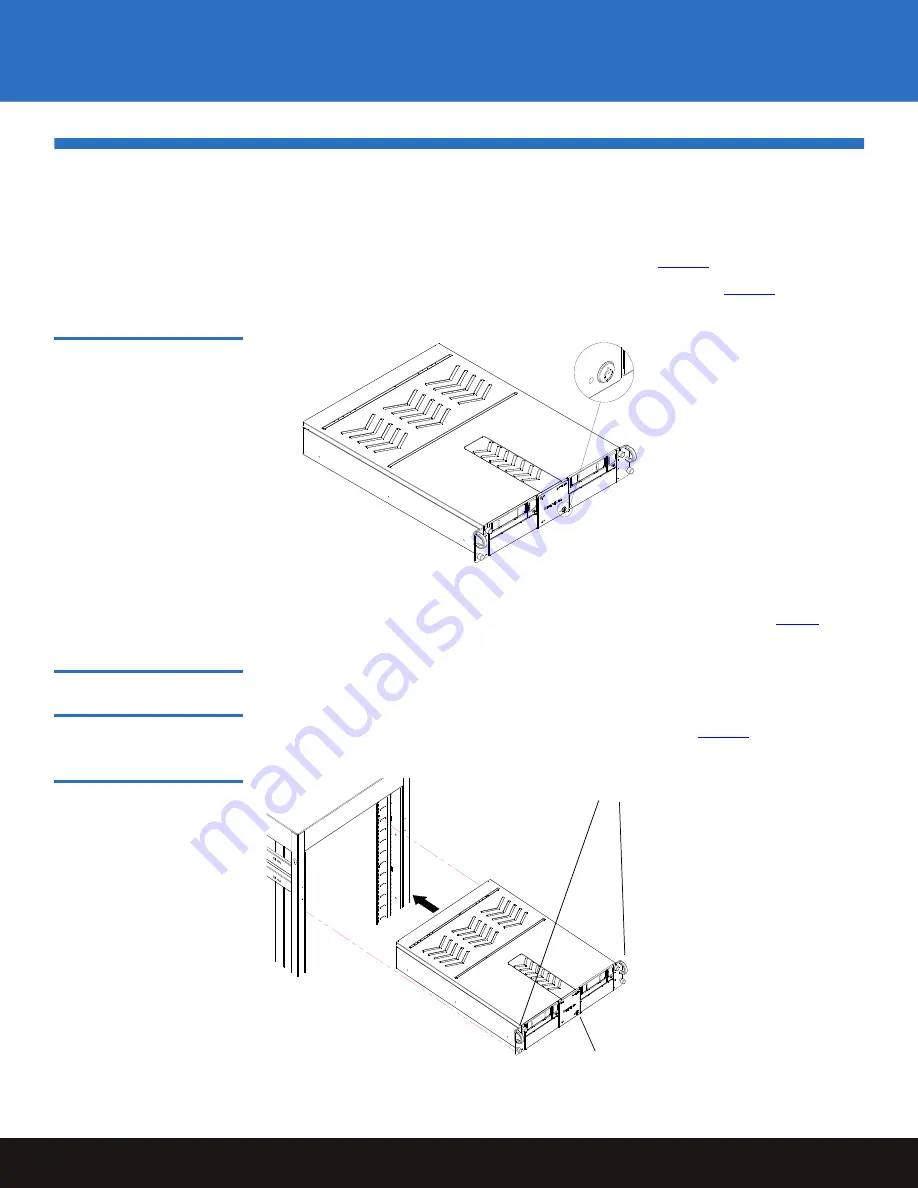
Power on the tape drive using the switch on the front panel (see
figure 4
).
Figure 4 Checking the
Rackmount Tape Drive
The tape drive performs a self-diagnostic test, called a power on self-test (POST), each
time you power it on. The sequence varies depending on the drive type (see
table 1
).
Connecting the
Rackmount Tape Drive
0
Install the rackmount tape drive in a rack and then connect the drive to a network though
the network (GigE) port located on the rear of the drive:
1
Slide the rackmount tape drive into the equipment rack (see
figure 5
).
Figure 5 Installing the
Rackmount Tape Drive
On/off switch
Thumbscrews
Power button


