background image


3


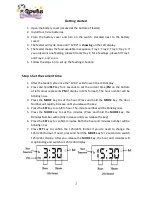
Getting started 

1.


Open the battery cover (located at the bottom of feeder). 

2.


Install four C size batteries.  

3.


Close  the  battery  cover  and  turn  on  the  switch.  (Located  next  to  the  battery 
cover). 

4.


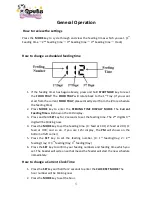
The feeder will cycle once until “12:00” is 

showing

 on the LCD display. 

5.


The feeder makes the food available in sequence: Tray 1; Tray 2; Tray 3; Tray 4. If 
you only want one feeding, please fill only Tray 1; for 2 feedings, please fill Tray 1 
and Tray 2, and so on. 

6.


Follow the steps 1-3 to set up the feeding schedule. 


Step 1-Set the current time 

1.


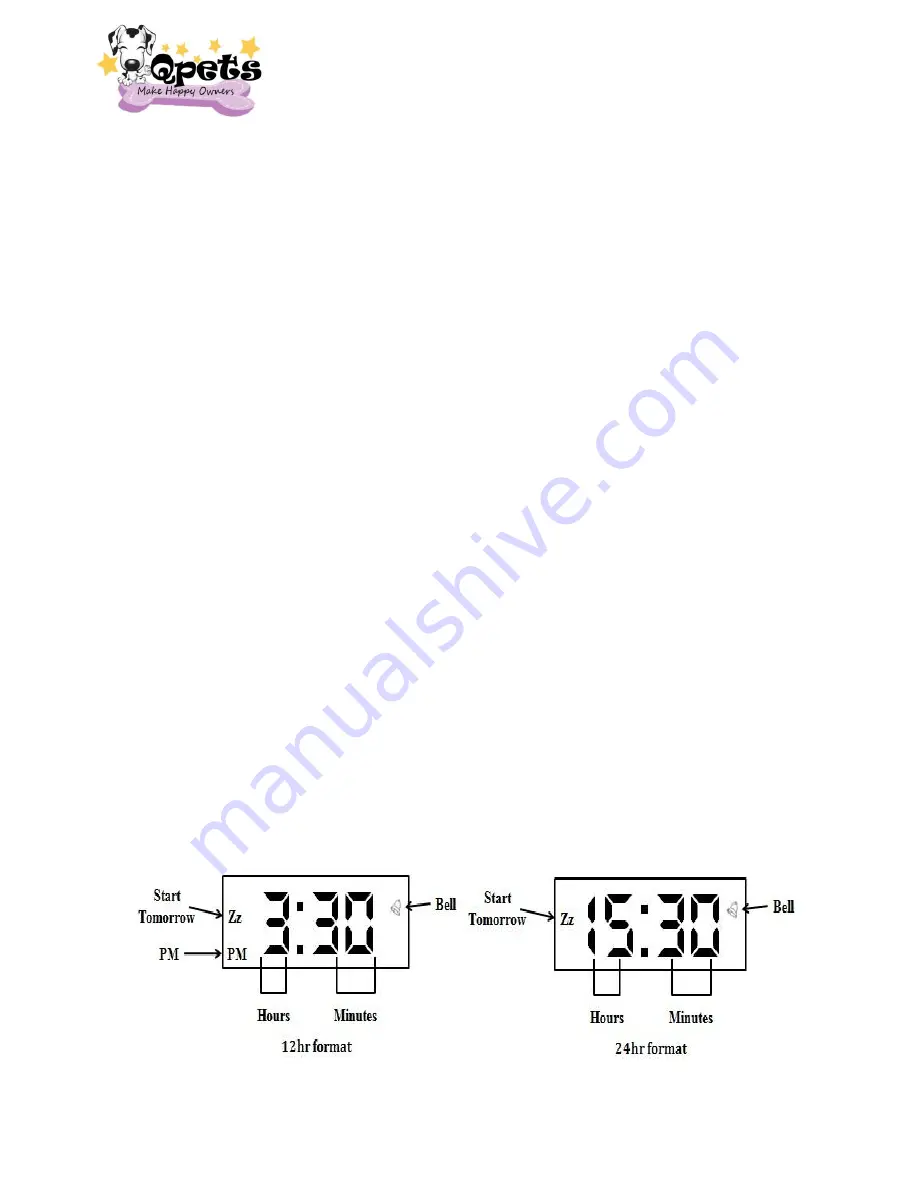
After the feeder cycle once the “12:01” will show on the LCD display. 

2.


Press and hold 

SET 

key for 2 seconds to set the current time (

PM

 on the bottom 

of left corner represents 

PM

 if display in 12hr format). The hour number will be 

blinking now. 

3.


Press the 

MODE 

key to set the hour. (Press and hold the 

MODE

 key, the Hour 

Number will rapidly increase until you release the key. 

4.


Press the 

SET

 key to confirm hour. The minute number will be blinking now. 

5.


Press  the 

MODE

  key  to  set  the  minutes.  (Press  and  hold  the 

MODE

  key,  the 

Minutes Number will rapidly increase until you release the key). 

6.


Press the 

SET

 key to confirm minutes. Both the hour and minutes number will be 

blinking now.  

7.


Press 

SET

  key  to  confirm  the  12hr/24hr  format  if  you  do  need  to  change  the 

12hr/24hr format. If need, press and hold the 

MODE

 key for 2 seconds to switch 

12hr/24hr  display.  After  you  release  the 

MODE

 key,  the  hour  and  minutes  will 

stop blinking and switch to 12hr/24hr display.  


Содержание AF 105

Страница 1: ...4 Meals Timed Automatic Pet Feeder AF 105 Please read this guide before programming the feeder...

Страница 2: ...GUIDE 2 Function of control panel keys 2 Getting started 3 Step 1 set the current time 3 Step 2 set the feeding time 4 Program example 4 Step 3 start the feeding timer 5 Step 4 fill the food into the...

Страница 3: ...red a red LED indicator will light up when batteries are low Components Lid H Bowl Cover A Slide Cover B Food Tray D Feeder Base G User Manual Quick Start Guide Function of Control Panel Keys ON OFF S...

Страница 4: ...o set the current time PM on the bottom of left corner represents PM if display in 12hr format The hour number will be blinking now 3 Press the MODE key to set the hour Press and hold the MODE key the...

Страница 5: ...1 00 2 feed at 2 00 3 feed at 3 00 and so on If you use 12hr display The PM will shows on the bottom of left corner 4 Press the SET key to set the feeding number 1 1st feeding tray 2 2nd feeding tray...

Страница 6: ...r next day The feeder will cycle once and the Zz BELL icon will show on the upper of left corner Step 4 Fill the food into the tray 1 Open the take LID H BOWL COVER A and SLIDE COVER B out 2 Fill your...

Страница 7: ...how on the LCD display 3 Press and hold SET key for 2 seconds to set the feeding time The 2nd digit 3rd digit will be blinking now 4 Press the MODE key to set the feeding time 1 feed at 1 00 2 feed at...

Страница 8: ...shed release the REC key 4 Press the PLAY key to listen the message you just record Repeat 1 3 if you want to record it again Note Your message will be played 3 times at each feeding time When need to...

Страница 9: ...face at a height that is easy for you to see what you are doing Assemble 1 Remove the LID DO NOT pull the LID off from only one side as it can damage the lock pins 2 Remove the BOWL COVER 3 Take the S...

Страница 10: ...set earlier than the present feeding time the feeding will start the next day 8 Under the Current Time Setting Mode Press and Hold MODE key for 2 seconds the Hour Number and Minutes Number will rapid...

Страница 11: ...30AM 5 00 PM Pacific Time Email qpets qpets com Add LAVA Electronics Inc 2580 E Philadelphia ST D Ontario CA 91761 USA This product has a limited Manufacturer Warranty Details of the warranty can be...

Страница 12: ...11 LAVA Electronics Inc 2580 E Philadelphia St D Ontario CA 91761 USA 1 909 923 8743 www qpets com Email qpets qpets com Copyright LAVA Electronics Inc 2011 All rights reserved...

Отзывы: