NET VIEWER PROGRAM
QR40198 User Manual
33 |
P a g e
6.2.1: Menu
In the Net-Viewer Main Interface window illustrated in Picture 70, the Menu toolbar is on the top left hand side of the
screen. The toolbar includes a button for [Live] video, the option to [Replay] video, access to your [Setup] controls
and a [Logout] button.
6.2.1.1: Live
As shown the Net-Viewer Main Interface window illustrated in Picture 70, the [Live] button will allow you to display a
live video feed as illustrated in Picture 70. The live display mode will appear upon logging in to the Net-Viewer
program.
6.2.1.2: Replay
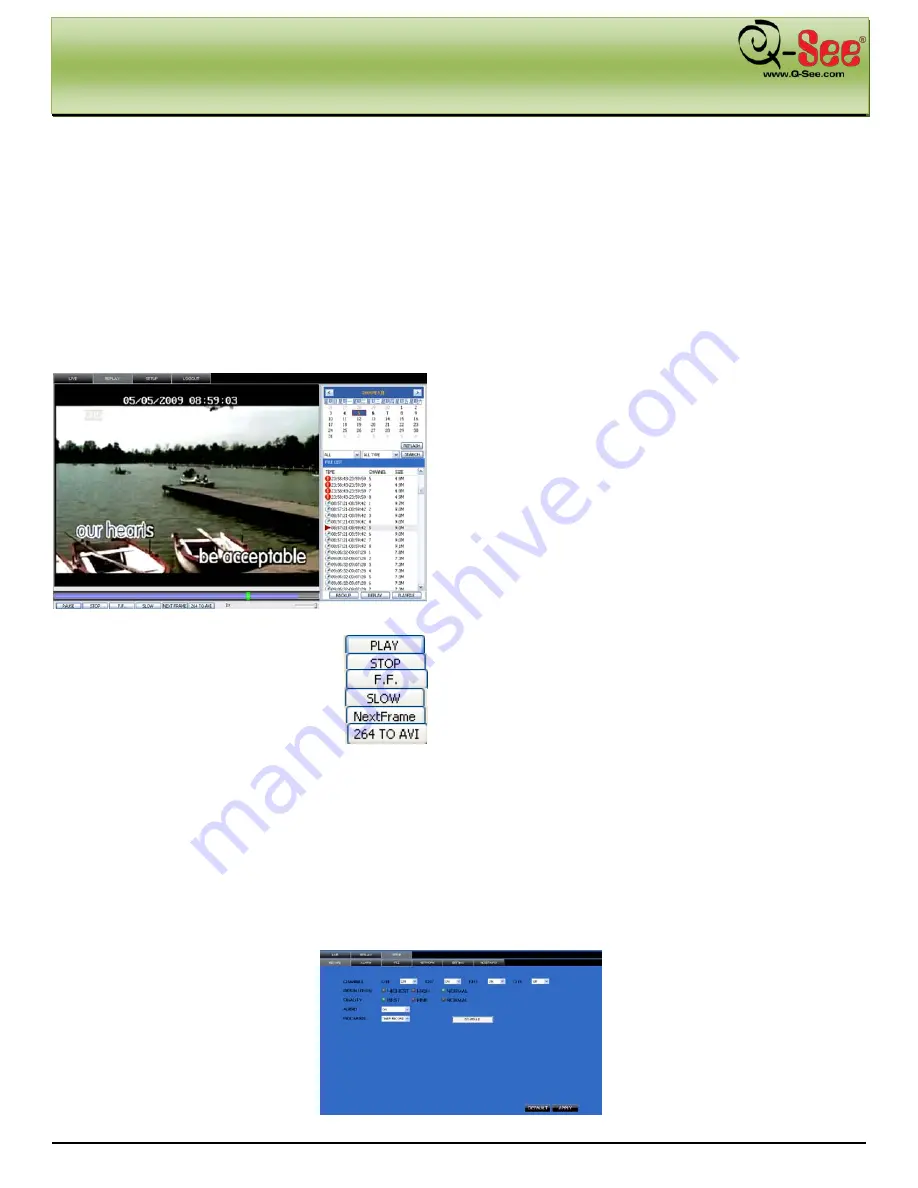
As shown the Net-Viewer Main Interface window illustrated in
Picture 71, the [Replay] button allows you to replay
previously recorded footage and display it in your viewing
window as shown in Picture 71. To find previously recorded
footage, select the date from the menu and choose the file
from the file list that will be displayed once you click on your
desired date (Picture 71).
The buttons at the bottom of your Net-Viewer interface
screen are as follows:
Play Button:
[Play]/[Pause] recorded footage
Stop Button:
Stop playing recorded footage
F.F. Button:
Fast forward through recorded footage
Slow Button:
Decrease playback speed of recorded footage
Next Frame:
Playback recorded footage frame by frame
264 TO AVI Button:
Convert file from H.264 to AVI
6.2.1.3: Setup
As shown the Net-Viewer Main Interface window illustrated in Picture 70, the [Setup] button will allow you to enter into
a sub menu which will allow you to configure the controls for your recording preferences, alarm preferences, PTZ
control configuration and your network and system setting menus. The various tabs within this Setup sub menu are
enumerated as follows:
①
Record
The [Record] tab in the Setup menu allows you to control the specific channels you wish to record (Picture 72). You
are also able turn each channel off individually and adjust the parameters of your recorded images such as the
quality and resolution. Audio recording controls can also be controlled through the [Recording Mode] menu.
(Picture 71)
(Picture 72)


