background image

9

To ensure that you will use the external triggering mechanism correctly, it is important to ensure that 
the following questions have been answered when devising or architecting your system design:

Has a system design been developed that incorporates the necessary elements such as:

a Timing Diagram,

Flow of Events (e.g. a simple state diagram), 

necessary components (e.g. microscope, flash lamp, shutter etc), 

a software solution for extracting and/or processing your images, 

External Triggering source (e.g. QImaging Trigger board, function generator etc)

Have you Determined the type of triggering mode you require for you application.

Are you sure the settings in the camera have been set correctly. For instance, are your 
monitoring the SYNCB output and if so have you set the correct output mode for your 
system?

The above list should be used as a guide and should be consulted before contacting QImaging 
Technical Support.

Gain and Offset Controls

The QIClick's electrical gain and offset controls allow the user to map an image's 
intensities of interest to the camera's digital range.  This mapping is performed in the analog domain 
and thus avoids the quantization errors incurred when the mapping is performed in the digital 
domain.

Most users wish to operate the camera in a mode that maximizes dynamic range.  The factory default 
electrical gain and offset are calibrated values that maximize the dynamic range.  The electrical gain 
and offset can be controlled in software by the CCD Gain and Offset controls.

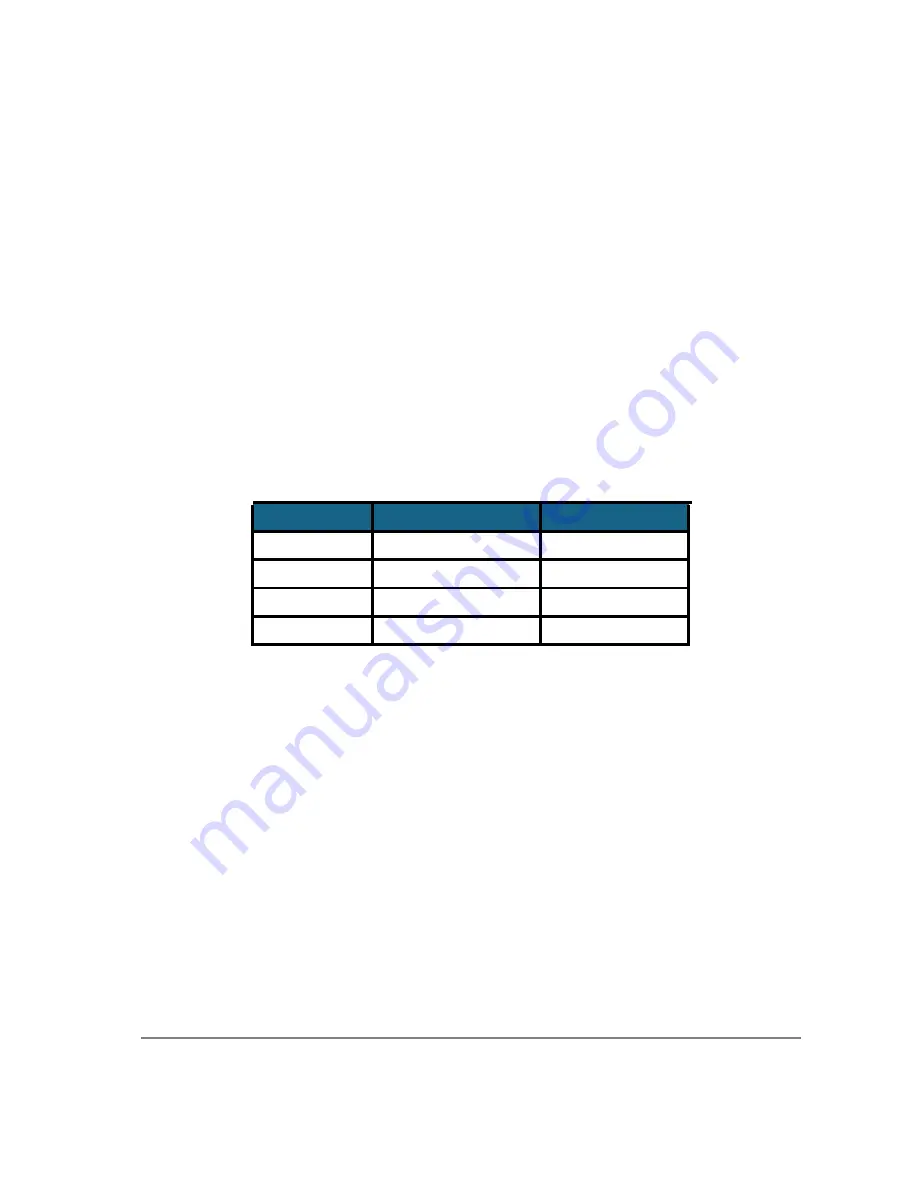
Trigger Mode

Trigger Source

Exposure Control

Continual

Intenal to Camera

Internal to Camera

Edge Hi/Lo

External Trigger Port

Internal to Camera

Pulse Hi/Lo

External Trigger Port

Length of User Pulse

Software

QCAM API Trigger Event

Internal to Camera

Table 1—Trigger Sources and Integration Modes

Содержание QI Click

Страница 1: ......

Страница 2: ...rvice providers and are used herein for identification purposes only Microsoft and Windows are registered trademarks in the U S and other countries of Microsoft Corporation and are used herein for identification purposes only Apple and Macintosh are registered in the U S and other countries by Apple Computer Inc and are used herein for identification purposes only QImaging Corporation Address Info...

Страница 3: ...Connect the QIClick 4 CAMERA BASICS 6 Turning the Camera On and Off 6 Connecting the QIClick to your Optics 6 Understanding the LED Indicators 6 Capturing Images with the QIClick 6 ADVANCED CAMERA CONTROLS 8 Triggering the QIClick Extenally 8 Gain and Offset Controls 9 CARING FOR YOUR CAMERA 10 TROUBLESHOOTING 11 Resolving Problems with the camera 11 Unresolved Problems Contacting QImaging Support...

Страница 4: ...wire requiring no framegrabber or external power supply The QIClick includes QCapture Software for Windows and Mac based software systems for real time image preview and capture A Software Development Kit SDK is available for interfacing with custom software Power Requirements The QIClick can be powered through a single IEEE 1394 FireWire cable Power Uncooled QIClick 6 watts Input voltage range 8 ...

Страница 5: ...different sizes 6 pin FireWire cables are capable of providing both power and a communication interface between the camera and computer while 4 pin cables provide only a communication interface Some laptop computers have 6 pin FireWire jacks that do not provide power If your computer has such a port you will have to power your QIClick by attaching an external power supply to the system QCapture Su...

Страница 6: ...ing camera 3 Connect the QIClick to your computer using the supplied IEEE 1394 cable DO NOT CONNECT the camera until you have a functioning FireWire port in your computer and the camera driver is installed Install the supplied IEEE 1394 PCIe card Shut down your computer Open the case and install the supplied IEEE 1394 card into an empty PCIe slot See the user s manual for your computer for complet...

Страница 7: ...ing software are available online at www qimaing com Connecting the camera to a PC MAC desktop Computer Perform the following for connecting your camera Remove the FireWire cable from the camera box and plug one end of the cable into one of the camera s FireWire sockets either socket is fine Figure 3 Camera FireWire Sockets Plug the other end of the cable into a FireWire port on your computer FIRE...

Страница 8: ...ur camera is as follows Figure 5 FireWire and 1394 Power Supply Connection Connection of a 1394 IEEE HUB with your camera is as follows Figure 6 FireWire and IEEE 1394 HUB Connection Camera Computer 110 240 VAC 1394 HUB There are some cases when connecting to a PC or Mac desktop where not enough power is supplied through the IEEE 1394 cable If this is the case you may receive an Error Code 28 or t...

Страница 9: ...s are connected as specified If power is supplied the GREEN LED will turn on To turn the Retiga EXi off all you need to do is to flip the power switch to the O position This will turn your camera off The GREEN LED will turn off I The QIClick connects directly to widely available C mount optics C mount optics which are standard on most microscopes and lenses To attach the camera to a microscope Car...

Страница 10: ...ur camera does not need to be monochrome in this situation Understanding the LED Indicators The LED indicators at the back of the camera give you important information about what your camera is doing GREEN The green LED is the power indicator This LED should always be lit when the camera is connected to your computer and is turned on RED The red LED is the exposure integration indicator It flashes...

Страница 11: ...ng there are two different types of triggering modes Edge High Low and Pulse High Low The Edge mode allows the camera to start integrating on the rising or falling edge of the trigger pulse with the integration time controlled internally by the camera Using this method allows you to externally trigger the camera as fast as possible and allows you to take advantage of the simultaneous readout and e...

Страница 12: ...stem The above list should be used as a guide and should be consulted before contacting QImaging Technical Support Gain and Offset Controls The QIClick s electrical gain and offset controls allow the user to map an image s intensities of interest to the camera s digital range This mapping is performed in the analog domain and thus avoids the quantization errors incurred when the mapping is perform...

Страница 13: ...e to static discharge Ensure you are using a static strap or are completely grounded at all times to release any static energy before you clean the CCD window Use clean forced air available at stores that sell cameras and computer cleaning supplies to dust the CCD window CAUTION Do not use acetone If the image still appears dirty gently wipe the face of the CCD window with a small amount of optica...

Страница 14: ...onsult your microscope manufacturer to find the type of coupler that works optimally with the QIClick camera s sensor Point the camera at something in the far distance Loosen the set screw of the C mount ring there are three one on the side and two on the top Adjust the C mount ring until the image is in focus Then tighten the set screw so that the C mount ring does not move This effect may also b...

Страница 15: ...tly asked questions Your issue may be resolved in one of these faqs Visit HTTP WWW QIMAGING COM SUPPORT CONTACT and fill out a support form online with the details of your problem E mail SUPPORT QIMAGING COM with complete details of your problem including Error Message and Code if possible camera model computer hardware configuration and operating system Call 1 800 874 9789 Try to be in front of y...

Страница 16: ...a camera CCD Charge Coupled Device abbr CCD Gain The amount of analog signal amplification The gain is factory optimized for the camera s maximum dynamic range Charge Coupled Device The light sensitive silicon chip near the optical interface of the camera that converts light intensities into electrical signals These are typically made up of many pixel elements whose intensities are interpreted by ...

Страница 17: ...r Iris A diaphragm in the lens that opens or closes to set the aperture the amount of light that passes through the lens to the CCD ms millisecond abbr unit of measure for exposure time ns nanosecond abbr unit of measure for exposure time Offset The offset value adjusts the CCD blacklevel relative to the analog to digital converter zero It is factory optimized for the camera s maximum dynamic rang...

Страница 18: ...t for the connector is as follows 5VDC pin 1 and GROUND pin 4 pin 6 must be connected in order for SYNC A SYNC B or TRIGGER to be live Pin Number Signal Name Signal Source Description 1 5 VDC User Power for Optocoupler trigger 2 Trigger input User Active Low Trigger Input 3 SYNC A output Camera Indicates CCD Read out 4 Ground User Ground Reference for Optocoupler 5 SYNC B output Camera Exposure or...

Страница 19: ...1A R33 357R R32 357R C37 0 1uF R31 357R 5 V 8 7 6 5 2 3 2 3 8 7 6 5 HCPL 061A HCPL 061A U13 U14 R35 237R R36 237R R38 237R R39 237R VCC VCC GND GND C38 0 1uF C39 0 1uF R34 357R R37 357R SYNCB SYNCA VCC TRIGGER MINI DIN CN8 CN8 PIN REFERENCE 1 USER VCC 2 TRIGGER input 3 SYNCA output 4 GROUND 5 SYNCB output 6 GROUND ...

Страница 20: ...to trigger the next frame SYNC B This signal has two modes of operation which can be selected in software Refer to the QCAM SDK API documentation for further information on setting these parameters Expose Mode If this modes is selected the signal will indicate the exposure pulse of the camera This signal is active high and may be used to synchronize an external shuttering device Trigger Mask If th...

Страница 21: ......

Отзывы: