Helm Systems
2-5
Section 2
SC 365i
2.9 Trim Tabs
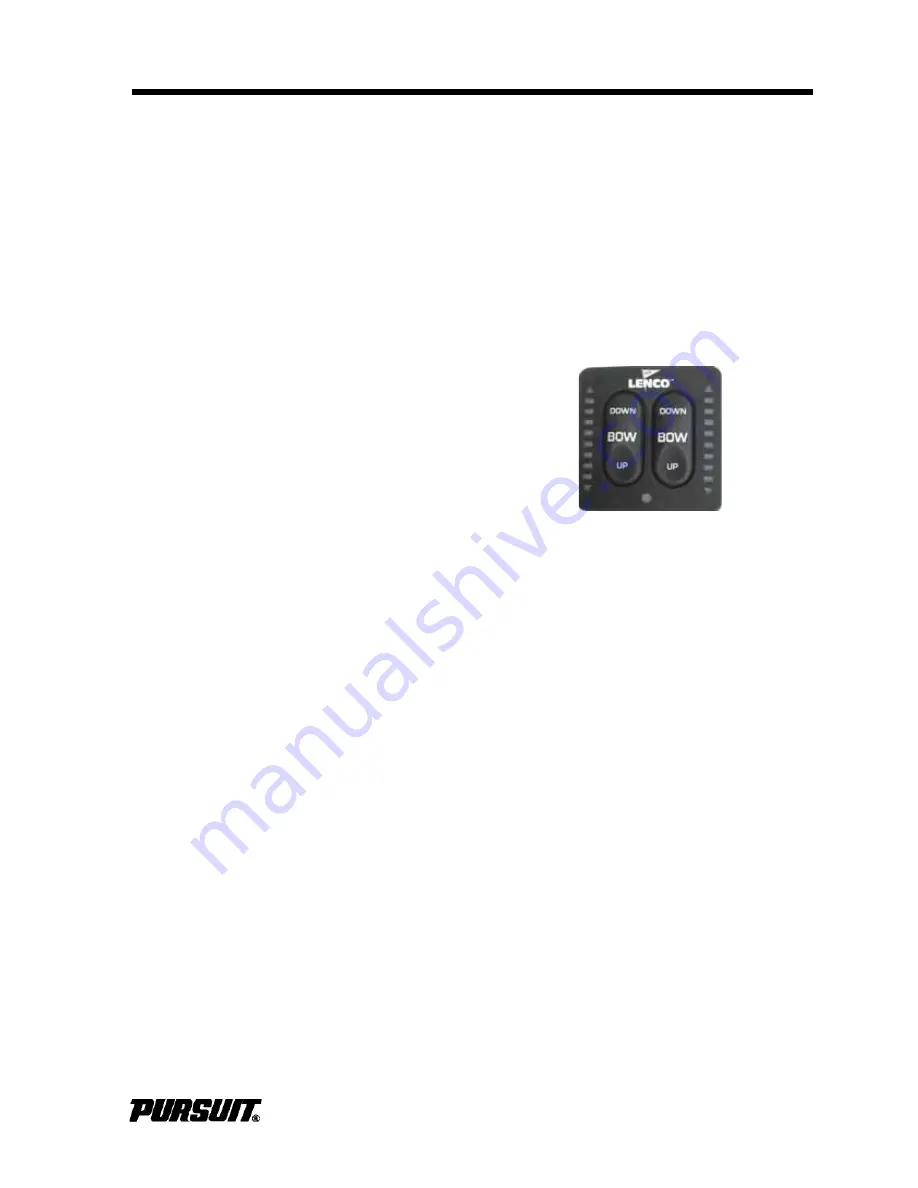
The trim tabs are recessed into the hull on
the transom. Switches are used to control
the trim tabs. The switches are labeled and
control bow up and down movements. They
also control starboard and port up and down
movements. Bow up and bow down will con-
trol the hull planning attitude, while port and
starboard up and down provide control for
the hull trim side to side.
Before leaving the dock, make sure that the
tabs are in the full “UP” position by holding
the control in the bow "UP" position for ten
seconds. Do not continue to operate the
switch when the tabs are fully up or down.
Establish the intended heading and cruise
speed before attempting to adjust the hull
attitude with the trim tabs. Always make
slight adjustments to reduce over adjust-
ments. After stabilizing speed and direction,
move the trim tabs to achieve a level side to
side running attitude being careful not to
over trim.
After depressing a trim tab switch, always
wait a few seconds for the change in the trim
plane to take effect.
Avoid depressing the switch while awaiting
the trim plane reaction. By the time the effect
is noticeable the trim tab plane will have
moved too far and the boat will be in an
overcompensated position.
When running at a speed that will result in
the boat falling off plane, lowering the tabs
slightly, bow down, will improve the running
angle and operating efficiency. Too much
bow down tabs can reduce operating effi-
ciency and cause difficult steering and han-
dling.
When running at high speeds, make sure
the tabs are in the full “UP” position. Only
enough trim plane action should be used to
compensate for any listing. Trim tabs are
more sensitive at higher speeds. Adjust for
this and be prepared to slow down if difficul-
ties arise.
Be extremely careful when operating in a fol-
lowing sea. The effect of trim tabs is ampli-
fied under these conditions. Difficulty in
steering and handling can result from
improper trim tab usage, especially in a fol-
lowing sea; raise the tabs to the full bow
"UP" position.
When running into a chop, a slight bow
down attitude will improve the ride. Be care-
ful not to over trim, difficulty in handling can
result.
Trim Tab Indicator
Trim Tab Switches
The switches are labeled to indicate the
reaction of the bow of the boat. The L.E.D.
displays indicate the position of the trim
tabs. When adjusting the starboard bow up
or down, the L.E.D. indicator on the right
side of the panel will activate, indicating the
movement of the port tab. Refer to the trim
tab operation manual.
2.10 Compass
The compass is located at the helm. To
adjust the compass, read the instructions on
“Compass Compensation” included in the lit-
erature packet. The compass cannot be
adjusted accurately at the factory as it must
be compensated for the influence of the
electrical equipment and electronics unique
to your boat. The compass should be
adjusted by a professional after the electron-
ics and additional electrical accessories are
installed and before operating the boat.
Содержание SC 365i
Страница 16: ...12 Operator Notes SC 365i...
Страница 28: ...2 8 Operator Notes SC 365i...
Страница 34: ...3 6 Operator Notes SC 365i...
Страница 36: ...4 2 Section 4 Electrical System SC 365i Main Distribution Panel MDP...
Страница 48: ...4 14 Operator Notes SC 365i...
Страница 54: ...5 6 Operator Notes SC 365i...
Страница 56: ...6 2 Operator Notes SC 365i...
Страница 62: ...7 6 Operator Notes SC 365i...
Страница 98: ...12 6 Operator Notes SC 365i...
Страница 104: ...A 6 Operator Notes SC 365i...
Страница 106: ...B 2 Appendix B Maintenance Log SC 365i Date Hours Dealer Service Repairs Maintenance Log...
Страница 107: ...Maintenance Log B 3 Appendix B SC 365i Date Hours Dealer Service Repairs...
Страница 108: ...B 4 Appendix B Maintenance Log SC 365i Date Hours Dealer Service Repairs...
Страница 109: ...Boating Accident Report C 1 Appendix C SC 365i Boating Accident Report...
Страница 110: ...C 2 Appendix C Boating Accident Report SC 365i...
Страница 111: ...Float Plan D 1 Appendix D SC 365i Float Plan...
Страница 112: ...D 2 Operator Notes SC 365i...
Страница 116: ...E 4 Operator Notes SC 365i...
Страница 117: ...Schematics F 1 Appendix F SC 365i Schematics...
Страница 118: ...F 2 Appendix F Schematics SC 365i...
Страница 119: ...Schematics F 3 Appendix F SC 365i...
Страница 120: ...F 4 Appendix F Schematics SC 365i...
Страница 121: ...Schematics F 5 Appendix F SC 365i...
Страница 122: ...F 6 Appendix F Schematics SC 365i...
Страница 123: ...Schematics F 7 Appendix F SC 365i...
Страница 124: ...F 8 Appendix F Schematics SC 365i...
Страница 125: ...Schematics F 9 Appendix F SC 365i...
Страница 126: ...F 10 Appendix F Schematics SC 365i...
Страница 127: ...Schematics F 11 Appendix F SC 365i...
Страница 128: ...F 12 Appendix F Schematics SC 365i...
Страница 129: ...Schematics F 13 Appendix F SC 365i...
Страница 130: ...F 14 Appendix F Schematics SC 365i...
Страница 131: ...Schematics F 15 Appendix F SC 365i...
Страница 132: ...F 16 Appendix F Schematics SC 365i...
Страница 133: ...Schematics F 17 Appendix F SC 365i...
Страница 134: ...F 18 Appendix F Schematics SC 365i...
Страница 135: ...Schematics F 19 Appendix F SC 365i...
Страница 136: ...F 20 Appendix F Schematics SC 365i...
Страница 137: ...Schematics F 21 Appendix F SC 365i...
Страница 138: ...F 22 Appendix F Schematics SC 365i...
Страница 139: ...Schematics F 23 Appendix F SC 365i...
Страница 140: ...F 24 Appendix F Schematics SC 365i...
Страница 141: ...Schematics F 25 Appendix F SC 365i...
Страница 142: ...F 26 Appendix F Schematics SC 365i...
Страница 143: ...Schematics F 27 Appendix F SC 365i...
Страница 144: ...F 28 Operator Notes SC 365i...
Страница 145: ......
Страница 146: ......


