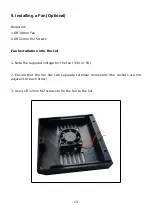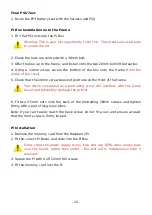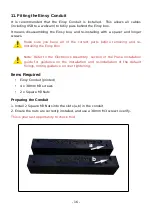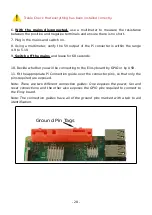
3. Test the switch with a multimeter – the two pins should be open circuit until the
button is pressed.
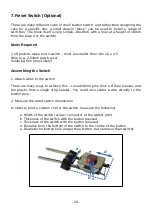
4. Print a custom block for the switches – load “Prusa-PiBox-Switchblock-PSUClip”
into Open SCAD, ensure the customiser (view menu) is not hidden, and set the
parameters for a,b,c,d,e. Printing in 0.15 (quality) takes around 30 minutes.
5. Insert the switch into the block until the button appears in the round hole. Note
that this should be a tight fit, and you will have to press the button to perform the
insertion. If the switch is too loose (i.e. you think that it may slip and become
permanently pressed), reduce the dimensions (start with the width) and print
another block (note that you may need to cut the switch out of the block to make
the swap - There is a hole in the base of the block to help if you are able to push the
switch back out)
- 11 -


