


10
Using Your Display for the First Time
When you turn on your LCD for the first time, you will need to set up the display for proper
operation by scanning the television spectrum for available channels.
Setting up Television Channels
Once the television signal is connected to the display, if you are connecting directly to a wall jack
or antenna, you should scan the signal spectrum to weed out channels with insufficient signal
strength. This will make it much easier to navigate through the channels.
To scan the signal spectrum:
1. Turn the display on using the
POWER
button.
2. Press the
MENU
button to bring up the On-Screen
Display (OSD).
3. Press the
VOL
button until the Channel Settings menu
shows.
4. Press the
ENTER
button to enter the menu.
5. Press the
ENTER
button again to enter the System sub-
menu.
6. Press the
CH
and
CH
buttons until the appropriate
system is highlighted, then press the
ENTER
button to
select it.
7. Press
MENU
to return to the previous menu.
8. Press
CH
until the Auto Scan sub-menu is highlighted
and then press
ENTER
to select it. The display will
automatically scan all television channels for those with
a signal. You can press
MENU
at any time to stop the
process.
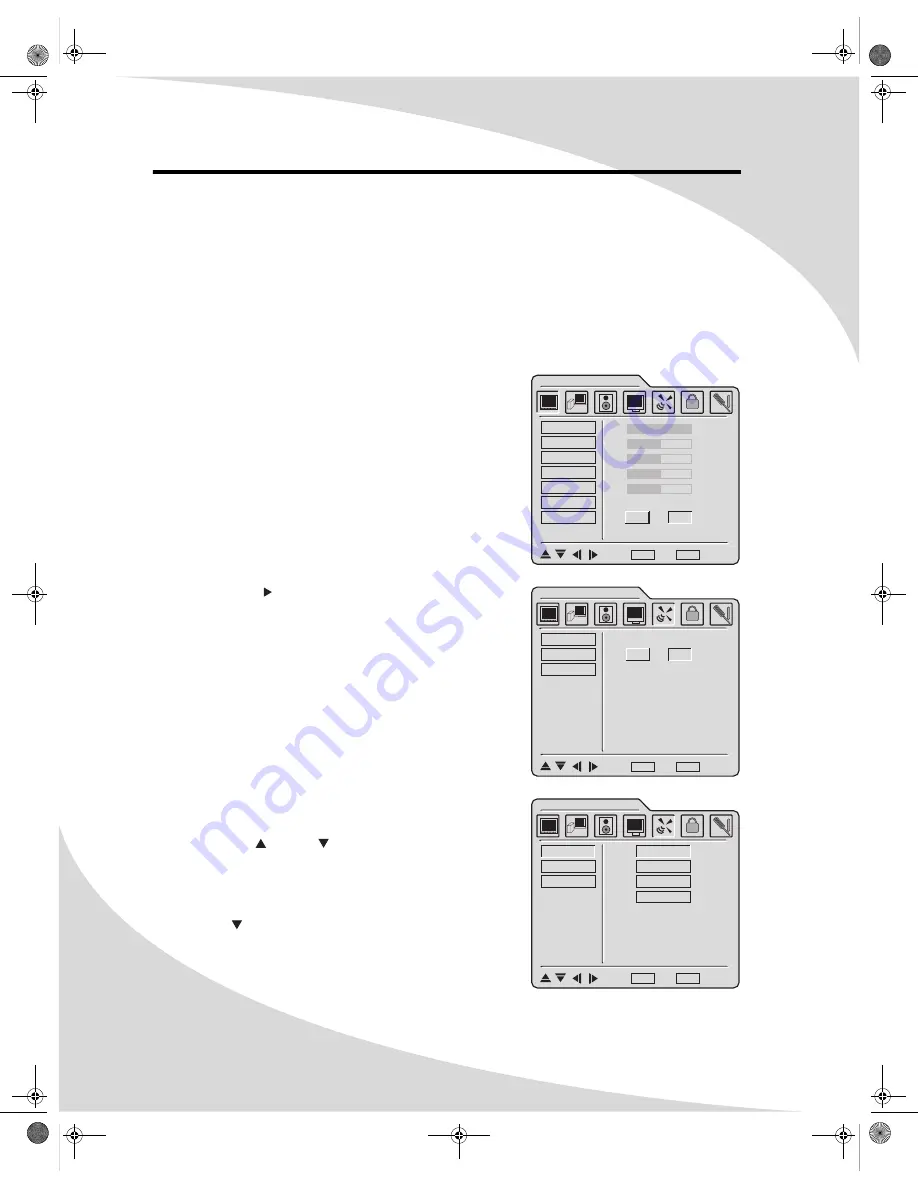
TV PARAMETERS
BRIGHTNESS
CONTRAST
SHARPNESS
SATURATION
HUE
COLOR TEMP
FORMAT
100
50
50
50
50
ENTER
4 : 3 FULL
: Select
MENU
: Exit
ENTER
: Enter
SYSTEM
AUTO SCAN
CH. EDIT
CHANNEL SETTINGS
ENTER
ENTER
ON OFF
: Select
MENU
: Exit
ENTER
: Enter
CHANNEL SETTINGS
SYSTEM
AUTO SCAN
CH. EDIT
ANTENNA
CABLE
CABLE-IRC
CABLE-HRC
: Select
MENU
: Exit
ENTER
: Enter
OMPLTV32C.book Page 10 Thursday, June 2, 2005 9:07 AM


