RAPIXX DR System Installation & User Manual
5420-0-0004
13 of 20
6
Startup of the DR system
6.1
First start of CONAXX 2
Start CONAXX 2 with a double click on the desktop icon. Check the document “CONAXX 2 User
Manual” for more details.
6.2
Necessary settings in CONAXX 2
After the first start of CONAXX 2 open the configuration by clicking the button “Configuration” in the start
menu of CONAXX 2 and change into the section “S
YSTEM
>
M
ODALITY
”.
Select in the area “S
ELECTED
M
ODALITY
” the Detector that you would like to use, e.g. “RAPIXX 2530V1V WiFi”.
Select the file path, where you installed the specific detector data (e.g. “C:\IMAGERs\AB-CDEF123”).
The property “M
ODE
” specifies the duration of the exposures. The value “0” means exposure duration of
550ms.
Now insert the value for “T
HRESHOLD FOR CLIPPING ALGORITHM
”. You can find this value on the report “G
ENERIC
R
ECEPTOR
ATP
R
ESULTS
” which is delivered with the detector. The value is placed in the section “S
ENSITIVITY
”
in the field “M
AX
C
OUNTS
”.
Depending on how the detector is built in it might be necessary to rotate the acquired images in
CONAXX 2. This can be changed in “R
OTATIONS
” in the same configuration section.
Now restart CONAXX 2.
6.3
Licensing of CONAXX 2
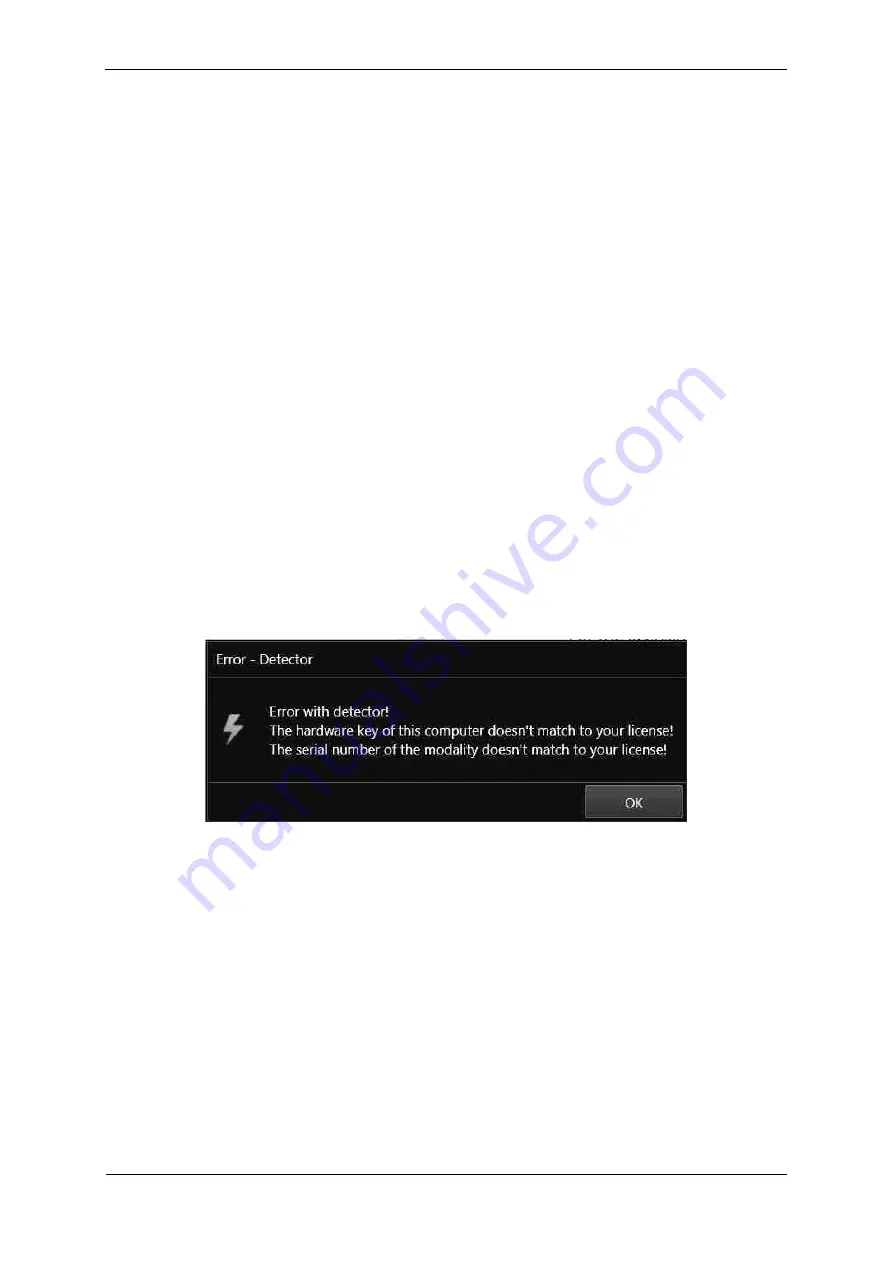
After the restart of CONAXX 2 a message that the license does not fit to the system appears.
Confirm this message.
Note:
For the licensing procedure it is necessary that CONAXX 2 can communicate with the detector. Please
do not change the system environment (network card, connected detectors …) because this can make
the license invalid. In case of using more than one detector please connect all detectors to the computer.
Open the configuration of CONAXX 2 by clicking the button “C
ONFIGURATION
” in the start menu of
CONAXX 2 and change into the section “S
YSTEM
>
R
EGISTRATION
”. In the section “G
ENERATE HARDWARE KEY
”
select the function “S
AVE KEY AS
…” to create a license request. In the next step please choose the type of
licensing.


