1
PRS-UM-DP32-EN-Rev.02-05.2019
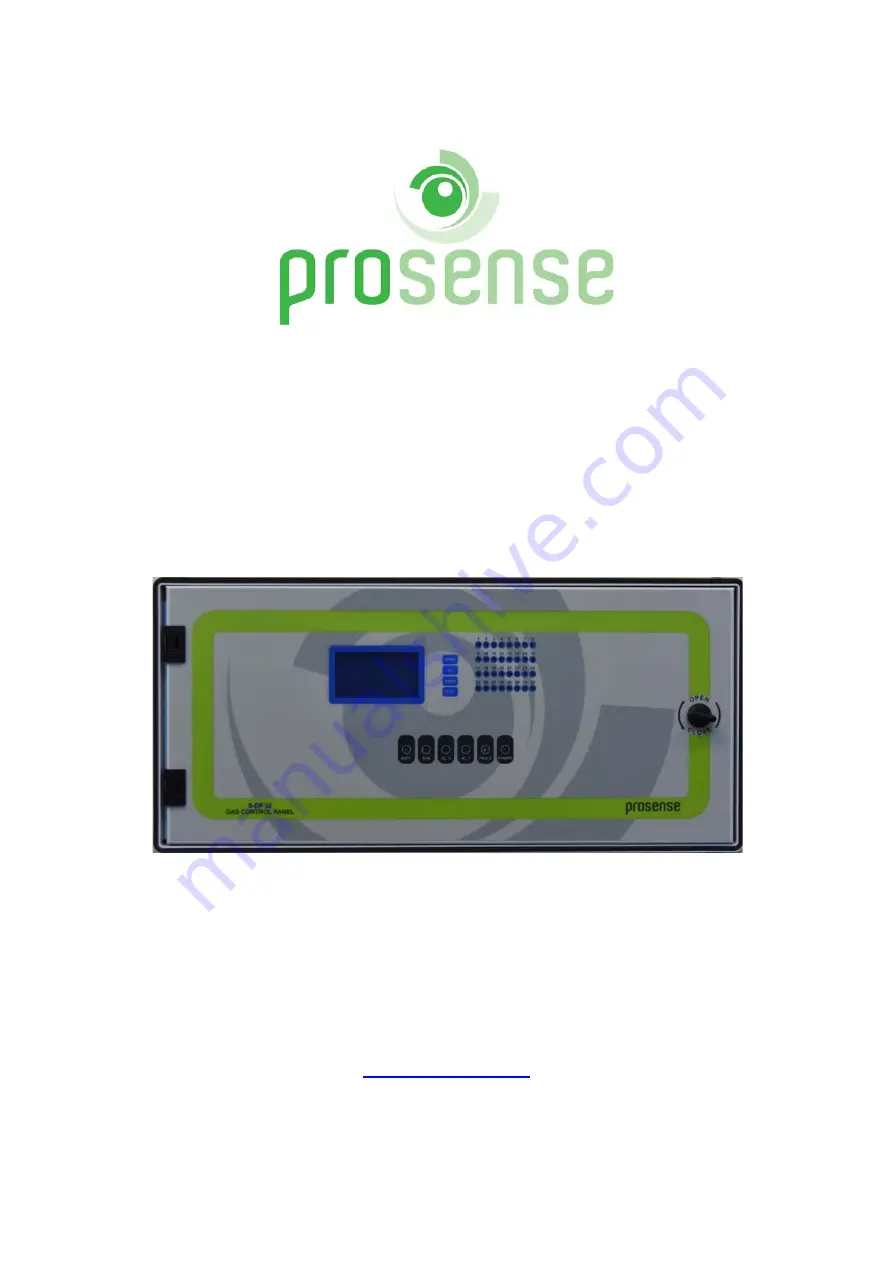
PROSENSE S-DP32 Gas Control Panel
User Manual
Prosense Teknoloji San. Ltd. Şti.
Yukarı Mah. Harman sok. No:42 Kartal İstanbul
Tel: (90) 216 306 77 88 Faks: (90)216 473 81 29
www.prosense.com.tr
Страница 1: ...UM DP32 EN Rev 02 05 2019 PROSENSE S DP32 Gas Control Panel User Manual Prosense Teknoloji San Ltd ti Yukar Mah Harman sok No 42 Kartal stanbul Tel 90 216 306 77 88 Faks 90 216 473 81 29 www prosense...
Страница 2: ...it could fail to perform as designed and persons who rely on this product for their safety could suffer severe personal injury or death The warranties made by Prosense with respect to this product are...
Страница 3: ...ry Connection 13 Main Power Connection 13 Detectors Connections 14 Prosense RS485 Serial Communication Module for Prosense Detectors 15 Relay Outputs 16 AUX Relay Output 17 First Run 17 Automatic Test...
Страница 4: ...m for the detection loop Individual relays per function ensure remote controlled output There are 4 relays on the panel Two of them used as alarm relays and configured as ALARM 1 and ALARM 2 There is...
Страница 5: ...indicators FAULT ALARM1 ALARM2 AUX BATT POWER for overall status Alarm LEDs for each detector Backup battery 12V 7A h Optional Operating Temp 10 60C0 Humidity 15 95 non condensing Housing ABS IP66 546...
Страница 6: ...identally damaging S DP32 control panel should not be placed nearby high voltage cables or power cable coaxial cables or transmitters welding stations or frequency regulators The S DP32 panel box prod...
Страница 7: ...er M4 screws are suitable to fix the panel body to the wall Once wall mounting completed reattached the front cover and tighten 6 plastic screws To prepare cable entries remove plastic cover from top...
Страница 8: ...nel body Plastic screws Plastic screws Backup battery connectors and fuse Power supply N L G V V Wall mounting hole Wall mounting hole Main power entry and fuse Space for backup batteries Power supply...
Страница 9: ...Their functions are given in table The key assignments may vary depending on the menu page Key Function For Configuration Function For Display Operation MENU Enter to panel configuration OK Select ke...
Страница 10: ...will show it as FLT and fault LED will be activated That channel should be closed deactivated via using menu steps The LCD screen brilliance is adjustable by blue potentiometer shown in Diagram 9 Faul...
Страница 11: ...and LED will be activated in case any of the connected detector measurement reaches defined Alarm 2 threshold level Panel will show AL2 symbol for the related channel on LCD screen and also activate a...
Страница 12: ...kets on the main board to install optional relay modules Each relay module has 8 relay on it and each relay controlled by one detector It is also possible to take an independent output from each relay...
Страница 13: ...up Battery Connection To continue operation in case of main power failure two backup batteries 12V 7Ah must be serially connected to the system Take extra care to connect the batteries with correct po...
Страница 14: ...B input RS485 port B Table 6 Connection pin definitions The wiring for detectors utilized with RS485 board should be done by using connection cable EIA RS485 2 core wires with section 0 22 0 35 mm2 an...
Страница 15: ...ng care about voltage drop due to cable internal resistance Thus the cable diameter should be increased while distance increase between the panel and detectors The applications show that connection ma...
Страница 16: ...ait user intervention to clear alarm status even conditions returned to normal User should reset status via pressing Exit button to acknowledge any alarm The active relays can also be monitored via re...
Страница 17: ...AUX relay will be active when ALARM2 relay activated When ALARM3 is selected AUX relay will be active by the digital input on the panel In case of any alarm signal received from external device it wi...
Страница 18: ...tivate configuration menu press and hold the MENU button for a second You can navigate between the menu items via using the UP and DOWN keys Press MENU key again to enter submenu You can EXIT from sub...
Страница 19: ...is no user action Setup Channel Parameters To adjust channel parameter follow below steps 1 Press Menu button for 2 seconds The screen will display menu options 2 Select Channel setting via pressing t...
Страница 20: ...l will raise fault status as it cannot communicate to the detector If user knows the reason and want to deactivate this fault status simply close the channel as it is an unused channel Otherwise unuse...
Страница 21: ...ing mode for all relays and assignment for AUX relay Press MENU button to change AUX relay assignment A cursor will be activated on the screen and you can change assignment via using UP and DOWN butto...
Страница 22: ...plying a calibration gas on the detector Please refer to the mandatory safety procedures gas alarm set forth by your safety manager in case of any alarm Here are few recommendations Keep calm and foll...
Страница 23: ...wn on LCD screen The Detector connection is broken Check the detector cables The detector output signal is too low If detector is working fine the output current might be getting low at control panel...
Страница 24: ...y fault is not found with the equipment Prosense Technology shall not be liable for any loss or damage whatsoever or howsoever occasioned which may be a direct or indirect result of the use or operati...