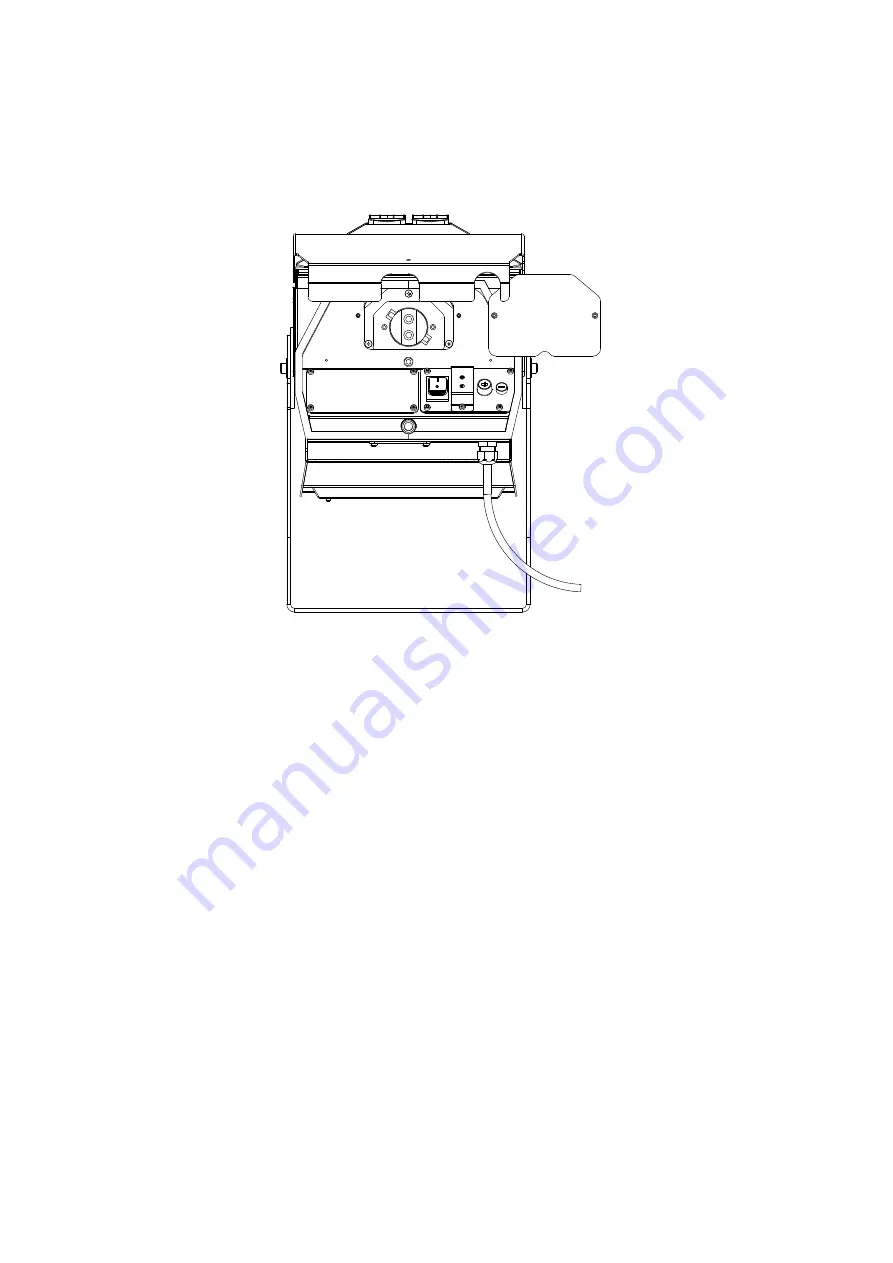
MOUNTING/REPLACING LAMP
For the assembly/replacement of the lamp, remove the lamp replacement cover (A) as
shown in Figure 3.
Fig. 3
WARNING:
If you need to replace the lamp, it is recommended that you wait 15 minutes
before opening the lid for access to the lamp after turning o
ff
the projector. At this point
wait other 10 minutes, before touching it, to avoid burning
.
The steps to follow are:
1. Unscrew the two hexagonal screws on the lid of the lamp holder (A) using the
hexagonal key provided, as shown in Figure 3.
2. Rotate the lamp counterclockwise by handling it with a cloth for proper replacement.
Take the lamp o
ff
and replace it with the new one by inserting it into the appropriate
interlocking housing. Rotate it clockwise so that it can be fixed completely.
Centering of the lamp (calibration)
3. At each replacement, the lamp must be centered. The centering operation can be
summarized in the following steps:
- evaluate the positioning of the lamp by looking it from the front, see Fig. 4.
- to adjust its position you need to act on the three screws on the lamp holder.
6
A


