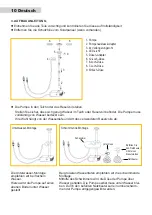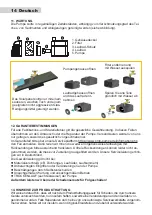
4. ASSEMBLY INSTRUCTION
l
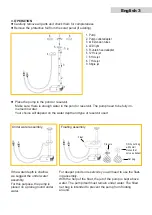
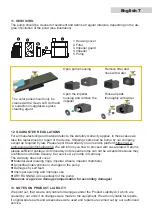
Insert the pump plug into the pump socket with a slight twist. Repeat this procedure with the
light plug and the light socket. Make sure that the sealing ring is securely seated.
l
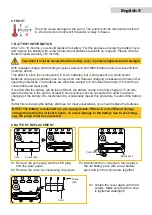
Position the solar panel so that it receives direct sunlight. The pump may not operate if the solar
panel is shaded.
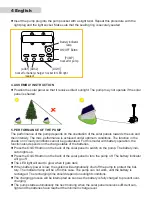
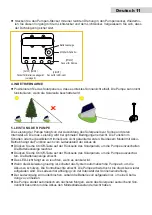
[AUX1] [AUX2]
Socket for battery charger
(sealed)
[LIGHT]
Socket for LED light
ON/OFF Button
Battery indicator
lamp
[PUMP]
Socket for pump
AUX1
AUX2
Light
Pump
5. PERFORMANCE OF THE PUMP
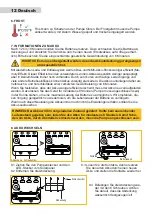
The performance of the pump depends on the orientation of the solar panels towards the sun and
their intensity. The max. performance is achieved under optimum conditions. The function in the
shade or in cloudy conditions cannot be guaranteed. For this model with battery operation, the
function also depends on the charge status of the batteries.
l
Press the On/Off button on the back of the solar panel to switch on the pump. The battery indi-
cator lights up.
l
Press the On/Off button on the back of the solar panel to turn the pump off. The battery indicator
will go off.
l
The LED light will start to glow when it gets dark.
l
When battery power is low, the system will automatically shut off the pump to protect the bat-
tery. The indicator lamp will be off in this case. The pump can not work, until the battery is
recharged. The recharging time should depend on sunlight conditions.
l
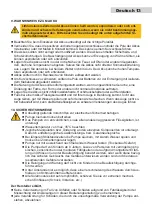
The charging process will be interrupted as soon as the battery is fully charged to prevent over
-
charging.
l
The pump starts automatically the next morning when the solar panel receives sufficient sun-
light and the batteries have reached the minimum charge level.
4 English


