

40
Eng
lis
h
Installation
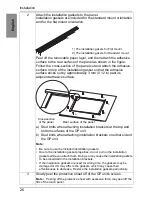
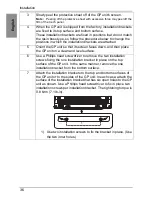
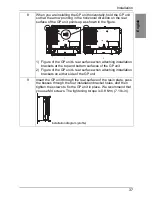
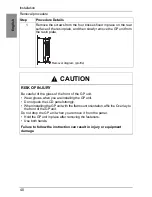
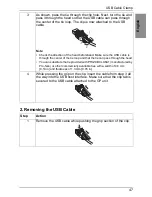
Removal procedure
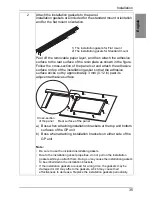
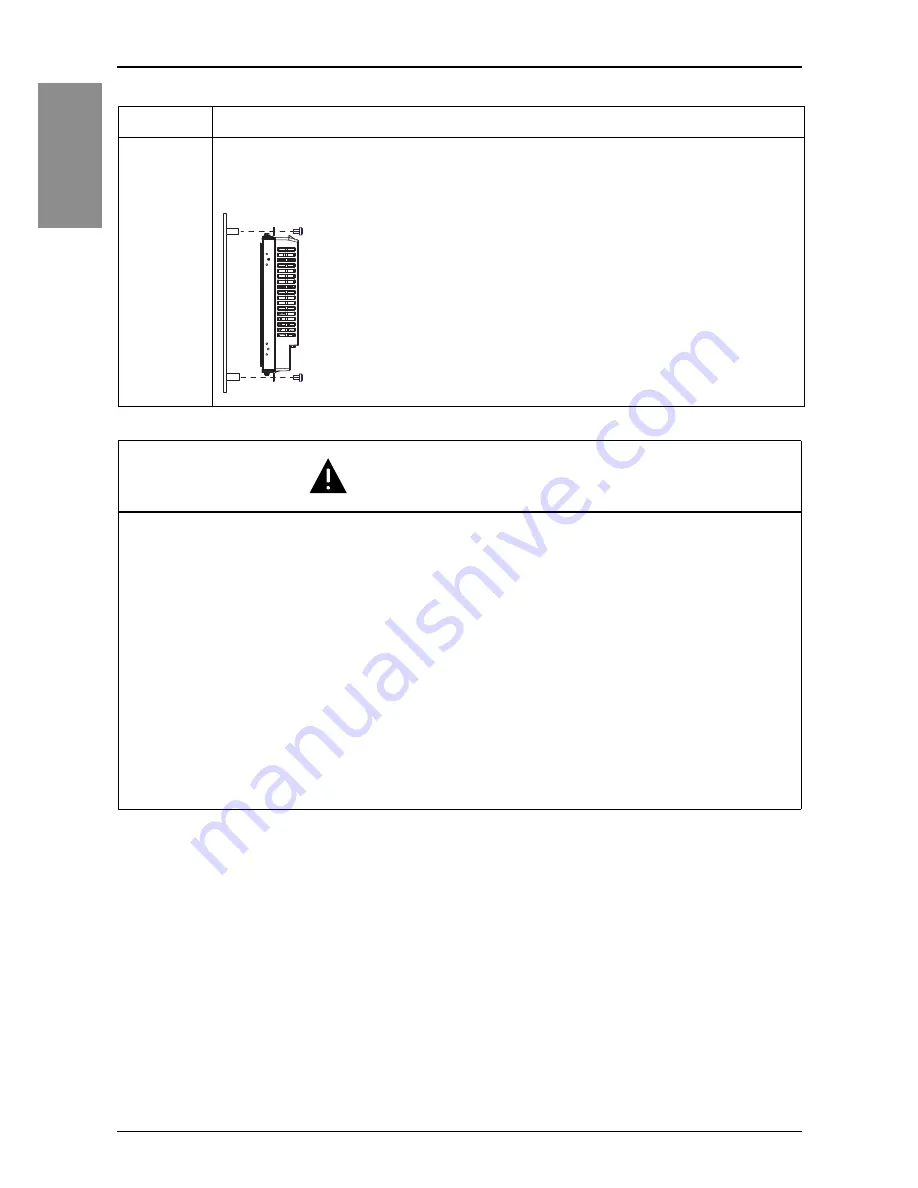
Step
Procedure Details
1
Remove the screws from the four bosses fixed in place on the rear
surface of the resin plate, and then slowly remove the GP unit from
the resin plate.
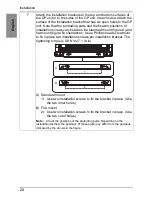
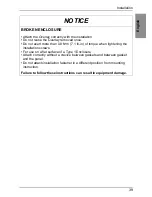
CAUTION
RISK OF INJURY
Be careful of the glass of the front of the GP unit.
• Wear gloves when you are installing the GP unit.
• Do not push the LCD panel strongly.
• When installing the GP unit with the flat mount orientation, affix the Overlay to
the front of the GP unit.
Do not drop the GP unit when you remove it from the panel.
• Hold the GP unit in place after removing the fasteners.
• Use both hands.
Failure to follow the instruction can result in injury or equipment
damage.
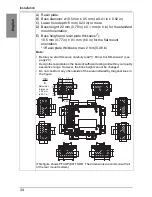
Removal diagram (profile)
Содержание PFXGP4301TADR
Страница 1: ...GP4000 Series Rear Mount Model Installation Guide...
Страница 49: ...50 English Standards...